必要な工具と部品
-
-
-
Tool on left - PH000 screwdriver
-
Tool on right - iPod fix-it tool
-
Soldering Iron
 FixBotに聞いてみる
-
-
-
Locate the 3 black screws on the bottom of the camera and the 2 gray screws on each side of the camera. Remove them with a PH000 screwdriver.
-
-
-
-
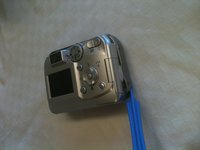
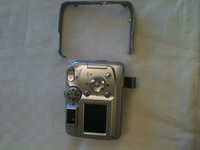
Locate the gray band that you removed the screws from; this holds the two halves of the camera together. Use an iPod fix-it tool to pry the gray band loose and remove it.
-
-



To reassemble your device, follow these instructions in reverse order.
ある他の人がこのガイドを完成しました。

チーム

Ohio State, Team 1-2, Buehl Fall 2012 Ohio State, Team 1-2, Buehl Fall 2012人のメンバー
OSU-BUEHL-F12S1G2
3 メンバー
30のガイドは作成済み
