メインコンテンツにスキップ
リペアコミュニティに参加 - アカウントの作成

Olympus FE-210 LCD Screen Replacement

必要な工具と部品

  1. Olympus FE-210 LCD Screen Replacement, Battery: 手順 1、 2の画像 1 Olympus FE-210 LCD Screen Replacement, Battery: 手順 1、 2の画像 2
    • The battery compartment is located on the bottom side of the camera. Push the button in, and slide the cover to get access to the batteries.

    FixBotに聞いてみる
    コメントを追加

  2. Olympus FE-210 LCD Screen Replacement: 手順 2、 2の画像 1 Olympus FE-210 LCD Screen Replacement: 手順 2、 2の画像 2
    • The batteries will slide right out.

    • When putting new batteries in, make sure they are pointing the right direction.

    FixBotに聞いてみる

    コメントを追加

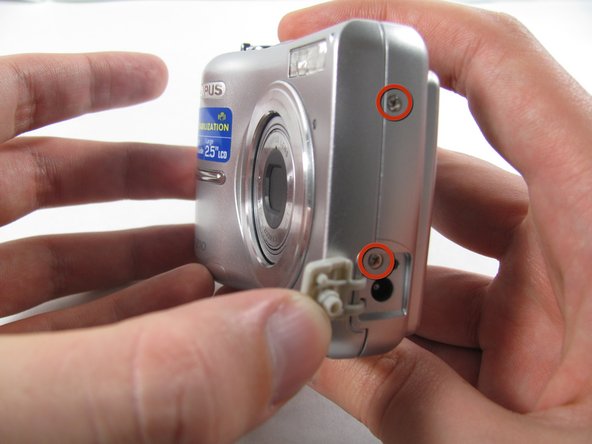
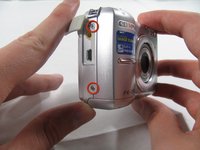
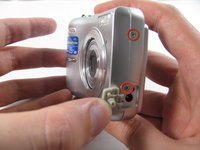
  3. Olympus FE-210 LCD Screen Replacement, Front Casing: 手順 3、 3の画像 1 Olympus FE-210 LCD Screen Replacement, Front Casing: 手順 3、 3の画像 2 Olympus FE-210 LCD Screen Replacement, Front Casing: 手順 3、 3の画像 3
    • Remove the seven screws holding the front case in place, with a Phillips #00 screwdriver.

    • Six screws are 3.6 mm.

    • The seventh screw is 3.2 mm.

    FixBotに聞いてみる
    コメントを追加

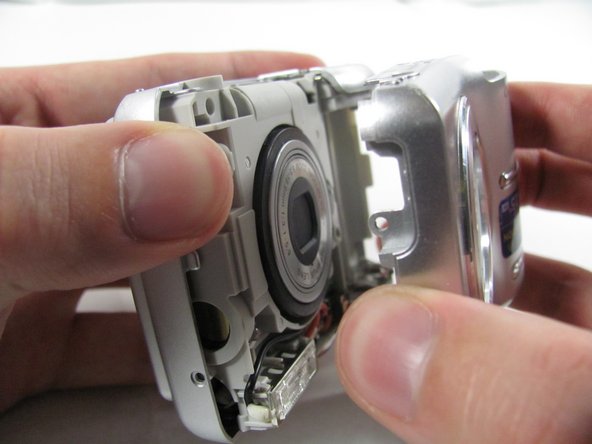
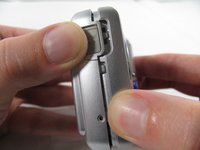
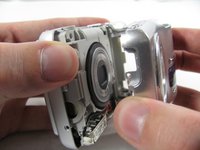
  4. Olympus FE-210 LCD Screen Replacement: 手順 4、 3の画像 1 Olympus FE-210 LCD Screen Replacement: 手順 4、 3の画像 2 Olympus FE-210 LCD Screen Replacement: 手順 4、 3の画像 3
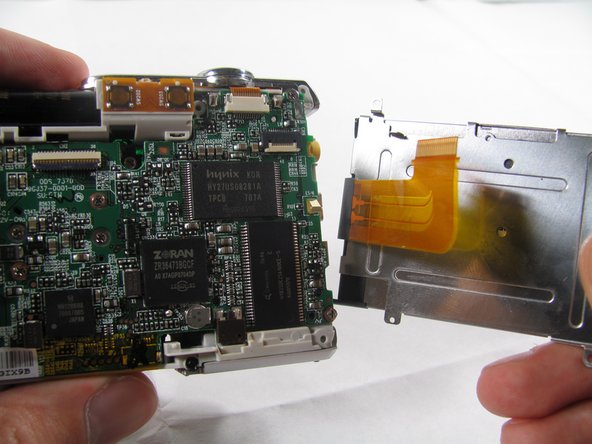
    • Insert an opening tool or spudger into the seam between the front case and body of the camera to release the clips holding it together.

    • These three places are located:

    • At the top and bottom of the battery side (opposite of side pictured) of the case.

    • Right in the middle of the DC-in side (side pictured) of the case.

    • Top of the camera, to the left of the power button.

    • Once those places are disconnected, the front case will pop right off.

    • The camera in the first two pictures is upside down. This is the best position to place your thumbs to remove the case.

    FixBotに聞いてみる
    コメントを追加

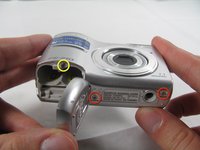
  5. Olympus FE-210 LCD Screen Replacement, Rear Casing: 手順 5、 1の画像 1
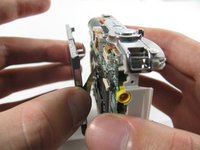
    • Remove the 3.2 mm screw in the battery compartment using a #00 screwdriver.

    • After removal of the screw the case will be loose, but do not tug it off. There is a cord connecting the rear controls to the motherboard.

    FixBotに聞いてみる
    コメントを追加

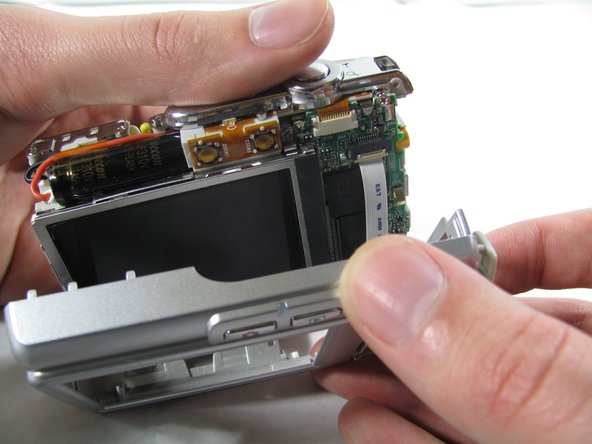
  6. Olympus FE-210 LCD Screen Replacement: 手順 6、 3の画像 1 Olympus FE-210 LCD Screen Replacement: 手順 6、 3の画像 2 Olympus FE-210 LCD Screen Replacement: 手順 6、 3の画像 3
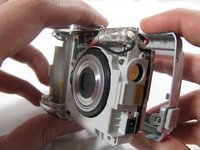
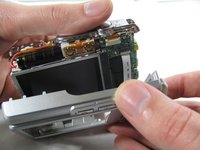
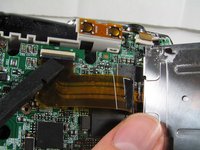
    • Carefully pull the rear case away from the camera until you have access to the cord connected to the motherboard.

    • Lift the white latch using a fingernail or a spudger.

    • Pull the cord from its connector.

    FixBotに聞いてみる
    コメントを追加

  7. Olympus FE-210 LCD Screen Replacement, LCD Screen: 手順 7、 2の画像 1 Olympus FE-210 LCD Screen Replacement, LCD Screen: 手順 7、 2の画像 2
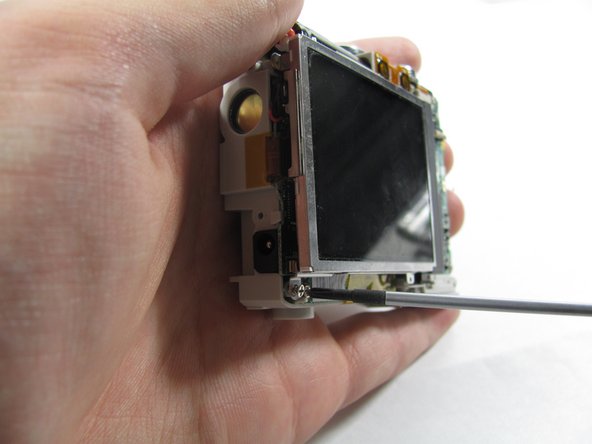
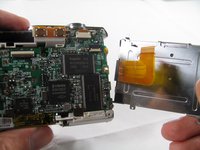
    • Remove the two 2.7 mm screws using a #00 screwdriver.

    • After removing the screws the display will be free. Do not remove it. Like the rear case, there is a cord connecting it to the motherboard that must be disconnected first.

    FixBotに聞いてみる
    コメントを追加

  8. Olympus FE-210 LCD Screen Replacement: 手順 8、 3の画像 1 Olympus FE-210 LCD Screen Replacement: 手順 8、 3の画像 2 Olympus FE-210 LCD Screen Replacement: 手順 8、 3の画像 3
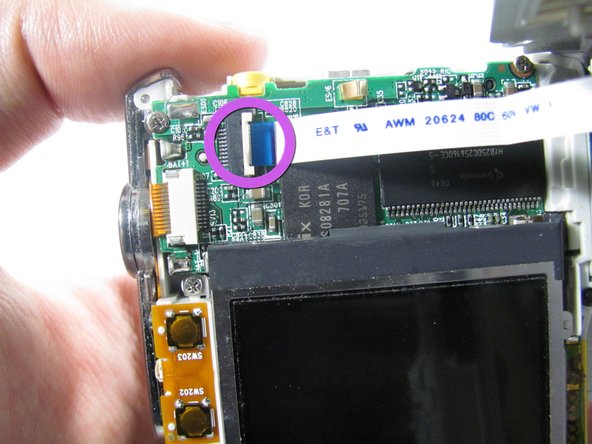
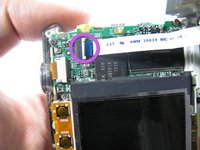
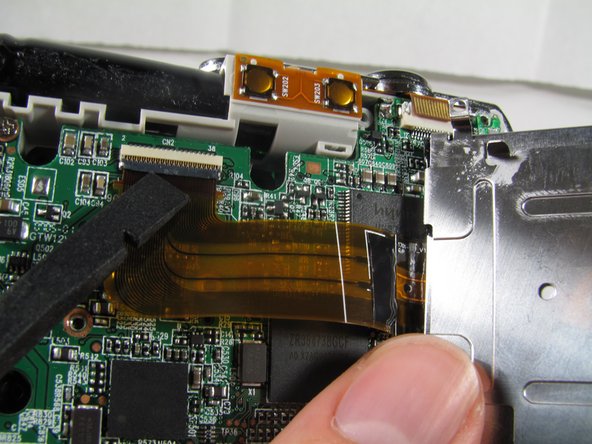
    • Using a spudger, lift the latch on the connector.

    • Remove the ribbon cord from its connector.

    • Remove the LCD from the rest of the camera.

    FixBotに聞いてみる

    コメントを追加

終わりに

To reassemble your device, follow these instructions in reverse order.

キャンセル: このガイドを終了できませんでした。

4 の人々がこのガイドを完成させました。

作成者

6人の作成者と共同で作成されました。

Matt

メンバー登録日: 01/25/11

826 ポイント

6のガイドは作成済み

チーム

Cal Poly, Team 4-36, Regan Winter 2011 Cal Poly, Team 4-36, Regan Winter 2011人のメンバー

CPSU-REGAN-W11S4G36

3 メンバー

14のガイドは作成済み

1件のガイドコメント

Now need source for replacement screen thank you

Emile Crotteau - 返信 共有

コメントを追加

統計データ:

過去 24時間: 1

過去 7 日: 15

過去 30 日: 66

今までの合計 6,079