メインコンテンツにスキップ
リペアコミュニティに参加 - アカウントの作成

Nortel Networks i2004 IP Buttons Replacement

必要な工具と部品

  1. Nortel Networks i2004 IP Buttons Replacement, Back Cover: 手順 1、 3の画像 1 Nortel Networks i2004 IP Buttons Replacement, Back Cover: 手順 1、 3の画像 2 Nortel Networks i2004 IP Buttons Replacement, Back Cover: 手順 1、 3の画像 3
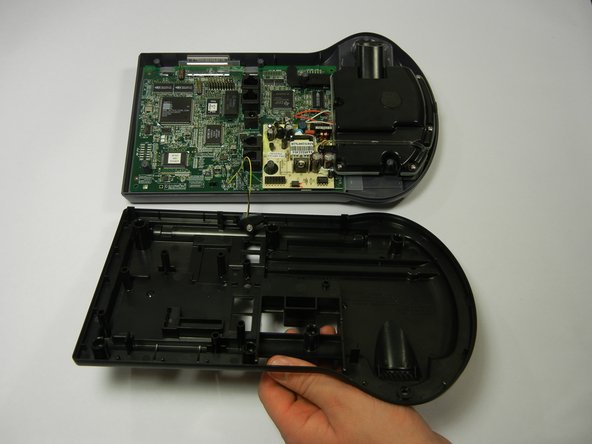
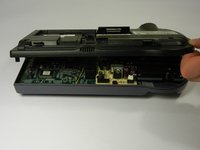
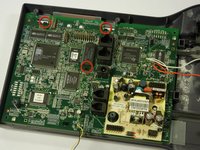
    • Flip the phone over to view the back.

    • Remove the power and phone cords.

    FixBotに聞いてみる
  2. Nortel Networks i2004 IP Buttons Replacement: 手順 2、 1の画像 1
    • Remove the seven 8mm Phillips #2 screws.

    FixBotに聞いてみる
  3. Nortel Networks i2004 IP Buttons Replacement: 手順 3、 2の画像 1 Nortel Networks i2004 IP Buttons Replacement: 手順 3、 2の画像 2
    • Lift up the back cover slowly because there are still wires attached to the circuit board.

    • Lifting the back cover should not require a lot of force; simply lift with your fingertips.

    FixBotに聞いてみる
  4. Nortel Networks i2004 IP Buttons Replacement: 手順 4、 1の画像 1
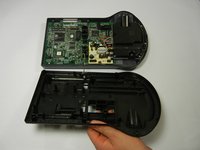
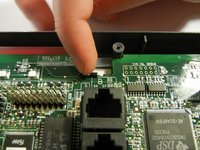
    • Disconnect the rubber piece by pulling it out of the slot, freeing the back cover completely.

    FixBotに聞いてみる
  5. Nortel Networks i2004 IP Buttons Replacement: 手順 5、 2の画像 1 Nortel Networks i2004 IP Buttons Replacement: 手順 5、 2の画像 2
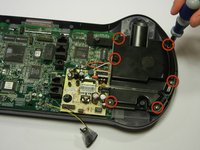
    • Remove the six 8mm Phillips #2 screws.

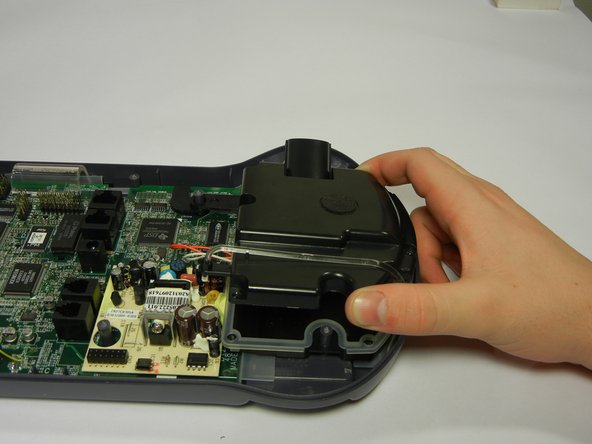
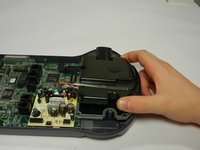
    • Pull the speaker phone cover straight up.

    FixBotに聞いてみる
  6. Nortel Networks i2004 IP Buttons Replacement, Circuit Board: 手順 6、 1の画像 1
    • Remove the red and white wires from the rubber casing rim.

    FixBotに聞いてみる
  7. Nortel Networks i2004 IP Buttons Replacement: 手順 7、 2の画像 1 Nortel Networks i2004 IP Buttons Replacement: 手順 7、 2の画像 2
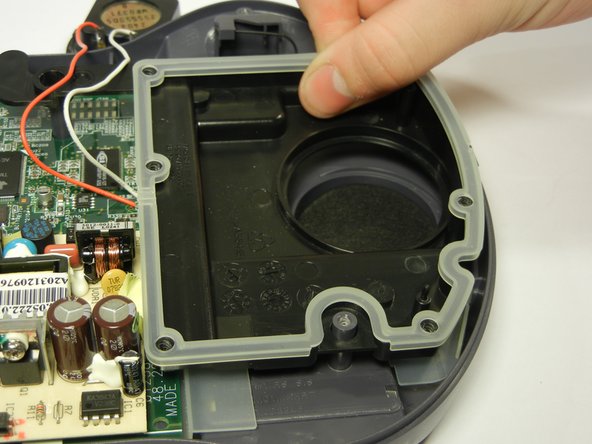
    • Lift out the speaker and set it away from the tray that holds it.

    • Then remove the black plastic tray at the bottom by lifting it straight up.

    FixBotに聞いてみる
  8. Nortel Networks i2004 IP Buttons Replacement: 手順 8、 1の画像 1
    • Remove the two 8mm Phillips #2 screws.

    FixBotに聞いてみる
  9. Nortel Networks i2004 IP Buttons Replacement: 手順 9、 2の画像 1 Nortel Networks i2004 IP Buttons Replacement: 手順 9、 2の画像 2
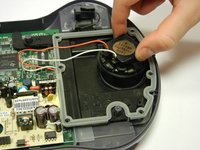
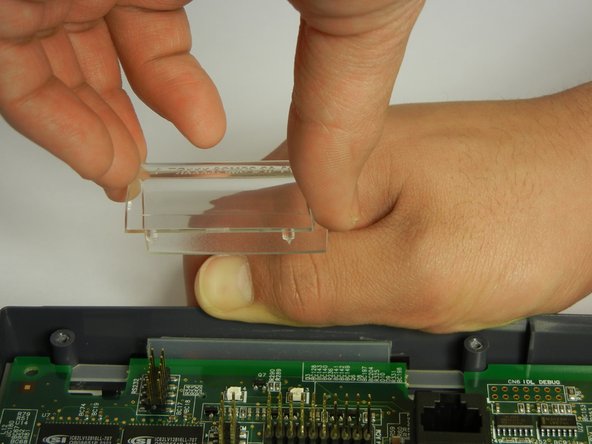
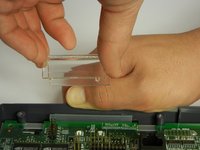
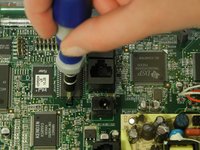
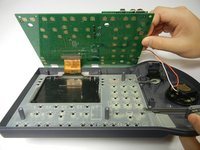
    • Pull the gray plastic casing away from the circuit board as you remove the clear, curved, plastic piece straight up.

    FixBotに聞いてみる
  10. Nortel Networks i2004 IP Buttons Replacement: 手順 10、 3の画像 1 Nortel Networks i2004 IP Buttons Replacement: 手順 10、 3の画像 2 Nortel Networks i2004 IP Buttons Replacement: 手順 10、 3の画像 3
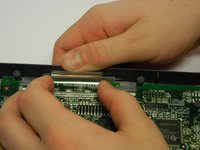
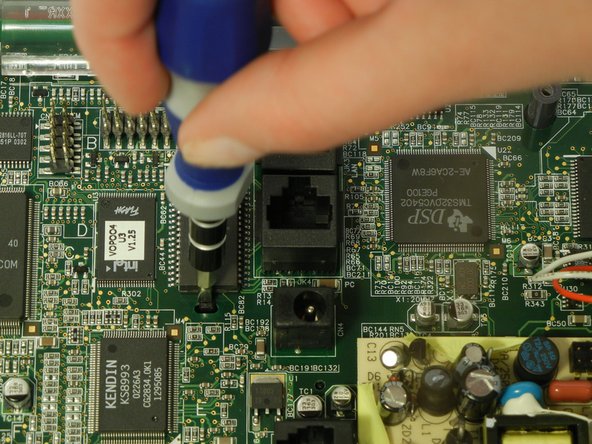
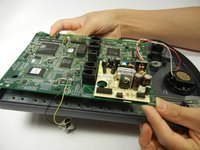
    • There are three clips on the circuit board to un-clip.

    • Unclip both back black clips with your fingertips.

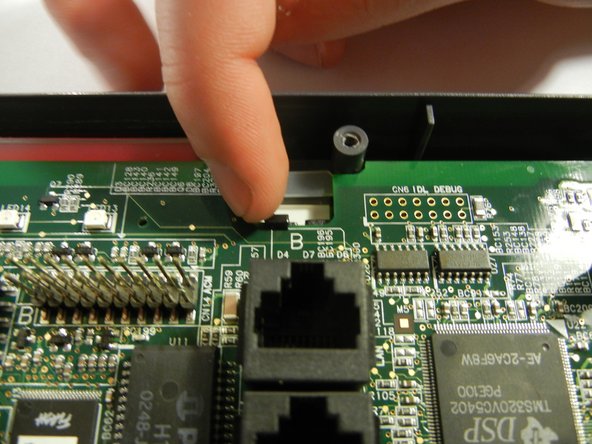
    • Push the middle black clip towards the bottom of the picture with a flathead screwdriver.

    FixBotに聞いてみる
  11. Nortel Networks i2004 IP Buttons Replacement: 手順 11、 2の画像 1 Nortel Networks i2004 IP Buttons Replacement: 手順 11、 2の画像 2
    • There's a brown ribbon still attached to the circuit board and phone case, so don't pull the circuit board completely off just yet.

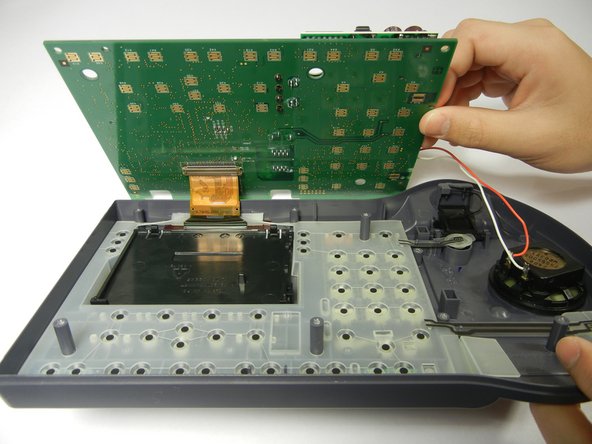
    • Lift the edge of the circuit board over the phone case and slightly up, so the bottom of circuit board can be viewed.

    FixBotに聞いてみる
  12. Nortel Networks i2004 IP Buttons Replacement: 手順 12、 1の画像 1
    • Push down each brown clip on either side of the brown metal strip using your fingertip.

    • Detach the circuit board from the brown ribbon.

    FixBotに聞いてみる
  13. Nortel Networks i2004 IP Buttons Replacement: 手順 13、 1の画像 1
    • Remove the clear rubber casing.

    • Be careful not to flip over the front phone casing or all of the buttons will fall out.

    FixBotに聞いてみる
  14. Nortel Networks i2004 IP Buttons Replacement, Buttons: 手順 14、 1の画像 1
    • Press the broken button from the front of the phone.

    • Remove the broken button through the back.

    FixBotに聞いてみる
終わりに

To reassemble your device, follow these instructions in reverse order.

ある他の人がこのガイドを完成しました。

作成者

4人の作成者と共同で作成されました。

Andrew Wang

メンバー登録日: 01/19/12

9 ポイント

1ガイドが承認済み

チーム

Cal Poly, Team 10-35, Amido Winter 2012 Cal Poly, Team 10-35, Amido Winter 2012人のメンバー

CPSU-AMIDO-W12S10G35

4 メンバー

10のガイドは作成済み

0件のガイドコメント

コメントを追加

統計データ:

過去 24時間: 0

過去 7 日: 4

過去 30 日: 33

今までの合計 1,290