はじめに
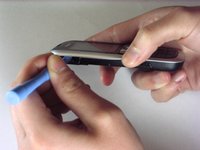
この修理ガイドでは、Nokia 2630bの電話機本体を完全に分解した後、アンテナを取り外して交換する方法を説明します。アンテナが物理的に破損している場合や、信号に問題がある場合にはアンテナの交換が必要になることがあります。この修理は、接続の問題を解決するだけでなく、アンテナがひどく摩耗している場合の外観の改善にも役立ちます。この修理に特別なスキルは必要ありません。精密ドライバーと、電話機を開くためのオープニングツールが必要です。
必要な工具と部品
-
-
-
-
-
-
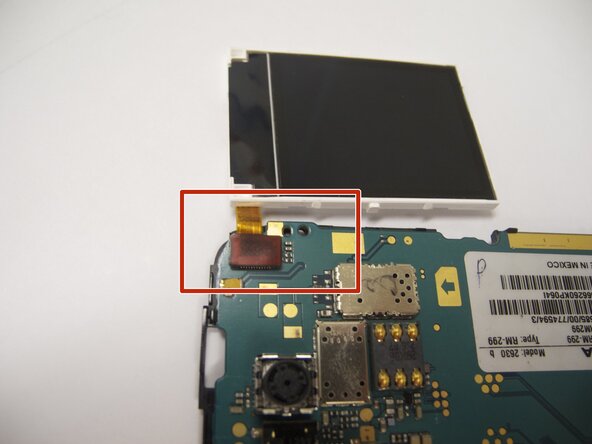
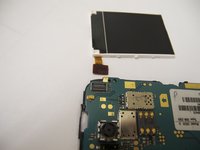
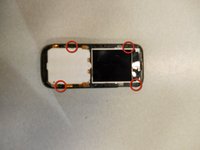
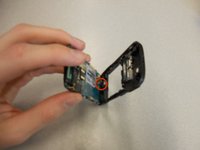
アンテナは、本体上部の背面ケースと基板の間にある「L」字型の部品です。
-
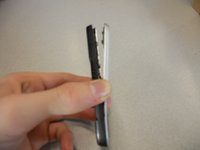
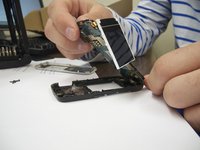
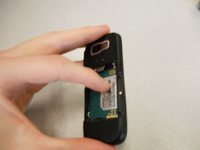
アンテナは少しの力で取り外せます。
-
新しいアンテナを取り付ける際は、古いアンテナがあった場所に設置します。本体のハードウェアに接続する必要はありません。
-
-
-
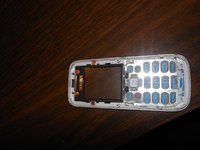
デバイスを組み立て直す際は、手順を逆から行ってください。
-
キーボードを取り付ける際は、ケースをネジで固定する前に正しい位置にあることを確認してください。
-
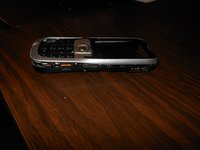
バッテリーを取り付ける際は、バッテリーの端子がスマートフォンの端子に接続されていることを確認してください。
-
バッテリーに対する真鍮製の端子の位置を再度確認してください。
-
写真はバッテリーの正しい向きを示しています。
-
-


以下の翻訳者の皆さんにお礼を申し上げます:
100%

Translation Botさんは世界中で修理する私たちを助けてくれています! あなたも貢献してみませんか?
翻訳を始める ›
チーム

Cal Poly, Team 9-61, Walters Spring 2011 Cal Poly, Team 9-61, Walters Spring 2011人のメンバー
CPSU-WALTERS-S11S9G61
5 メンバー
28のガイドは作成済み