はじめに
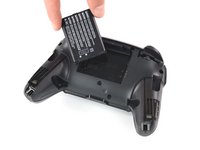
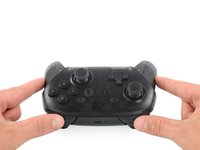
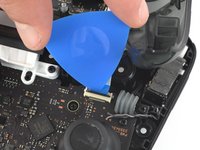
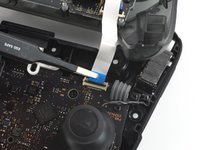
この修理ガイドは、Nintendo Switch Proコントローラーの壊れたトリガーボタンを交換する方法を紹介しています。壊れたトリガーは、Nintendo Switch本体での最適なゲーム体験を制限します。コントローラーの壊れたトリガーを交換することで、コントローラーを最大限に活用することができます。このガイドでは、コントローラーの大部分を分解する必要があります。そのため解体の際には、コントローラ内部の回路やリボンコネクタを損傷しないように注意してください。
必要な工具と部品
-
-
-
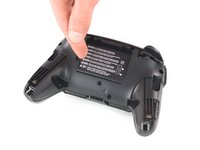
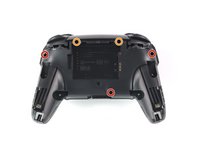
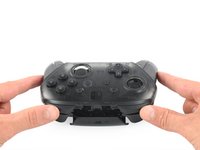
プラス#1ドライバーを使って、コントローラーの裏面から5mmネジを5本外します。
-
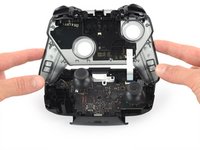
ハンドグリップの上にある2本のケースネジと、バッテリーベイの下にある1本のケースネジは、座面が浅くなっています。そのため、3本のネジは簡単に取り外すことができます。
-
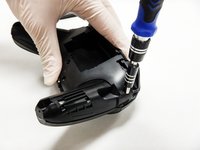
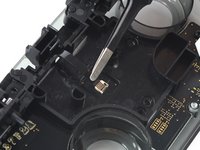
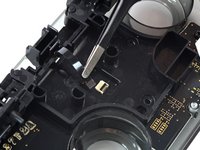
ZRとZLのショルダーボタンに隣接する2つのケースネジは、座面が深くなっています。これらのネジに届くように、エクステンションまたは軸の長いプラスドライバーを使用してください。
-


このデバイスを再組み立てするには、インストラクションを逆の順番に従って作業を進めてください。
このデバイスを再組み立てするには、インストラクションを逆の順番に従って作業を進めてください。
13 の人々がこのガイドを完成させました。
以下の翻訳者の皆さんにお礼を申し上げます:
100%

Midori Doiさんは世界中で修理する私たちを助けてくれています! あなたも貢献してみませんか?
翻訳を始める ›

チーム

Cal Poly, Team S11-G2, Regan Fall 2019 Cal Poly, Team S11-G2, Regan Fall 2019人のメンバー
CPSU-REGAN-F19S11G2
5 メンバー
43のガイドは作成済み
5 件のコメント
This guide does show how to remove the trigger/bumper casing and board from the controller but does not show how to remove the triggers/bumpers from the casing they are in.
Yeah, this is a pretty big point to be missing, especially with the Flex Cable for the shoulder button inputs being right beside the post you need to pull out to remove the ZL and ZR buttons. Guidance on how to remove the post safely without damaging the cable would be great.
After reinstalling the shoulder buttons I have found them to stop working, all four, I checked my ribbon cable from the buttons to the board and even replaced it. I also confirmed the ribbon cable connector on the main board is working as well. Can anyone make any further troubleshooting suggestions?