はじめに
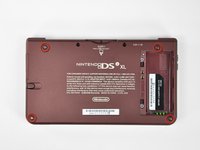
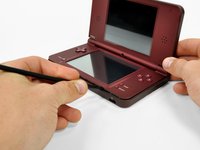
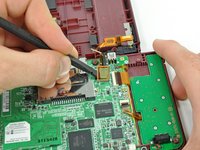
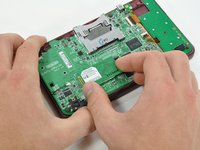
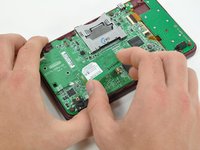
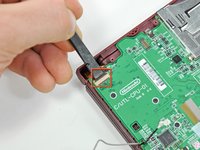
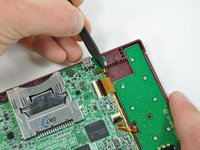
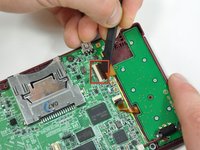
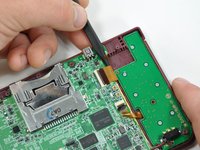
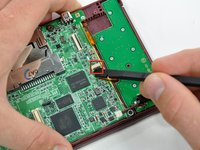
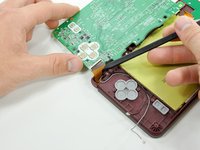
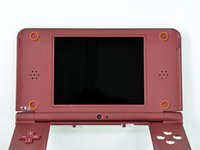
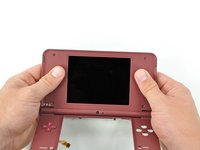
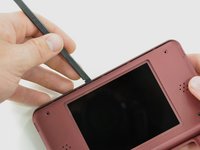
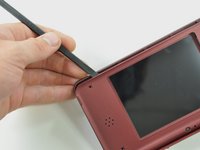
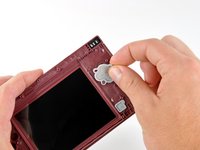
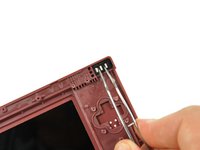
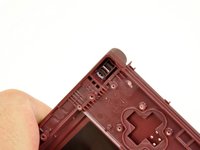
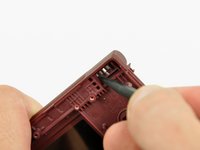
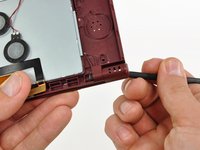
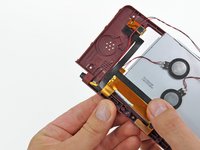
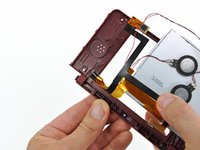
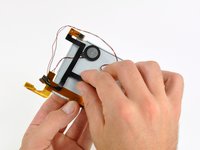
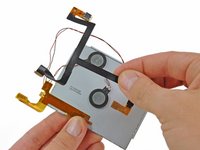
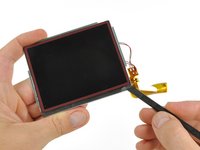
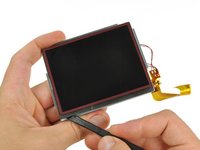
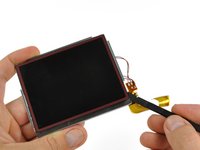
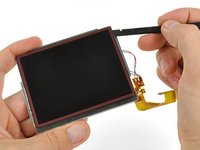
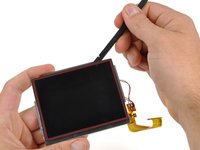
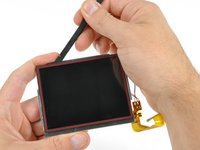
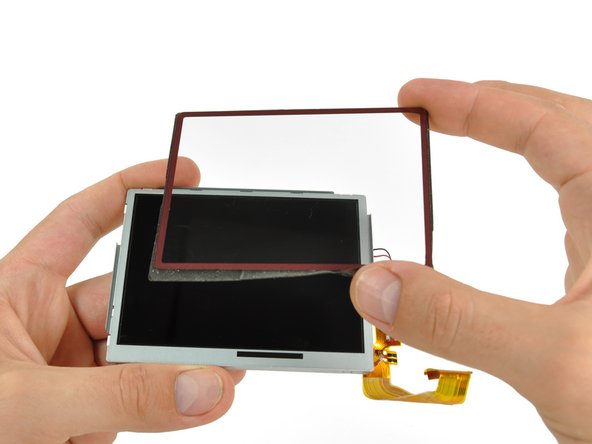
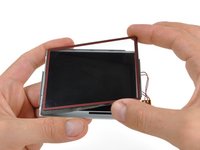
Nintendo DSi XL の破損した上部LCDの交換をするには、このガイドを参照してください。
必要な工具と部品


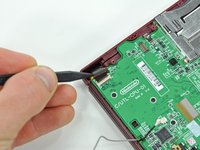


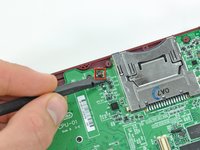
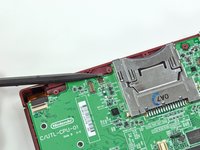


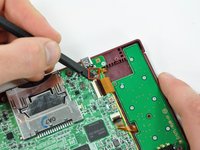


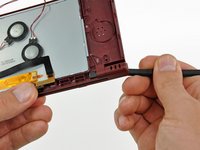


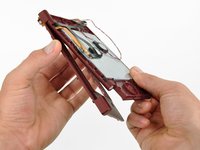
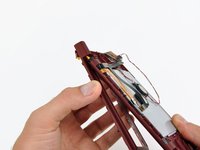


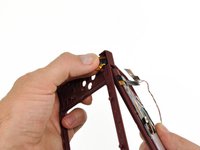


デバイスを再組立する際は、これらのインストラクションを逆の順番に従って作業を進めてください。
17 の人々がこのガイドを完成させました。
以下の翻訳者の皆さんにお礼を申し上げます:
100%

これらの翻訳者の方々は世界を修理する私たちのサポートをしてくれています。 あなたも貢献してみませんか?
翻訳を始める ›


6件のガイドコメント
I think a soldering tool needs to be added to the tool list. It may be a given for pros, but for amateur fixit wannabes this could be useful information to have before step 44.
Why is there two Upper LCD Replacements here? makes no sense, Can i have a explanation for this? One is "Difficult", and another is "Very difficult"
Santi12008 - 返信
there's two different options?? why does this got to be so complicated. is there any place that does replacements for me?
You wait til the final STEP 44 to mention soldering is required…!?!
Andy Bravo - 返信
PLEASE add soldering into required tools… I just spent an hour disassembling the %#*@ thing to be told I need to buy a soldering kit.