はじめに
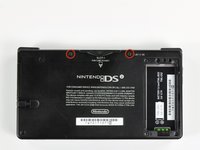
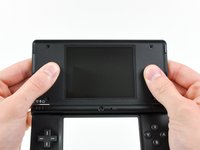
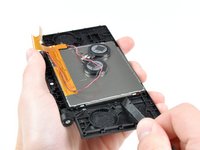
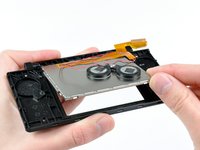
このガイドは、お持ちのDSiの上部LCDを交換する方法を紹介します。
必要な工具と部品


デバイスを再度組み立てるには、この説明書の逆の順番で組み立ててください。
34 の人々がこのガイドを完成させました。
以下の翻訳者の皆さんにお礼を申し上げます:
100%


これらの翻訳者の方々は世界を修理する私たちのサポートをしてくれています。 あなたも貢献してみませんか?
翻訳を始める ›

14件のガイドコメント
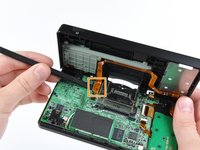
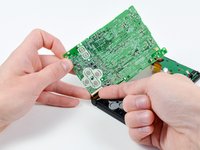
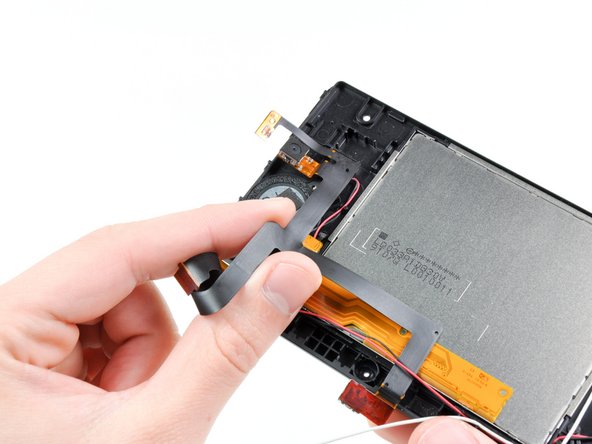
The tricky part is getting the upper screen and black ribbon through the hinge. I found that curling them and pushing them through a drinking straw that was cut short first and then pushing the straw through the hinge hole made it a whole lot easier.
So true. I just broke my second ribbon cable while replacing the case. While most repairs on the dsi are relatively easy, this ribbon cable makes any repairs that involve it a nightmare.
I curled the larger (new) cable the same way the smaller one was already curled. Just spend some time doing that until it was shaped that way and it was a lot easier to get both through the molded tube and ring.
Tplan -
While doing this I accident messed something up. When I power on the DSi, the bottom screen just flashes and the DS turns off. What did I do wrong?