この翻訳は、ソースガイドの最新の更新を反映していない可能性があります。 翻訳の更新に協力してください。 または ソースガイドを参照してください。
はじめに
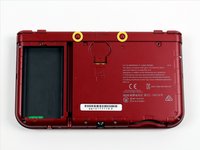
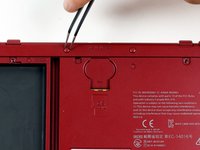
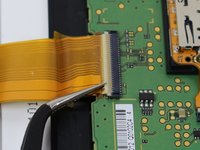
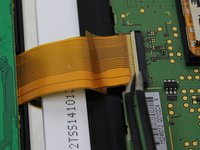
マザーボードの交換は最後に残された方法です。取り出す際はご注意ください!
必要な工具と部品


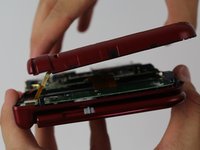
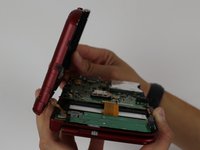


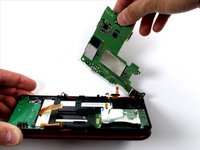
このデバイスを再組み立てするには、インストラクションを逆の順番に従って作業を進めてください。
このデバイスを再組み立てするには、インストラクションを逆の順番に従って作業を進めてください。
49 の人々がこのガイドを完成させました。
以下の翻訳者の皆さんにお礼を申し上げます:
80%

これらの翻訳者の方々は世界を修理する私たちのサポートをしてくれています。 あなたも貢献してみませんか?
翻訳を始める ›

チーム

Cal Poly, Team 24-4, Lancaster Spring 2015 Cal Poly, Team 24-4, Lancaster Spring 2015人のメンバー
CPSU-LANCASTER-S15S24G4
4 メンバー
30のガイドは作成済み
13 件のコメント
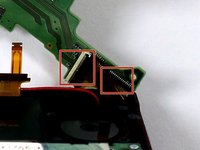
With some digging, I managed to find this on the GBAtemp forums , which host a community of 3DS modders:
https://gbatemp.net/threads/screwed-up-p...
Seems like no one's quite sure, but it could be a start. Unfortunately, the N3DS components are largely small black boxes with no labeling.
If you have a multimeter, it might help to test some of these mystery boxes.
Question: Seeing as how you pulled the red cable in the photos, how was that fixed? Asking for a friend.
We...never fixed that actually, as we didn't have the tools for it and the device had been loaned to us specifically for tearing down.
I don't know if iFixit themselves ever did anything with it, but I would imagine soldering the frayed end of the cable back onto the plug would work. (Here's a guide on that: http://www.instructables.com/id/Solderin... )