はじめに
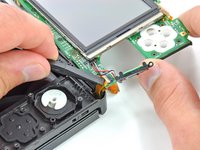
スピーカーと3D調整つまみは、全てが同じリボンケーブルで接続されています。これらのいずれかを交換するには、まずスピーカーアセンブリ一式を取り外す必要があります。
必要な工具と部品
-
この手順で使用する道具:Phillips #00 Screwdriver$5.49
-
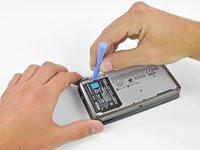
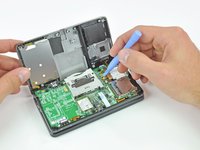
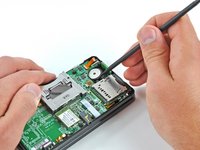
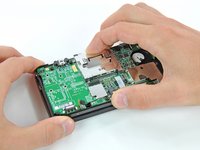
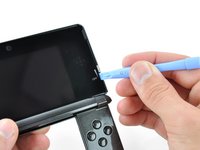
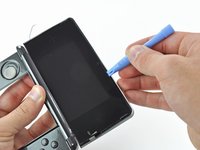
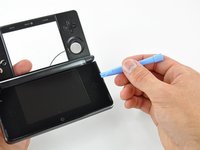
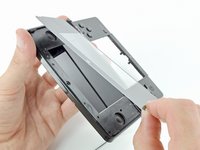
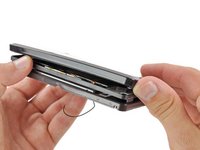
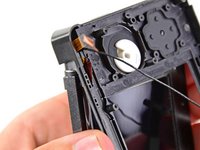
PH00プラスドライバーを使って、バックカバーの上部に沿って留められている4本のネジを緩めます。
-
-
-
この手順で使用する道具:Tweezers$4.99
-
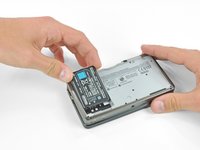
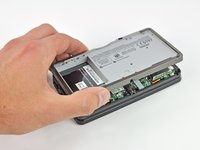
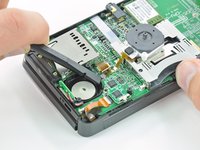
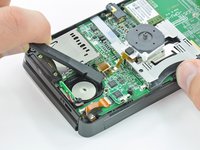
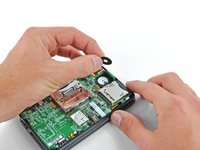
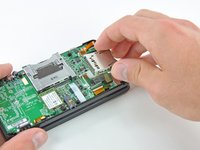
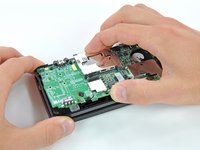
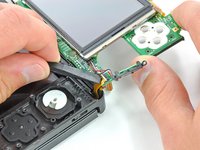
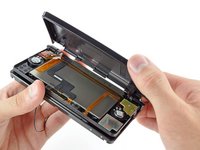
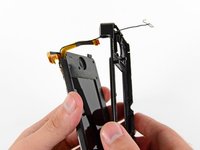
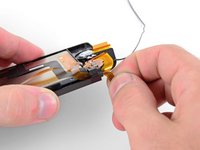
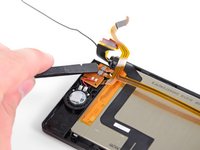
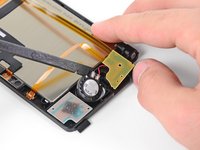
マイクのそばにあるマイクのリボンケーブルをピンセットでつまみます。
-
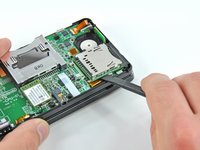
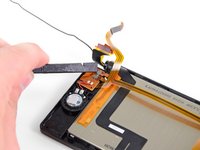
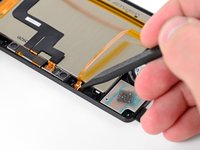
マイクを上部ケースから垂直に引き上げます。
-
-
この手順で使用する道具:Tweezers$4.99
-
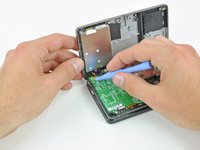
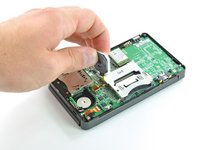
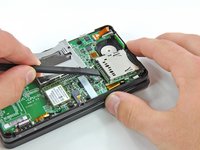
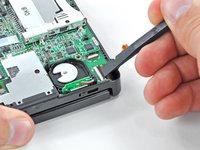
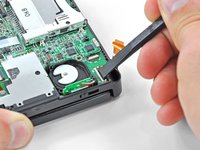
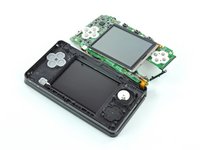
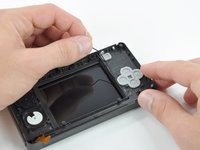
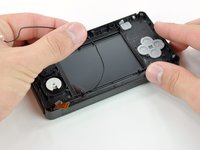
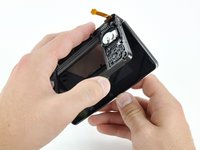
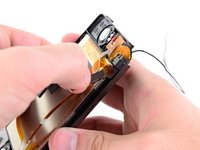
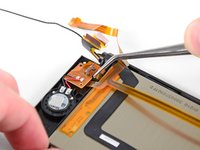
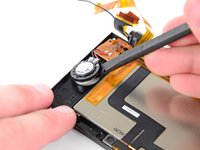
分解作業を続ける前に、ピンセットを使って、ワイヤレス通知LED用の透明プラスチック製ディフューザーを取り外します。この小さなディフューザーは、ひとりでに落下するので床に落ちると探すのが大変です。ご注意ください。
-


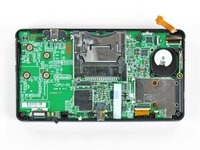


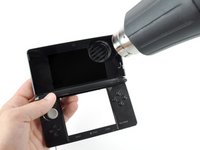


デバイスを再度組み立てるには、この説明書の逆の順番で組み立ててください。
デバイスを再度組み立てるには、この説明書の逆の順番で組み立ててください。
24 の人々がこのガイドを完成させました。
以下の翻訳者の皆さんにお礼を申し上げます:
100%

これらの翻訳者の方々は世界を修理する私たちのサポートをしてくれています。 あなたも貢献してみませんか?
翻訳を始める ›

6 件のコメント
Getting the new assembly ribbon cable through the hinge is excruciatingly tedious. I tore my cable when I tried fishing it through with a small hooked pry tool. Learn from my mistakes
Whatever you do, don’t accidentally hook the display ribbon cable into the slot for the speaker ribbon cable when reassembling. It holds it too firmly, and will rip easily. I now have to spend $15 on a new lcd ribbon cable.
This can be fix the error of the 3d screen comprovetion? i have a 3ds with that problem, any advice?
kosmosalfa - 返信
For reassembly: when trying to put the ribbon cable through the hinge, you need to curve the end a bit to make it ‘flush’ with the hinge. I would also reccomend pulling the black hinge part out and lace the ribbon cable throught that way, then lace it through the hinge part, and then put the black hinge part back in the hinge socket.
Electronik - 返信