はじめに
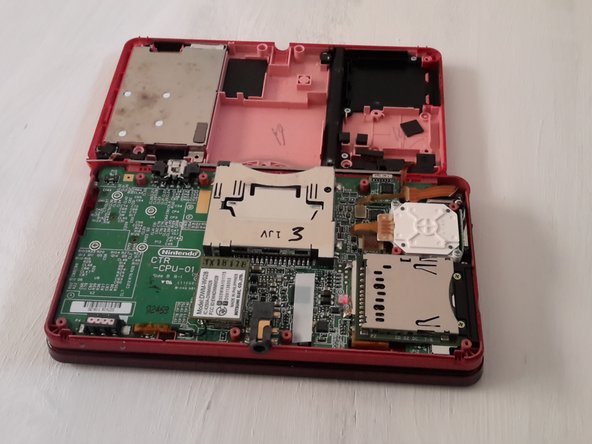
The 3DS charging port is soldered to the motherboard. To remove it, click here and follow this guide to remove the motherboard, and then use your soldering skills to remove and replace the charging port.
Note: steps 7-8 are for replacing the charging port piece with one from another 3DS system. You can order a new piece from amazon and just use it instead.
The guide you are currently viewing has been archived until the procedure can be updated. Following this guide may damage your device.
必要な工具と部品
-
-
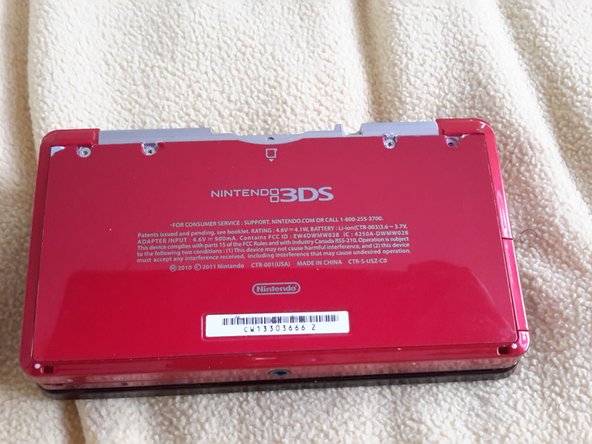
Take out the 4 screws on the back of the system using a Phillips #00 Screwdriver.
-
-
-
-
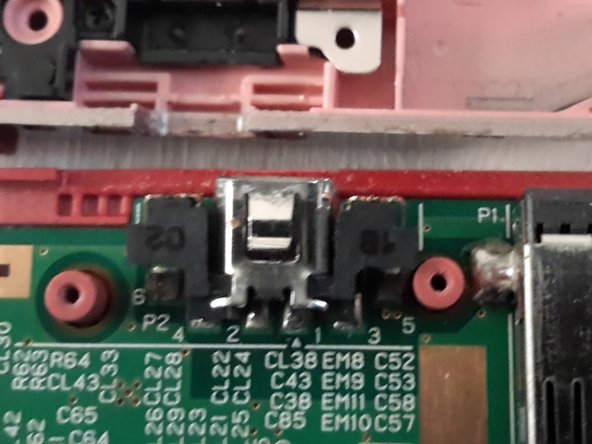
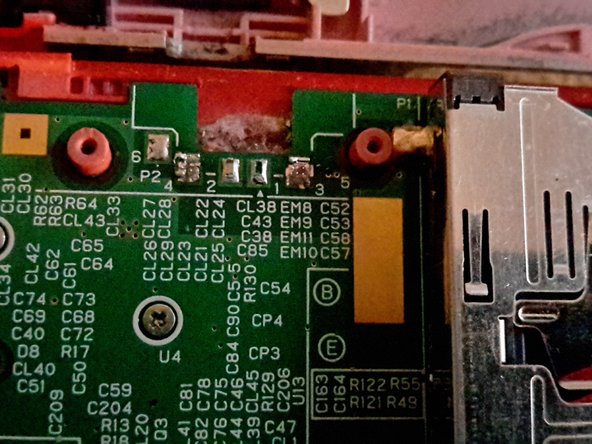
Solder the new charging port to the motherboard.
Do you need to add extra little pins before solding the new charging port into place,or is that optional
The pins that connect the charger to the motherboard? Those are part of the charger, and their tips line up with the points on the motherboard.
-


To reassemble your device, follow these instructions in reverse order.
To reassemble your device, follow these instructions in reverse order.
4 の人々がこのガイドを完成させました。
2 件のコメント
you solder with everything connected to the mobo??
Everything but the battery. I actually took mine out of the case before doing anything. But I kept it connected to the screen. I would not do this without a very fine soldering gun.