この修理ガイドは変更されています。最新の未承認バージョンに切り替えます。
はじめに
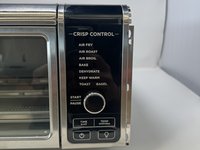
The control panel on your Ninja Foodi SP101 is the only way to interact with the oven. It is responsible for controlling the temperature, the mode, and the remaining time to cook. A non-functioning control panel prevents the user from interacting with the device.
必要な工具と部品
-
-
-
-
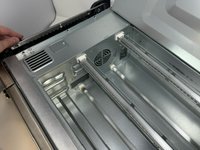
Use a Phillips #1 screwdriver to remove the three 8mm screws on each side of the back panel.
-
-
-
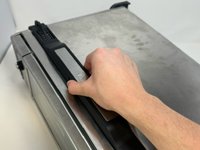
Flip the device upside down and open the bottom panel.
-
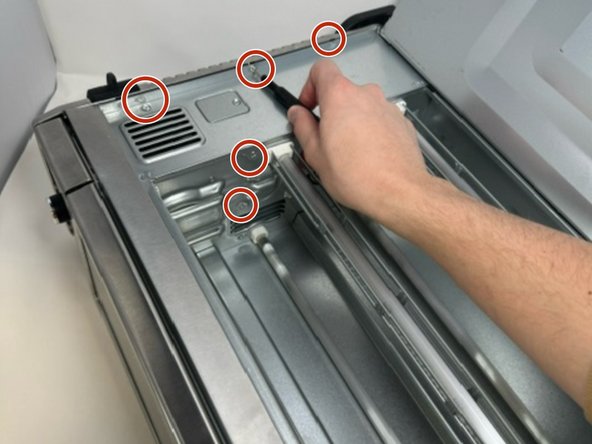
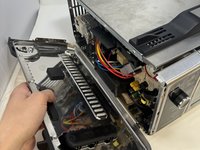
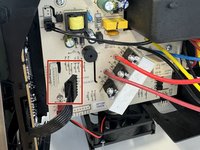
Remove the 3 x philips #1 screws along the top edge of the interior using a screwdriver. The Bottom 2 do not have to be removed.
-
-
-
-
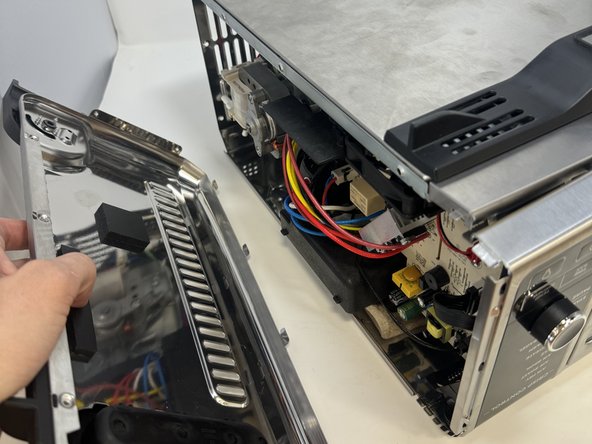
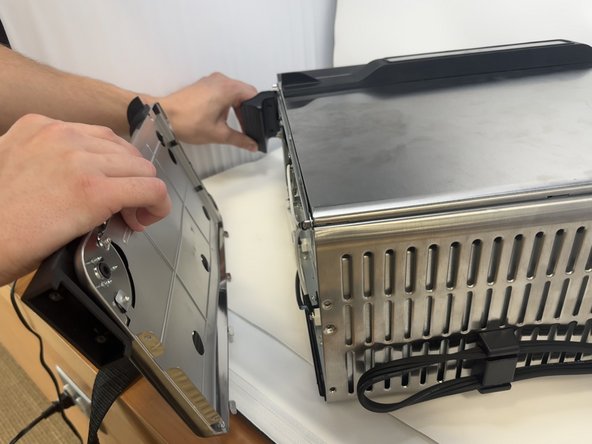
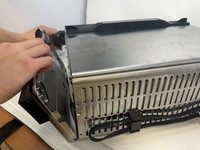
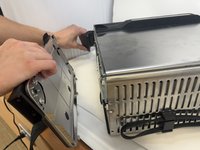
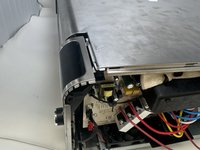
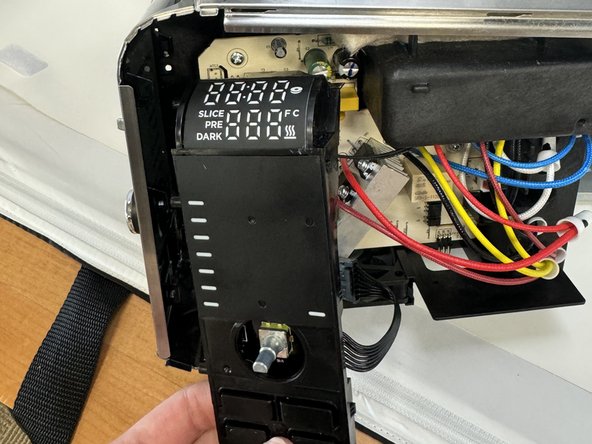
Remove the control side panel. To remove it, push forward towards then front control panel to release the tabs out of the main body. Fold away the side panel when the tabs have visually released from their slots in the main body.
-
-
-


To reassemble your device, follow these instructions in reverse order.
2 の人々がこのガイドを完成させました。

チーム

Utah Tech University, Team 1-4, McMurrin Spring 2024 Utah Tech University, Team 1-4, McMurrin Spring 2024人のメンバー
UTAHTECH-MCMURRIN-S24S1G4
2 メンバー
18のガイドは作成済み