メインコンテンツにスキップ

Nikon D90 Rear Display Buttons Replacement

必要な工具と部品

  1. Nikon D90 Rear Display Buttons Replacement, Removing Casing Screws: 手順 1、 2の画像 1 Nikon D90 Rear Display Buttons Replacement, Removing Casing Screws: 手順 1、 2の画像 2
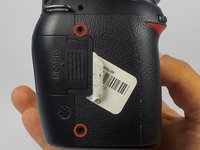
    • Locate the screws on both sides of the camera.

    • Remove the four 6.3 mm Phillips screws using a PH00 screwdriver.

    • Be careful not to strip the screws.

  2. Nikon D90 Rear Display Buttons Replacement, Removing the Rear Casing: 手順 2、 3の画像 1 Nikon D90 Rear Display Buttons Replacement, Removing the Rear Casing: 手順 2、 3の画像 2 Nikon D90 Rear Display Buttons Replacement, Removing the Rear Casing: 手順 2、 3の画像 3
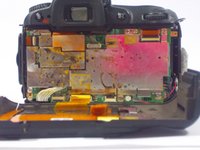
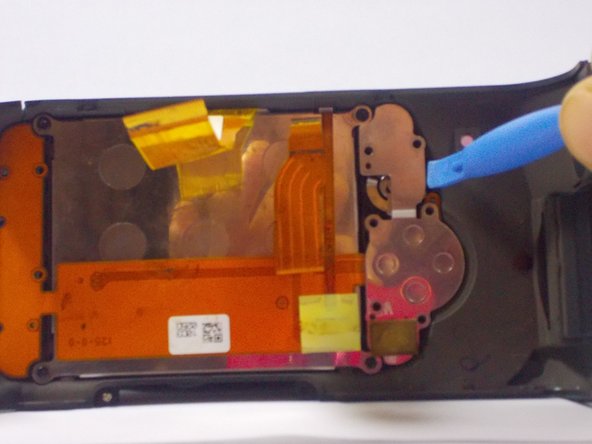
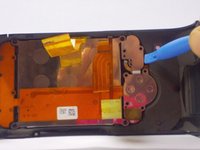
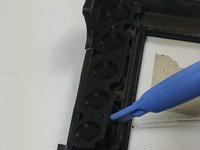
    • Use a plastic opening tool to separate the rear case from the camera.
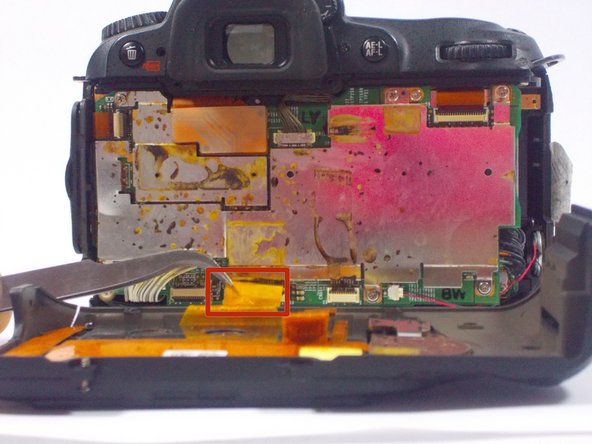
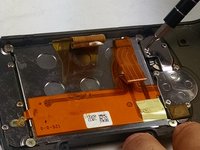
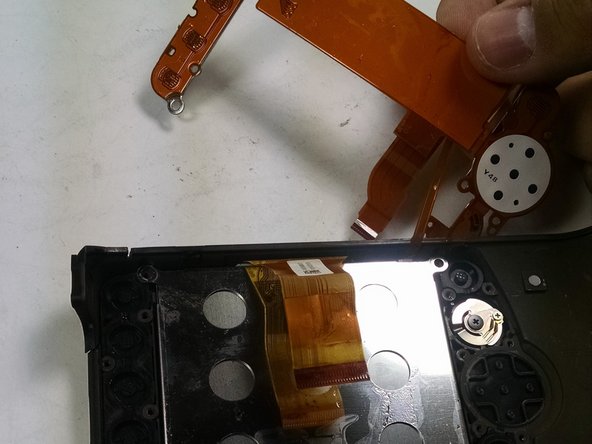
  3. Nikon D90 Rear Display Buttons Replacement, Disconnecting the Ribbon Cables: 手順 3、 2の画像 1 Nikon D90 Rear Display Buttons Replacement, Disconnecting the Ribbon Cables: 手順 3、 2の画像 2
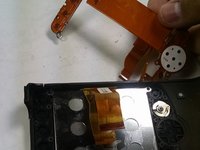
    • After, remove the two orange ribbon connectors attached to the interior of the camera with tweezers.

    • Make sure to remove the ribbon cables carefully from the connectors to avoid damaging the camera.

  4. Nikon D90 Rear Display Buttons Replacement, Removing the Screws from the Rear Casing: 手順 4、 2の画像 1 Nikon D90 Rear Display Buttons Replacement, Removing the Screws from the Rear Casing: 手順 4、 2の画像 2
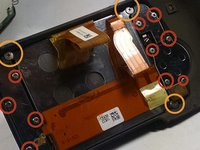
    • Remove the screws from the back assembly with a Phillips (PH00) head screwdriver.

    • Remove the ten 5.3 mm Phillips screws.

    • Remove the three 4.3 mm Phillips screws.

  5. Nikon D90 Rear Display Buttons Replacement, Removing the LCD and other components: 手順 5、 3の画像 1 Nikon D90 Rear Display Buttons Replacement, Removing the LCD and other components: 手順 5、 3の画像 2 Nikon D90 Rear Display Buttons Replacement, Removing the LCD and other components: 手順 5、 3の画像 3
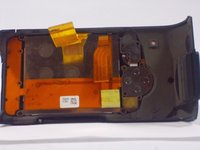
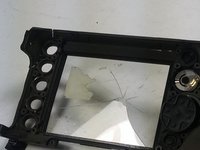
    • Use a plastic opening tool to separate the LCD and metal plates from the casing.

  6. Nikon D90 Rear Display Buttons Replacement, Removing the Display Buttons: 手順 6、 3の画像 1 Nikon D90 Rear Display Buttons Replacement, Removing the Display Buttons: 手順 6、 3の画像 2 Nikon D90 Rear Display Buttons Replacement, Removing the Display Buttons: 手順 6、 3の画像 3
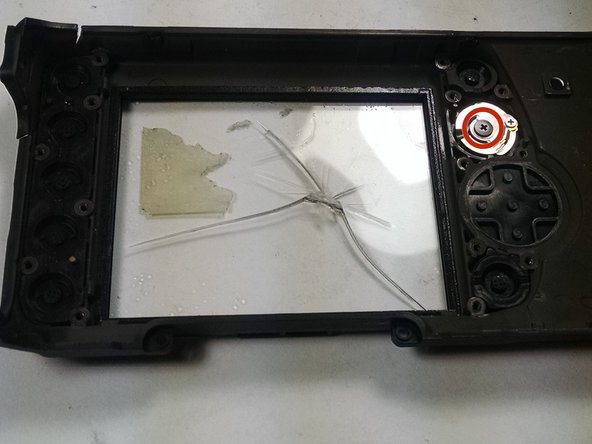
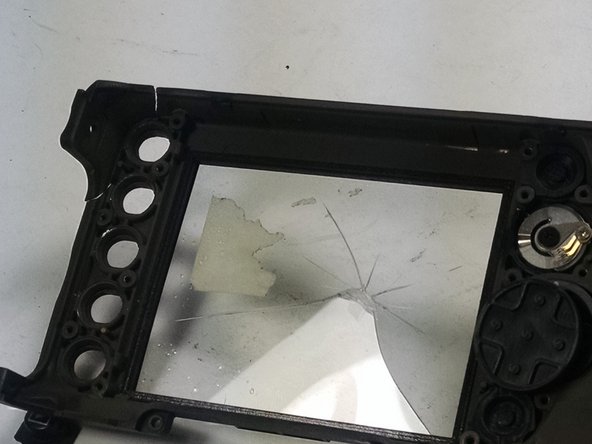
    • Use a plastic opening tool to separate the buttons from the casing.

    • Remove the 4.3 mm Phillips screw from the knob using a PH00 screwdriver.

終わりに

To reassemble your device, follow these instructions in reverse order.

ある他の人がこのガイドを完成しました。

作成者

2人の作成者と共同で作成されました。

jonothon cawley

メンバー登録日: 10/20/14

354 ポイント

2のガイドは作成済み

チーム

UMass Dartmouth, Team 1-7, Duarte Fall 2014 UMass Dartmouth, Team 1-7, Duarte Fall 2014人のメンバー

UMASSD-DUARTE-F14S1G7

3 メンバー

6のガイドは作成済み

0 件のコメント

コメントを追加

統計データ:

過去 24時間: 1

過去 7 日: 3

過去 30 日: 8

今までの合計 2,562