メインコンテンツにスキップ
リペアコミュニティに参加 - アカウントの作成

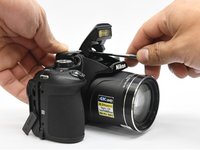
Nikon Coolpix B700 Flash Unit Replacement

必要な工具と部品

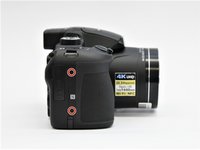
  1. Nikon Coolpix B700 Flash Unit Replacement, Back Frame Assembly: 手順 1、 1の画像 1
    • Use the Phillips screwdriver to remove the two 5.5 mm screws on the left side of the camera.

    FixBotに聞いてみる
  2. Nikon Coolpix B700 Flash Unit Replacement: 手順 2、 1の画像 1
    • Use the Phillips screwdriver to remove seven 5.5 mm screws from the bottom of the camera.

    FixBotに聞いてみる
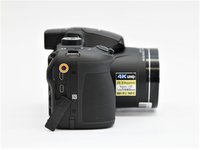
  3. Nikon Coolpix B700 Flash Unit Replacement: 手順 3、 2の画像 1 Nikon Coolpix B700 Flash Unit Replacement: 手順 3、 2の画像 2
    • Use the Phillips screwdriver to remove the two 5.5mm screws on the right side of the camera.

    • Open the HDMI flap to remove a 5.5mm screw.

    • Don't forget to replace the hidden screw under the HDMI flap during reassembly.

    FixBotに聞いてみる
  4. Nikon Coolpix B700 Flash Unit Replacement: 手順 4、 1の画像 1
    • Use the Phillips screwdriver to remove the two 5.5mm screws under the LCD panel.

    FixBotに聞いてみる
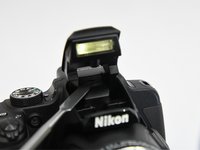
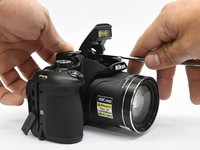
  5. Nikon Coolpix B700 Flash Unit Replacement: 手順 5、 3の画像 1 Nikon Coolpix B700 Flash Unit Replacement: 手順 5、 3の画像 2 Nikon Coolpix B700 Flash Unit Replacement: 手順 5、 3の画像 3
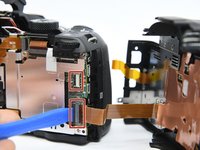
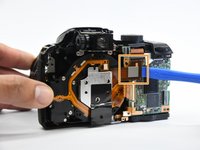
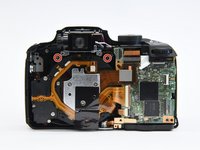
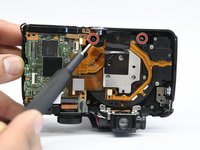
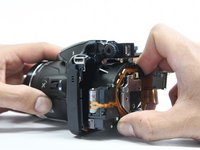
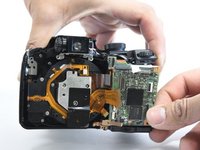
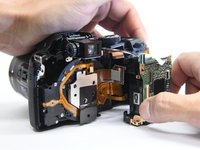
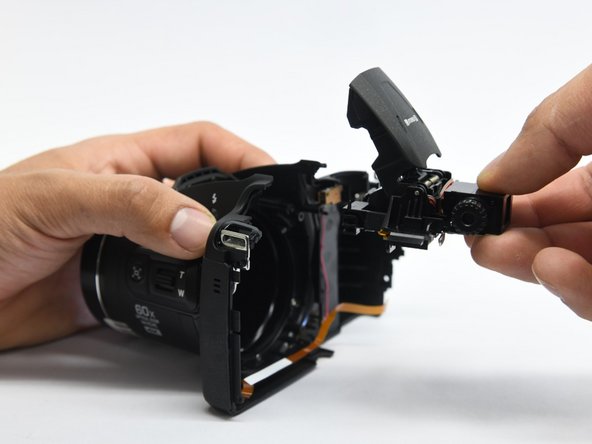
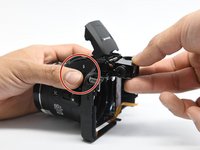
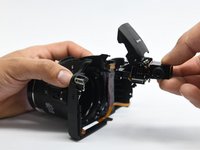
    • Open the flash assembly and insert the spudger into the slot under the flash unit and twist.

    • While twisting, pry apart the shell to split the camera in half.

    FixBotに聞いてみる
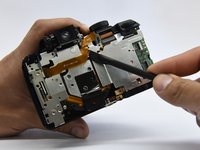
  6. Nikon Coolpix B700 Flash Unit Replacement: 手順 6、 1の画像 1
    • Be careful not to damage the ribbons that connect the halves together.

    FixBotに聞いてみる
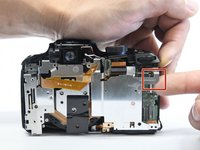
  7. Nikon Coolpix B700 Flash Unit Replacement: 手順 7、 2の画像 1 Nikon Coolpix B700 Flash Unit Replacement: 手順 7、 2の画像 2
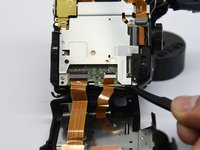
    • Place the pry tool under the black latch. Lift gently until the latch flips up.

    • Gently pull the ribbon away from the latch.

    • Be gentle when taking ribbons out and apart because they are fragile.

    FixBotに聞いてみる
  8. Nikon Coolpix B700 Flash Unit Replacement, Internal Bracket: 手順 8、 1の画像 1
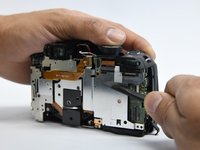
    • Use the Phillips screwdriver to remove the remaining five 5.55mm screws.

    • Remove the single 6mm screw.

    FixBotに聞いてみる
  9. Nikon Coolpix B700 Flash Unit Replacement: 手順 9、 1の画像 1
    • Insert the pry tool under the latch and gently lift up to remove the ribbon.

    FixBotに聞いてみる
  10. Nikon Coolpix B700 Flash Unit Replacement: 手順 10、 1の画像 1
    • Move the ribbon out of the way to reveal the hidden screw.

    FixBotに聞いてみる
  11. Nikon Coolpix B700 Flash Unit Replacement: 手順 11、 1の画像 1
    • Lift the button assembly gently to give access to remove the 4mm screw.

    FixBotに聞いてみる
  12. Nikon Coolpix B700 Flash Unit Replacement: 手順 12、 1の画像 1
    • On the top of the camera, remove the 6mm screw.

    FixBotに聞いてみる
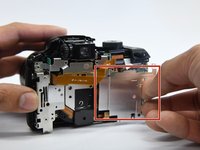
  13. Nikon Coolpix B700 Flash Unit Replacement: 手順 13、 2の画像 1 Nikon Coolpix B700 Flash Unit Replacement: 手順 13、 2の画像 2
    • With the spudger tool gently pry off the white tap holding in the bracket.

    • Use the same tool to remove the glued-on ribbon.

    FixBotに聞いてみる
  14. Nikon Coolpix B700 Flash Unit Replacement: 手順 14、 2の画像 1 Nikon Coolpix B700 Flash Unit Replacement: 手順 14、 2の画像 2
    • Gently lift up the button assembly to slide the bracket out.

    FixBotに聞いてみる
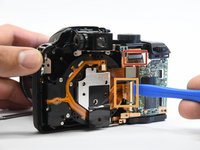
  15. Nikon Coolpix B700 Flash Unit Replacement: 手順 15、 2の画像 1 Nikon Coolpix B700 Flash Unit Replacement: 手順 15、 2の画像 2
    • With the pry tool gently lift up the latch and pull the cable toward the lens assembly.

    • Use the pry tool again and place it under the ribbon and lift straight up to disconnect the ribbon.

    FixBotに聞いてみる
  16. Nikon Coolpix B700 Flash Unit Replacement, Lens Assembly: 手順 16、 2の画像 1 Nikon Coolpix B700 Flash Unit Replacement, Lens Assembly: 手順 16、 2の画像 2
    • Use the Phillips screwdriver to remove the four 6 mm screw that hold on the bracket housing.

    FixBotに聞いてみる
  17. Nikon Coolpix B700 Flash Unit Replacement: 手順 17、 1の画像 1
    • Remove the tripod mount from it's slot.

    FixBotに聞いてみる
  18. Nikon Coolpix B700 Flash Unit Replacement: 手順 18、 3の画像 1 Nikon Coolpix B700 Flash Unit Replacement: 手順 18、 3の画像 2 Nikon Coolpix B700 Flash Unit Replacement: 手順 18、 3の画像 3
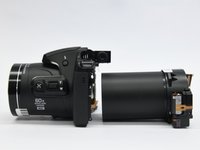
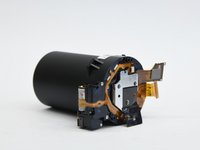
    • Now you just have to slide the lens assembly out of the housing.

    FixBotに聞いてみる
  19. Nikon Coolpix B700 Flash Unit Replacement, Motherboard: 手順 19、 1の画像 1
    • Use the metal spudger to open the latch to remove the ribbon.

    FixBotに聞いてみる
  20. Nikon Coolpix B700 Flash Unit Replacement: 手順 20、 1の画像 1
    • Use the Phillips screwdriver to remove the single 6 mm screw.

    FixBotに聞いてみる
  21. Nikon Coolpix B700 Flash Unit Replacement: 手順 21、 2の画像 1 Nikon Coolpix B700 Flash Unit Replacement: 手順 21、 2の画像 2
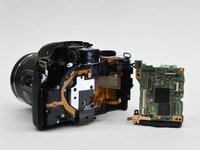
    • Gently lift the button assembly. Slide the motherboard out from the shell.

    FixBotに聞いてみる
  22. Nikon Coolpix B700 Flash Unit Replacement: 手順 22、 2の画像 1 Nikon Coolpix B700 Flash Unit Replacement: 手順 22、 2の画像 2
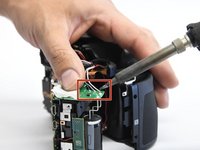
    • Desolder the black, gray, and white wires from the motherboard.

    • The motherboard is labeled with the wire colors.

    FixBotに聞いてみる
  23. Nikon Coolpix B700 Flash Unit Replacement, Flash Unit: 手順 23、 1の画像 1
    • Using a Phillips screwdriver, remove the two 6 mm screws that hold the flash assembly.

    FixBotに聞いてみる
  24. Nikon Coolpix B700 Flash Unit Replacement: 手順 24、 2の画像 1 Nikon Coolpix B700 Flash Unit Replacement: 手順 24、 2の画像 2
    • Now while pushing the flash button slide out the flash assembly from the housing.

    • The flash button could fall out when the assembly is removed.

    • During reassembly, insert the flash unit assembly first, then reconnect the flash button.

    FixBotに聞いてみる
終わりに

To reassemble your device, follow these instructions in reverse order.

ある他の人がこのガイドを完成しました。

作成者

4人の作成者と共同で作成されました。

Carlos Salgado

メンバー登録日: 02/27/19

1,456 ポイント

7のガイドは作成済み

チーム

Purdue University Northwest, Team S4-G5, Hingst Spring 2019 Purdue University Northwest, Team S4-G5, Hingst Spring 2019人のメンバー

PNW-HINGST-S19S4G5

4 メンバー

14のガイドは作成済み

0件のガイドコメント

コメントを追加

統計データ:

過去 24時間: 1

過去 7 日: 4

過去 30 日: 48

今までの合計 808