はじめに
Sometimes the only thing wrong with your camera is a broken button that won't let you turn it on. This guide will show you how to replace those problematic buttons.
必要な工具と部品
-
-
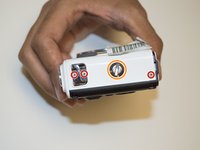
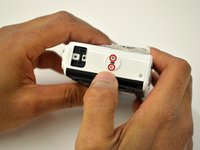
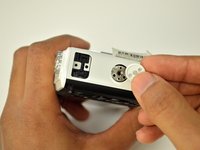
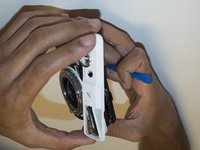
Using the Phillips PH00 screwdriver, remove the six 4.0mm screws marked in red. Then remove the panel cover by lightly pulling it off.
 FixBotに聞いてみる
-
-
-
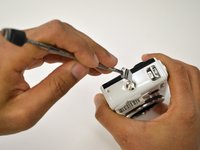
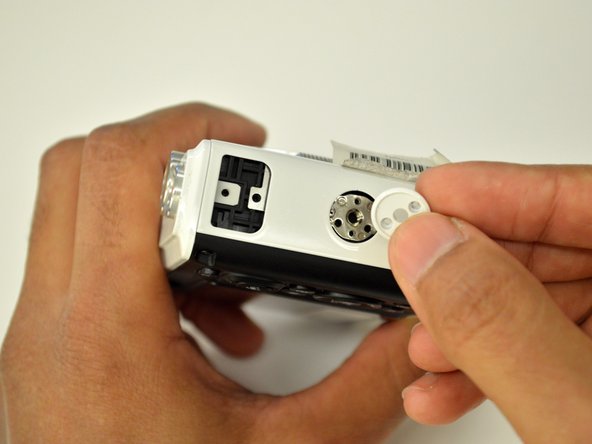
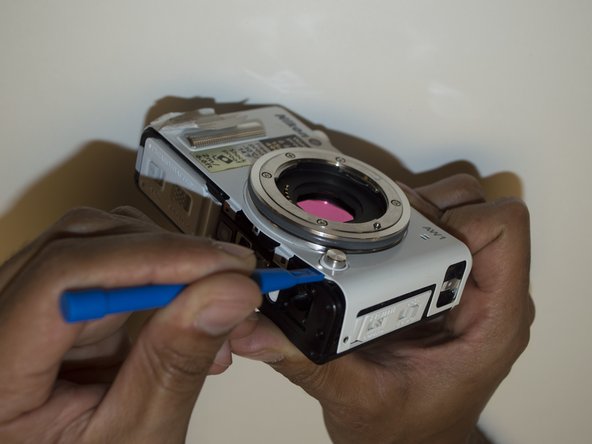
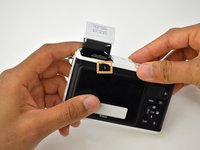
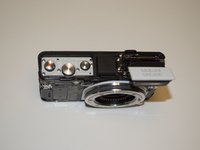
Using the Phillips PH00 screwdriver, remove the four 5.5mm screws in the red circles. Then use a plastic opening tool to pry off the tripod socket.
-
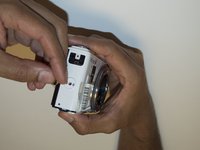
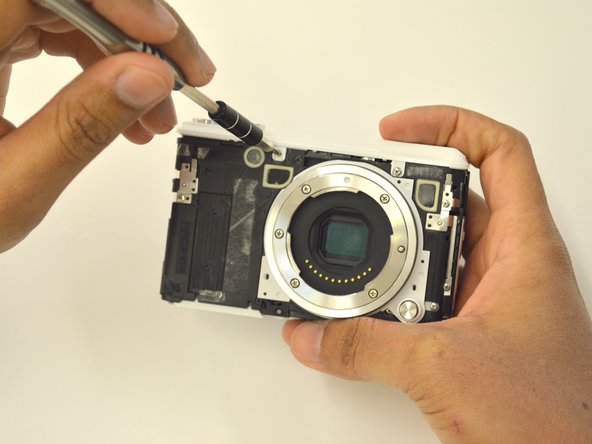
Remove the metal plate to have access to the 4.9mm screw under the orange circle, use the Phillips PH00 screwdriver to remove it.
-
-
-
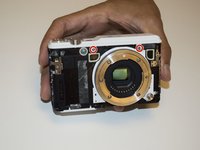
Using a T4 head screwdriver remove the three 5.4mm screws marked with the red circles.
-
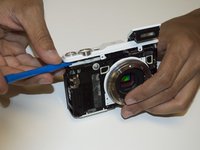
Use a 1/4" flathead screwdriver or a flat head tool to release the grip attachment screw.
-
Remove the camera strap eyelet.
-
-
-
-
Remove the grip attachment screw.
-
Use a Phillips PH00 to remove the two 2.4mm screws on the grip attachment slot, then remove the slot.
-
-
-
Use a T4 screwdriver to remove the three 5.4mm screw marked with the red circles and the eyelet strap.
-
Use a plastic opening tool to lift the front camera cover off.
-
-
-
Use a Phillips PH00 to unscrew the two 3.5mm screws in red.
-
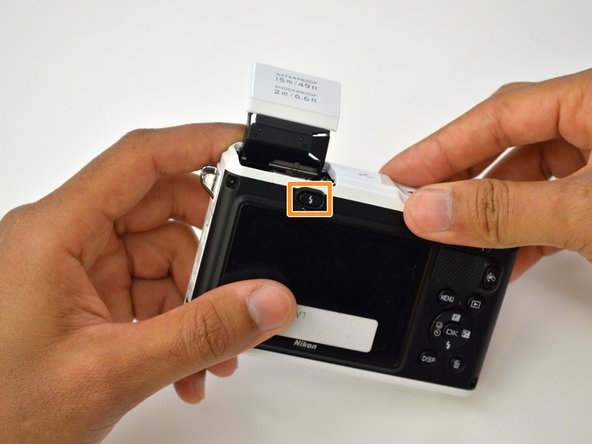
Press the flash pop-up button in the orange rectangle to be able to remove top cover of the camera.
-


To reassemble your device, follow these instructions in reverse order.
ある他の人がこのガイドを完成しました。
チーム

USF Tampa, Team 3-4, Sullivan Fall 2016 USF Tampa, Team 3-4, Sullivan Fall 2016人のメンバー
USFT-SULLIVAN-F16S3G4
4 メンバー
6のガイドは作成済み
1件のガイドコメント
What if the flash button is not working? How will i open or fix it? Flash does not pop out