メインコンテンツにスキップ
リペアコミュニティに参加 - アカウントの作成

Nextbook NXA8QC116B Display Assembly Replacement

必要な工具と部品

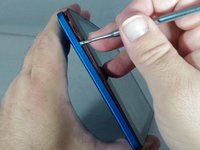
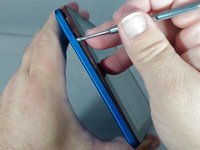
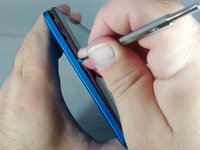
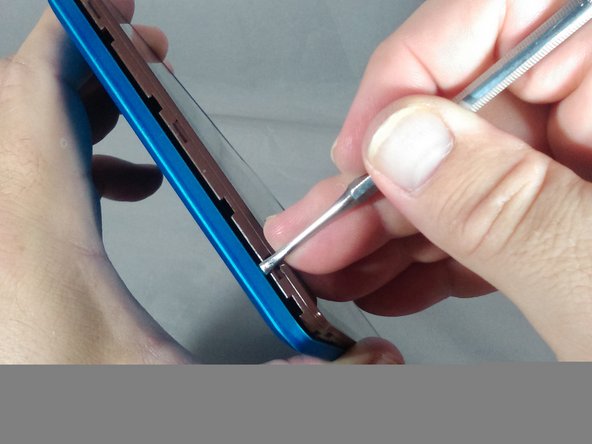
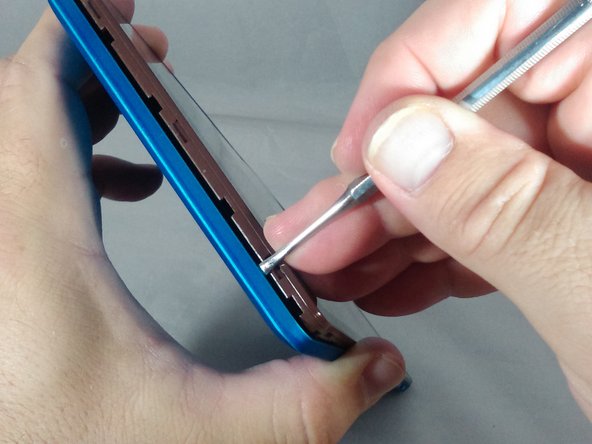
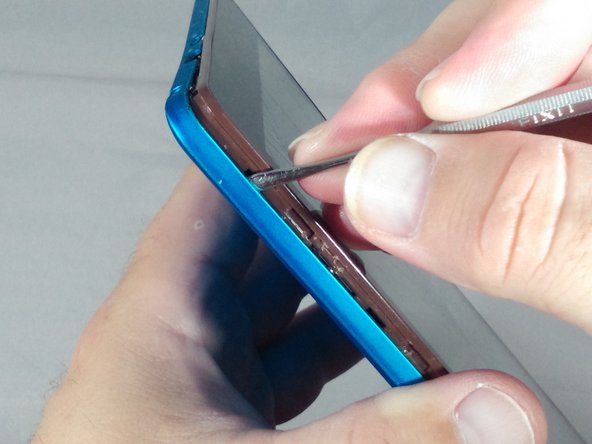
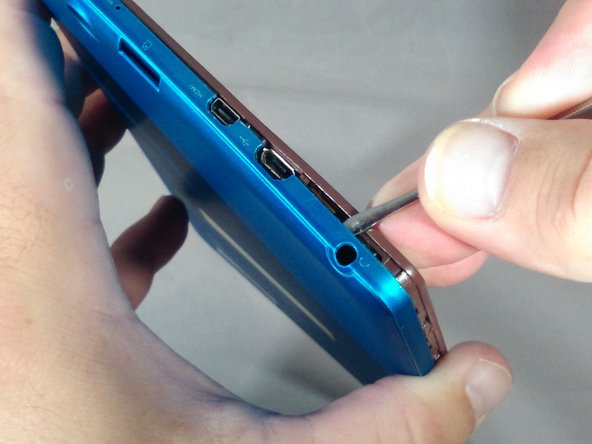
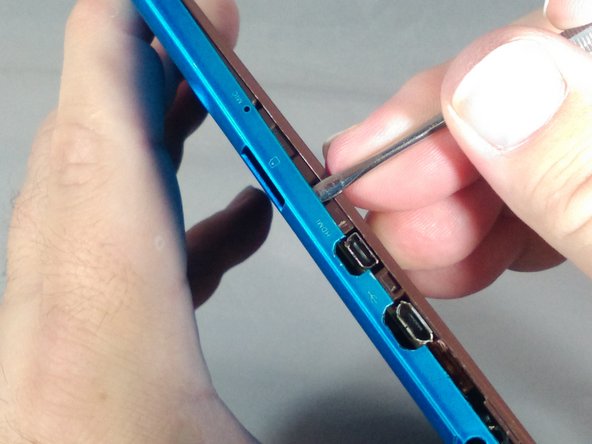
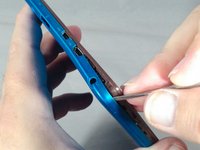
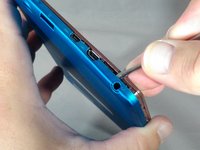
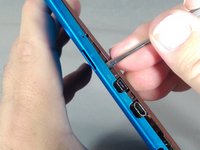
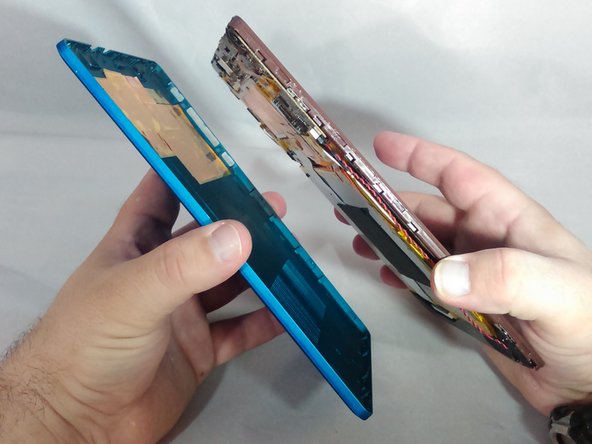
    1. Nextbook NXA8QC116B Display Assembly Replacement, Battery: 手順 1、 3の画像 1 Nextbook NXA8QC116B Display Assembly Replacement, Battery: 手順 1、 3の画像 2 Nextbook NXA8QC116B Display Assembly Replacement, Battery: 手順 1、 3の画像 3
      • If you see any leakage coming from the tablet do not open the back cover!

      • Ensure you do not pry around the buttons. This could result in damage and render them inoperable.

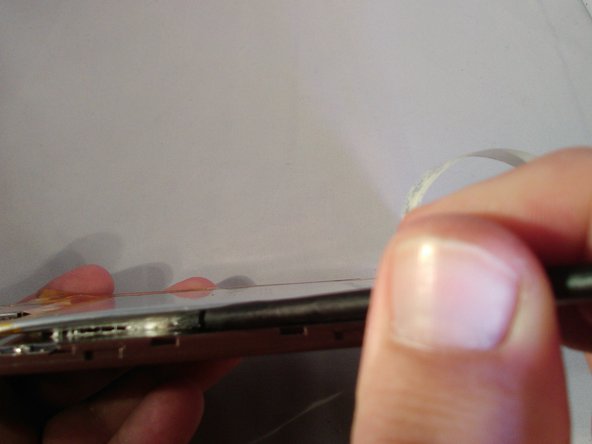
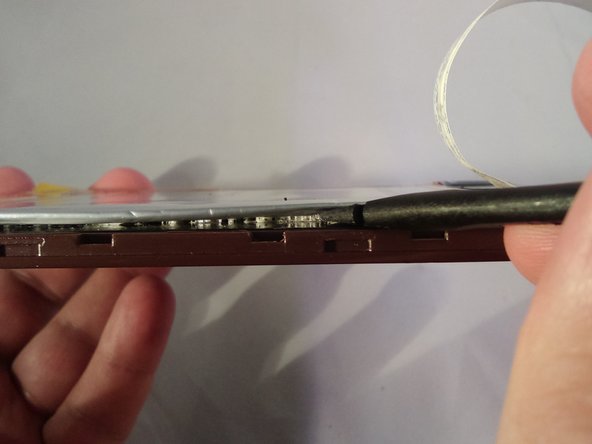
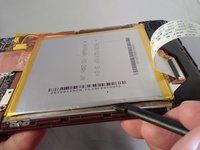
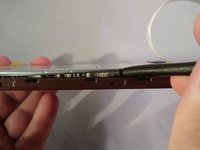
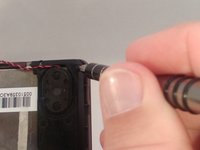
      • •With the tip of the thin metal spudger in place, use a prying motion to work the spudger down the side to the corner of the device.

      FixBotに聞いてみる

      コメントを追加

    2. Nextbook NXA8QC116B Display Assembly Replacement: 手順 2、 2の画像 1 Nextbook NXA8QC116B Display Assembly Replacement: 手順 2、 2の画像 2
      • Continue working the spudger downward and pry with the spudger until the bottom left-hand corner of the tablet is reached.

      FixBotに聞いてみる

      コメントを追加

    3. Nextbook NXA8QC116B Display Assembly Replacement: 手順 3、 3の画像 1 Nextbook NXA8QC116B Display Assembly Replacement: 手順 3、 3の画像 2 Nextbook NXA8QC116B Display Assembly Replacement: 手順 3、 3の画像 3
      • Along the bottom of the tablet, keep using a working and prying motion with the spudger to loosen the cover.

      FixBotに聞いてみる

      コメントを追加

    4. Nextbook NXA8QC116B Display Assembly Replacement: 手順 4、 3の画像 1 Nextbook NXA8QC116B Display Assembly Replacement: 手順 4、 3の画像 2 Nextbook NXA8QC116B Display Assembly Replacement: 手順 4、 3の画像 3
      • Continue prying motion until the bottom right-hand corner of the tablet is reached.

      FixBotに聞いてみる

      コメントを追加

    5. Nextbook NXA8QC116B Display Assembly Replacement: 手順 5、 2の画像 1 Nextbook NXA8QC116B Display Assembly Replacement: 手順 5、 2の画像 2
      • Work the spudger to the upper left-hand corner of the tablet.

      FixBotに聞いてみる

      コメントを追加

    6. Nextbook NXA8QC116B Display Assembly Replacement: 手順 6、 3の画像 1 Nextbook NXA8QC116B Display Assembly Replacement: 手順 6、 3の画像 2 Nextbook NXA8QC116B Display Assembly Replacement: 手順 6、 3の画像 3
      • Be careful once you get to the top of the tablet with the spudger so as not to damage the headphone jack and other ports.

      • When prying along the top of the tablet, try to keep the spudger between 70 to 85 degrees (almost perpendicular) to the tablet screen.

      • Continue working the spudger around the tablet until the cover of the device comes off

      FixBotに聞いてみる

      コメントを追加

    7. Nextbook NXA8QC116B Display Assembly Replacement: 手順 7、 2の画像 1 Nextbook NXA8QC116B Display Assembly Replacement: 手順 7、 2の画像 2
      • Separate from the cover from the tablet.

      FixBotに聞いてみる

      コメントを追加

    8. Nextbook NXA8QC116B Display Assembly Replacement: 手順 8、 3の画像 1 Nextbook NXA8QC116B Display Assembly Replacement: 手順 8、 3の画像 2 Nextbook NXA8QC116B Display Assembly Replacement: 手順 8、 3の画像 3
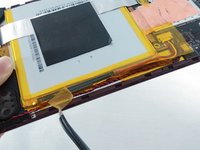
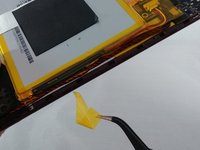
      • Locate and carefully remove the yellow cellophane tape from the red and black speaker wires that connect the speaker to the edge of the motherboard.

      FixBotに聞いてみる

      コメントを追加

    9. Nextbook NXA8QC116B Display Assembly Replacement: 手順 9、 2の画像 1 Nextbook NXA8QC116B Display Assembly Replacement: 手順 9、 2の画像 2
      この手順で使用する道具:
      Tweezers
      $4.99
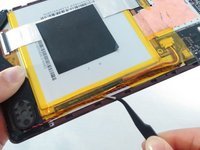
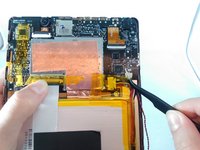
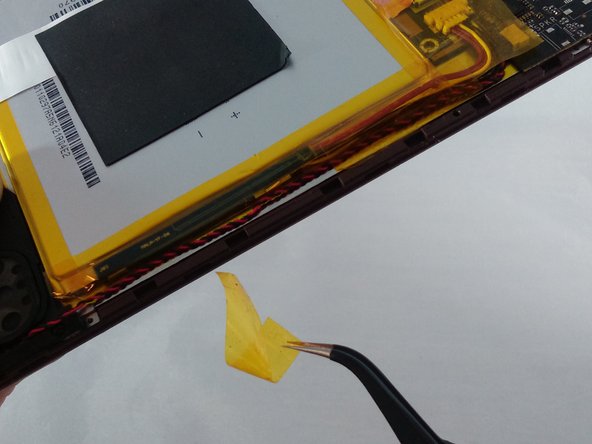
      • Locate and carefully remove the yellow cellophane tape with tweezers from the battery connector and black and red speaker wires on the edge of the motherboard.

      FixBotに聞いてみる

      コメントを追加

    10. Nextbook NXA8QC116B Display Assembly Replacement: 手順 10、 3の画像 1 Nextbook NXA8QC116B Display Assembly Replacement: 手順 10、 3の画像 2 Nextbook NXA8QC116B Display Assembly Replacement: 手順 10、 3の画像 3
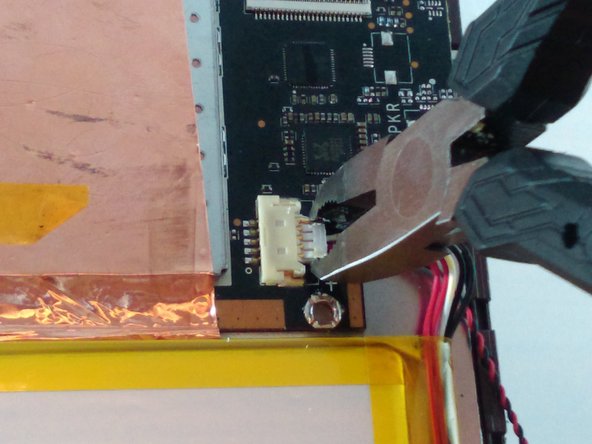
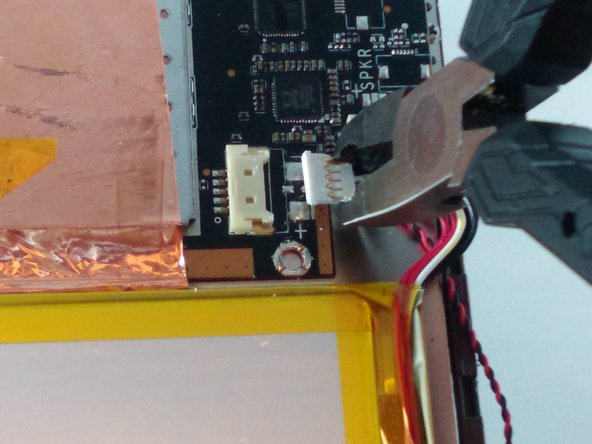
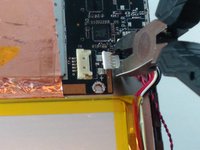
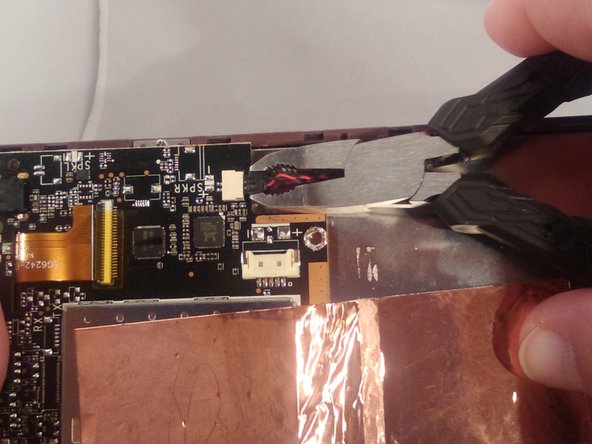
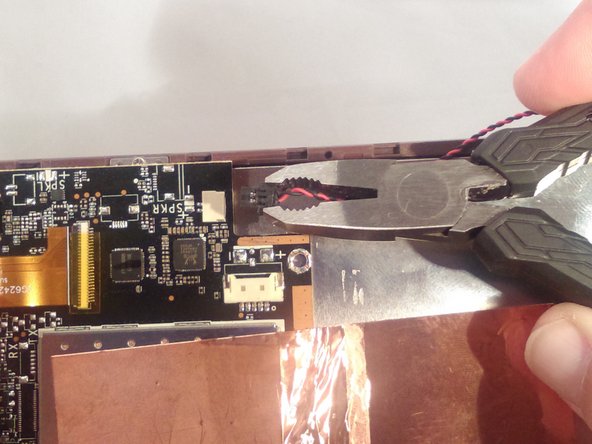
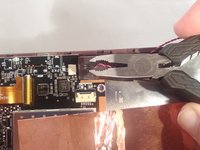
      • Using small pliers, carefully disconnect the male battery connector from the motherboard.

      • If you are only replacing the front camera, skip to step 17 in the camera replacement guide and continue.

      FixBotに聞いてみる

      コメントを追加

    11. Nextbook NXA8QC116B Display Assembly Replacement: 手順 11、 1の画像 1
      • If the battery is leaking or bulging, stop and get away from it!

      • Carefully remove the gray square pad glued to both the white ribbon cable and the battery by pulling slowly.

      FixBotに聞いてみる

      コメントを追加

    12. Nextbook NXA8QC116B Display Assembly Replacement: 手順 12、 1の画像 1
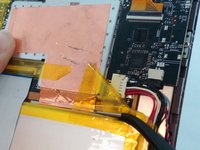
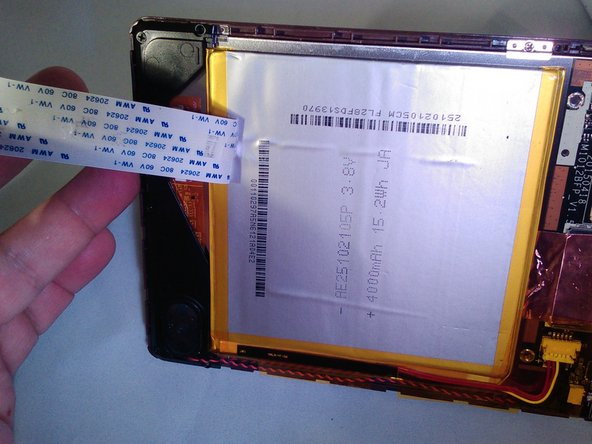
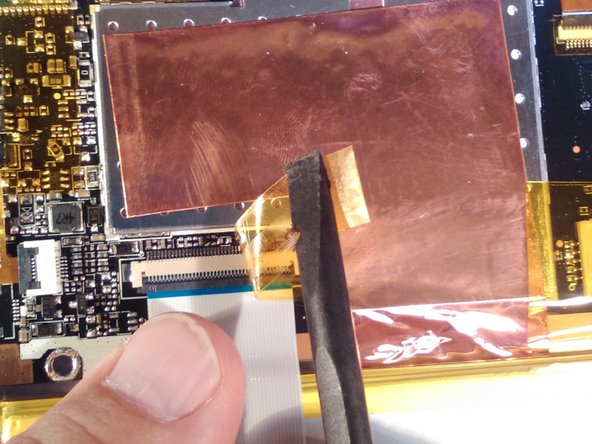
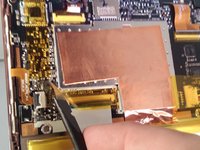
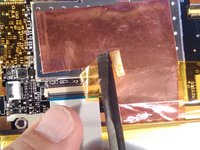
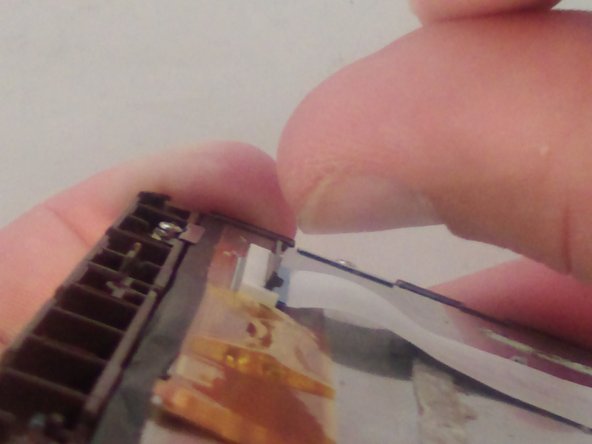
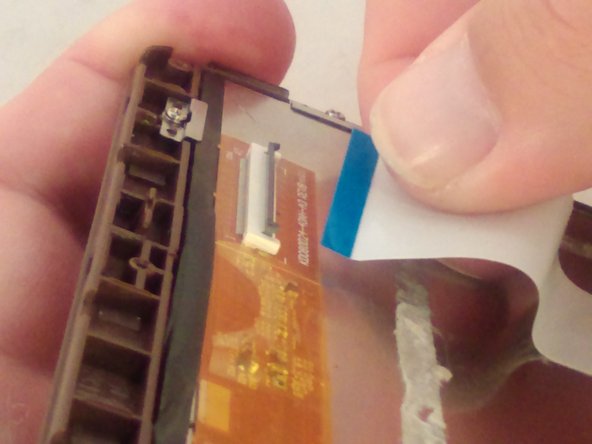
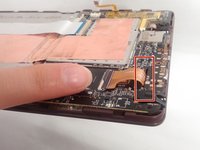
      • Locate the white ribbon cable Zero Insertion Force (ZIF) connector between the battery and the motherboard, and peel the yellow cellophane tape off the connector.

      FixBotに聞いてみる

      コメントを追加

    13. Nextbook NXA8QC116B Display Assembly Replacement: 手順 13、 2の画像 1 Nextbook NXA8QC116B Display Assembly Replacement: 手順 13、 2の画像 2
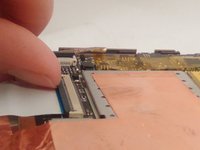
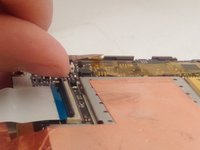
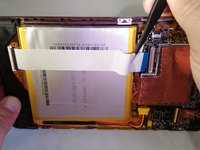
      • Flip up the gray retainer clip on the white ribbon cable ZIF connector on the motherboard with your fingernail. If you do not have fingernails long enough, carefully use a black plastic spudger.

      FixBotに聞いてみる

      コメントを追加

    14. Nextbook NXA8QC116B Display Assembly Replacement: 手順 14、 3の画像 1 Nextbook NXA8QC116B Display Assembly Replacement: 手順 14、 3の画像 2 Nextbook NXA8QC116B Display Assembly Replacement: 手順 14、 3の画像 3
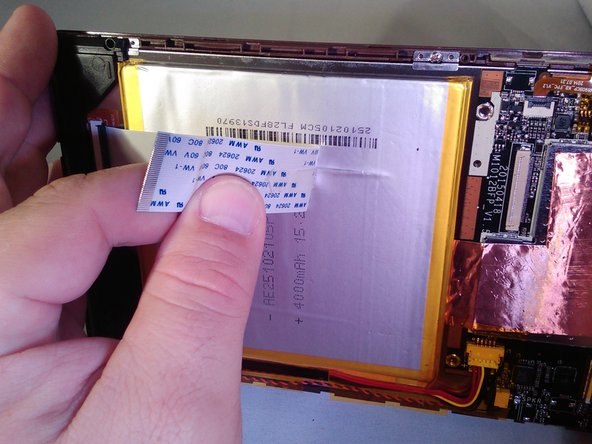
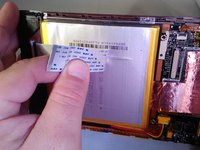
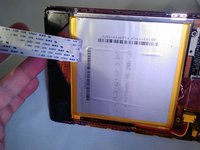
      • Remove the white ribbon cable and carefully peel it off the battery.

      FixBotに聞いてみる

      コメントを追加

    15. Nextbook NXA8QC116B Display Assembly Replacement: 手順 15、 3の画像 1 Nextbook NXA8QC116B Display Assembly Replacement: 手順 15、 3の画像 2 Nextbook NXA8QC116B Display Assembly Replacement: 手順 15、 3の画像 3
      • Move the spudger in a left-to-right scraping motion to loosen the glue until the battery is separated from the tablet.

      FixBotに聞いてみる

      コメントを追加

    16. Nextbook NXA8QC116B Display Assembly Replacement: 手順 16、 1の画像 1
      • Remove the battery.

      FixBotに聞いてみる

      コメントを追加

    1. Nextbook NXA8QC116B Display Assembly Replacement, Motherboard: 手順 17、 2の画像 1 Nextbook NXA8QC116B Display Assembly Replacement, Motherboard: 手順 17、 2の画像 2
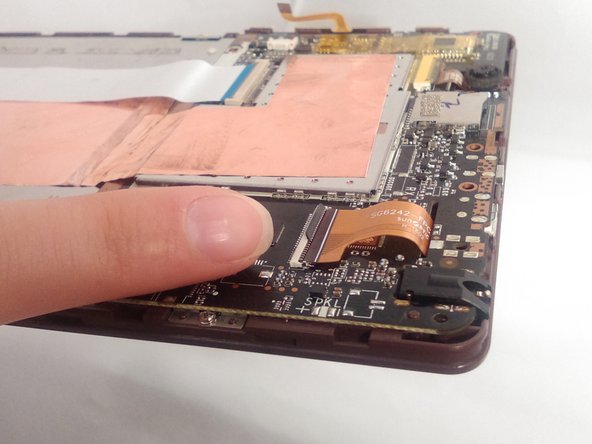
      • Locate and remove the yellow cellophane tape from the display assembly ribbon cable ZIF connector.

      FixBotに聞いてみる

      コメントを追加

    2. Nextbook NXA8QC116B Display Assembly Replacement: 手順 18、 1の画像 1
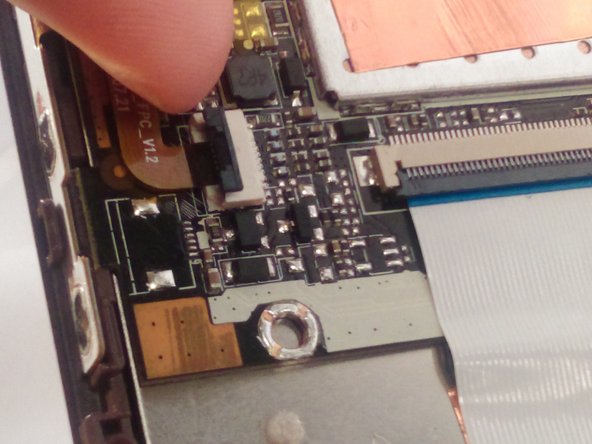
      • Locate the volume, power, home button ribbon cable ZIF connector.

      FixBotに聞いてみる

      コメントを追加

    3. Nextbook NXA8QC116B Display Assembly Replacement: 手順 19、 2の画像 1 Nextbook NXA8QC116B Display Assembly Replacement: 手順 19、 2の画像 2
      • Flip the ZIF connector retainer up with your fingernail. If you do not have fingernails long enough, carefully use the black plastic spudger.

      FixBotに聞いてみる

      コメントを追加

    4. Nextbook NXA8QC116B Display Assembly Replacement: 手順 20、 1の画像 1
      • Remove the ribbon cable by gently pulling on it.

      FixBotに聞いてみる

      コメントを追加

    5. Nextbook NXA8QC116B Display Assembly Replacement: 手順 21、 1の画像 1
      この手順で使用する道具:
      Tweezers
      $4.99
      • Locate the Display Assembly ribbon cable ZIF connector, and using tweezers, remove the yellow cellophane tape.

      FixBotに聞いてみる

      コメントを追加

    6. Nextbook NXA8QC116B Display Assembly Replacement: 手順 22、 3の画像 1 Nextbook NXA8QC116B Display Assembly Replacement: 手順 22、 3の画像 2 Nextbook NXA8QC116B Display Assembly Replacement: 手順 22、 3の画像 3
      • Put your fingernail under the gray ZIF connector retainer and flip the retainer up. If you do not have fingernails long enough, carefully use a black plastic spudger.

      FixBotに聞いてみる

      コメントを追加

    7. Nextbook NXA8QC116B Display Assembly Replacement: 手順 23、 1の画像 1
      • Remove the Display Assembly ribbon cable by gently pulling on it.

      FixBotに聞いてみる

      コメントを追加

    8. Nextbook NXA8QC116B Display Assembly Replacement: 手順 24、 3の画像 1 Nextbook NXA8QC116B Display Assembly Replacement: 手順 24、 3の画像 2 Nextbook NXA8QC116B Display Assembly Replacement: 手順 24、 3の画像 3
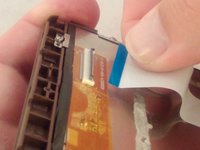
      • Use small pliers to pull the connector, wiggling it a little as you pull it from its connection.

      FixBotに聞いてみる

      コメントを追加

    9. Nextbook NXA8QC116B Display Assembly Replacement: 手順 25、 2の画像 1 Nextbook NXA8QC116B Display Assembly Replacement: 手順 25、 2の画像 2
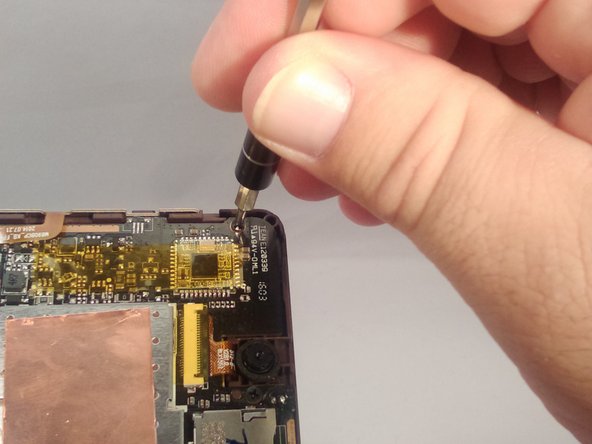
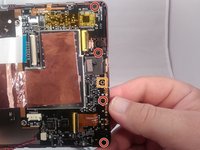
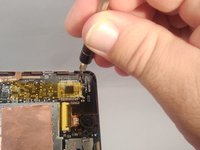
      • Using a J00 screwdriver, remove the 4 black 4.0 mm screws.

      • There is no screw at this location.

      FixBotに聞いてみる

      コメントを追加

    10. Nextbook NXA8QC116B Display Assembly Replacement: 手順 26、 1の画像 1
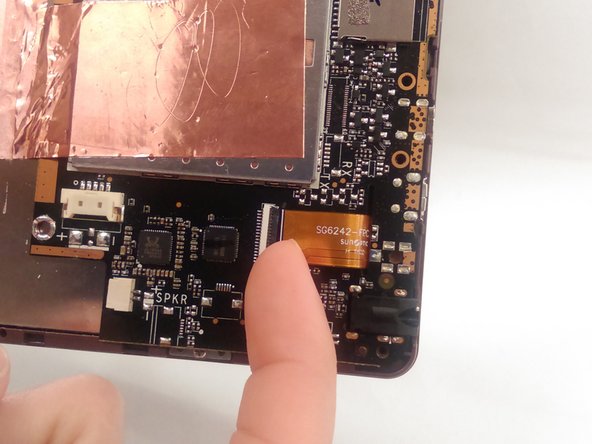
      • Locate the ZIF connector to remove the white ribbon cable

      FixBotに聞いてみる

      コメントを追加

    11. Nextbook NXA8QC116B Display Assembly Replacement: 手順 27、 3の画像 1 Nextbook NXA8QC116B Display Assembly Replacement: 手順 27、 3の画像 2 Nextbook NXA8QC116B Display Assembly Replacement: 手順 27、 3の画像 3
      • To remove the white ribbon cable, put your fingernail under the gray ZIF connector retainer and flip the retainer up.

      FixBotに聞いてみる

      コメントを追加

    12. Nextbook NXA8QC116B Display Assembly Replacement: 手順 28、 3の画像 1 Nextbook NXA8QC116B Display Assembly Replacement: 手順 28、 3の画像 2 Nextbook NXA8QC116B Display Assembly Replacement: 手順 28、 3の画像 3
      • Ensure the ribbon cable does not get caught when removing the motherboard. Damage to the ribbon cable may result.

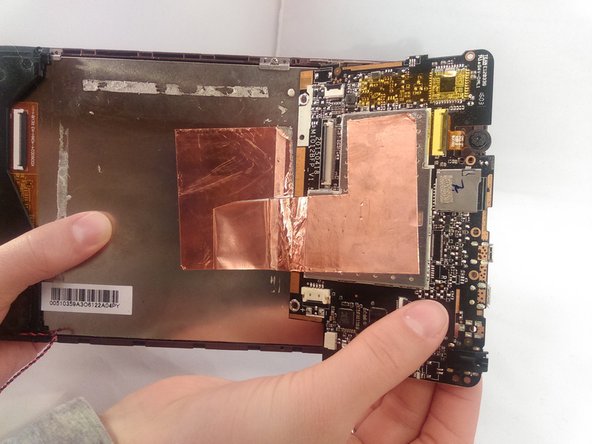
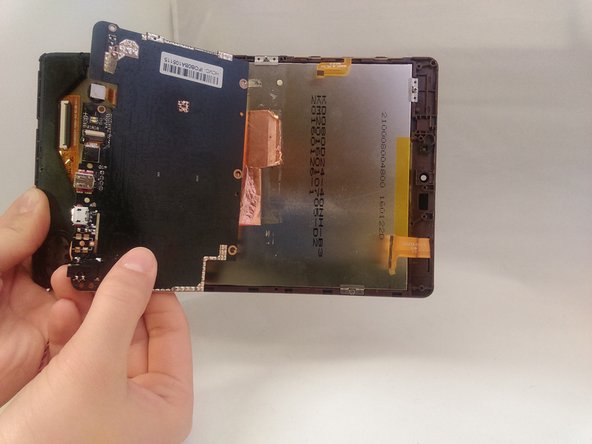
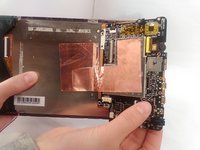
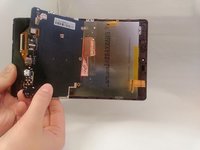
      • Pull the motherboard back over the copper tape to tear the tape and remove the motherboard.

      FixBotに聞いてみる

      コメントを追加

    13. Nextbook NXA8QC116B Display Assembly Replacement: 手順 29、 1の画像 1
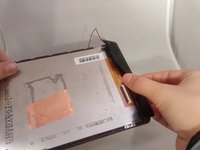
      • Remove the remaining copper tape from the back of the display assembly and the motherboard.

      • Replace with new tape when reassembling.

      FixBotに聞いてみる

      コメントを追加

    1. Nextbook NXA8QC116B Display Assembly Replacement, Display Assembly: 手順 30、 3の画像 1 Nextbook NXA8QC116B Display Assembly Replacement, Display Assembly: 手順 30、 3の画像 2 Nextbook NXA8QC116B Display Assembly Replacement, Display Assembly: 手順 30、 3の画像 3
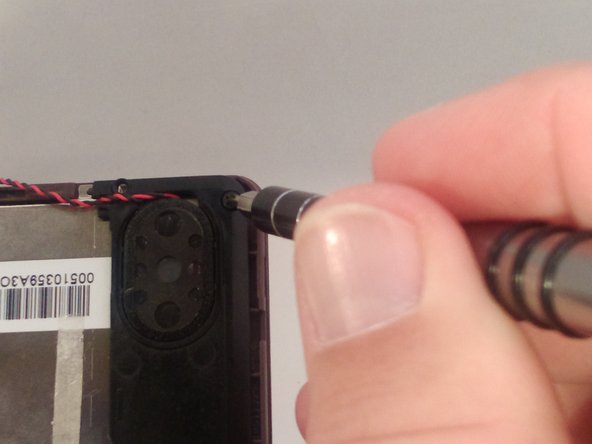
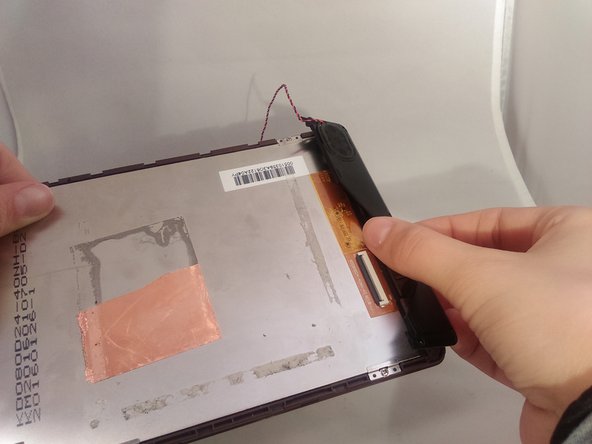
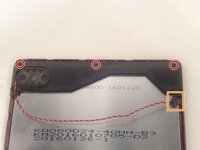
      • Locate and remove the 3 black 4.0 mm screws on the speaker panel using a J00 screwdriver.

      • Disconnect the speaker from the motherboard.

      • Remove the panel.

      FixBotに聞いてみる

      コメントを追加

    2. Nextbook NXA8QC116B Display Assembly Replacement: 手順 31、 1の画像 1
      • Display Assembly

      FixBotに聞いてみる

      コメントを追加

終わりに

To reassemble your device, follow these instructions in reverse order.

キャンセル: このガイドを終了できませんでした。

3 の人々がこのガイドを完成させました。

作成者

4人の作成者と共同で作成されました。

Robert Englehardt

メンバー登録日: 09/27/17

682 ポイント

5のガイドは作成済み

チーム

2件のガイドコメント

Would these instructions be the same for a Nextbook ares11a?

Susann - 返信 共有
I would think so, it's basically the same adaptation for all laptops.

Rosalina Reyes - 返信 共有
コメントを追加

統計データ:

過去 24時間: 0

過去 7 日: 11

過去 30 日: 36

今までの合計 1,641