メインコンテンツにスキップ
リペアコミュニティに参加 - アカウントの作成

Nerf N-Strike Elite Retaliator Trigger Spring Replacement

必要な工具と部品

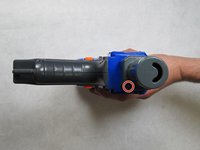
    1. Nerf N-Strike Elite Retaliator Trigger Spring Replacement, Case Disassembly: 手順 1、 1の画像 1
      • While holding the blaster, rotate the barrel assembly in the counter-clockwise direction and pull away from the blaster.

      FixBotに聞いてみる

      コメントを追加

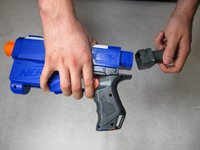
    2. Nerf N-Strike Elite Retaliator Trigger Spring Replacement: 手順 2、 1の画像 1
      • Remove the stock of the blaster by pushing the orange tabs downward while pulling the stock away from the blaster.

      FixBotに聞いてみる

      コメントを追加

    3. Nerf N-Strike Elite Retaliator Trigger Spring Replacement: 手順 3、 1の画像 1
      • Remove the magazine from the blaster by forcing the sliding mechanism backwards, pushing the orange tabs downward, and pulling the magazine away.

      FixBotに聞いてみる

      コメントを追加

    4. Nerf N-Strike Elite Retaliator Trigger Spring Replacement: 手順 4、 2の画像 1 Nerf N-Strike Elite Retaliator Trigger Spring Replacement: 手順 4、 2の画像 2
      • Remove the stock attachment point by removing the two 8mm Phillips head screws.

      FixBotに聞いてみる

      コメントを追加

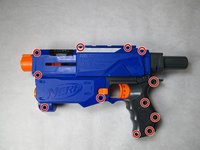
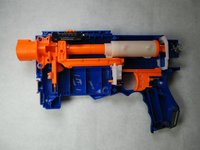
    5. Nerf N-Strike Elite Retaliator Trigger Spring Replacement: 手順 5、 2の画像 1 Nerf N-Strike Elite Retaliator Trigger Spring Replacement: 手順 5、 2の画像 2
      • Remove the eleven 8mm and two 10mm Phillips head screws from the left side of the blaster, and carefully remove the outer casing.

      • Two of the screws must be removed with the sliding mechanism in the forward position. Another two must be removed with the sliding mechanism in the back position.

      • There are several springs that may become displaced during this procedure. Proceed with the utmost caution.

      FixBotに聞いてみる

      コメントを追加

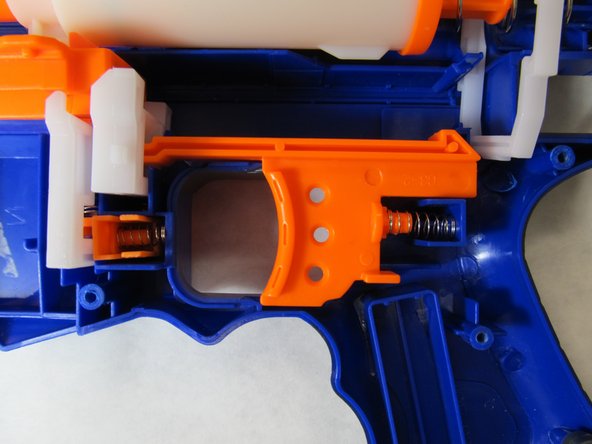
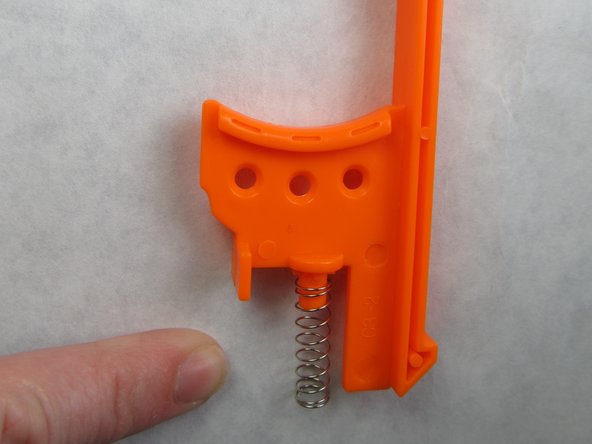
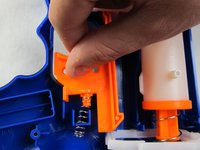
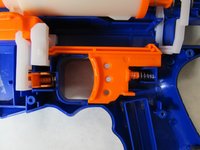
    1. Nerf N-Strike Elite Retaliator Trigger Spring Replacement, Trigger Spring: 手順 6、 3の画像 1 Nerf N-Strike Elite Retaliator Trigger Spring Replacement, Trigger Spring: 手順 6、 3の画像 2 Nerf N-Strike Elite Retaliator Trigger Spring Replacement, Trigger Spring: 手順 6、 3の画像 3
      • Carefully pull the orange trigger upward and backward to remove it from the blaster.

      • This component is under spring pressure. Wear appropriate personal protective equipment to shield your eyes.

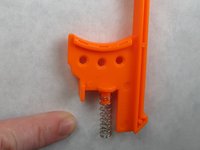
      • Remove the spring from the rear of the trigger.

      FixBotに聞いてみる

      コメントを追加

終わりに

To reassemble your device, follow these instructions in reverse order.

キャンセル: このガイドを終了できませんでした。

ある他の人がこのガイドを完成しました。

作成者

2人の作成者と共同で作成されました。

ericharman

メンバー登録日: 03/02/16

1,440 ポイント

5のガイドは作成済み

1件のガイドコメント

ok, taken the spring out. now what?

Kelvin Mead - 返信 共有

コメントを追加

統計データ:

過去 24時間: 0

過去 7 日: 6

過去 30 日: 26

今までの合計 10,134