メインコンテンツにスキップ
リペアコミュニティに参加 - アカウントの作成

Motorola Xoom 2 Screen Replacement

必要な工具と部品

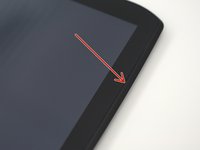
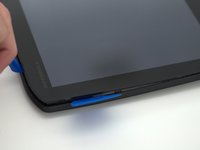
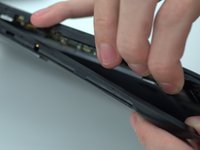
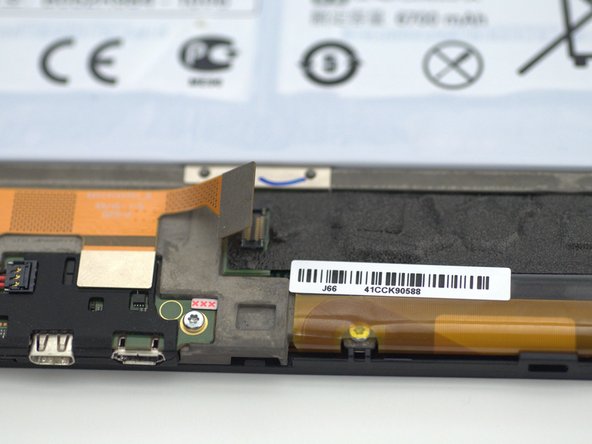
  1. Motorola Xoom 2 Screen Replacement, Backplate: 手順 1、 3の画像 1 Motorola Xoom 2 Screen Replacement, Backplate: 手順 1、 3の画像 2 Motorola Xoom 2 Screen Replacement, Backplate: 手順 1、 3の画像 3
    • Pry off the silver top back cover (the panel around the camera) with iFixit opening picks or a similar implement.

    FixBotに聞いてみる
  2. Motorola Xoom 2 Screen Replacement: 手順 2、 2の画像 1 Motorola Xoom 2 Screen Replacement: 手順 2、 2の画像 2
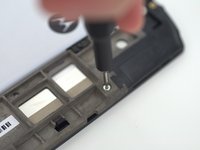
    • Using a T5 screwdriver, unscrew the four 1.5mm screws holding the main back cover. These screws are arranged in a line across the top of the back of the device.

    FixBotに聞いてみる
  3. Motorola Xoom 2 Screen Replacement: 手順 3、 3の画像 1 Motorola Xoom 2 Screen Replacement: 手順 3、 3の画像 2 Motorola Xoom 2 Screen Replacement: 手順 3、 3の画像 3
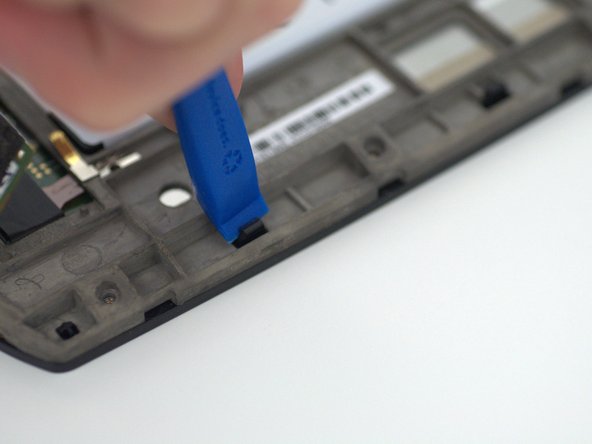
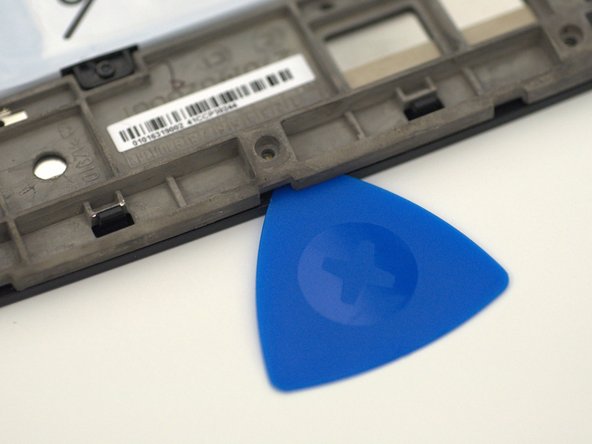
    • Turn the device over and using a pry tool and the opening picks, gently apply pressure between the outside edge of the seal marked with the arrow. Slowly move around the edges of the device, applying even pressure, and separate the back plate from the display.

    • There is adhesive between the back-plate and battery.

    FixBotに聞いてみる
  4. Motorola Xoom 2 Screen Replacement: 手順 4、 1の画像 1
    • Remove the back plate from your device.

    FixBotに聞いてみる
  5. Motorola Xoom 2 Screen Replacement, Screen: 手順 5、 2の画像 1 Motorola Xoom 2 Screen Replacement, Screen: 手順 5、 2の画像 2
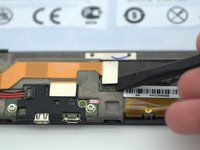
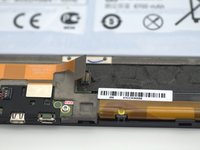
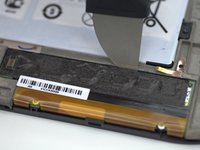
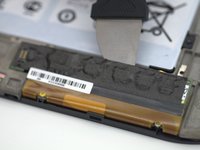
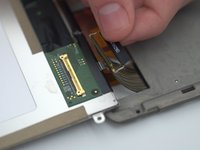
    • Using a pry tool, gently un-clip the orange ribbon cable attached to the left of the digitizer connector and fold the digitizer connector away from the device.

    FixBotに聞いてみる
  6. Motorola Xoom 2 Screen Replacement: 手順 6、 3の画像 1 Motorola Xoom 2 Screen Replacement: 手順 6、 3の画像 2 Motorola Xoom 2 Screen Replacement: 手順 6、 3の画像 3
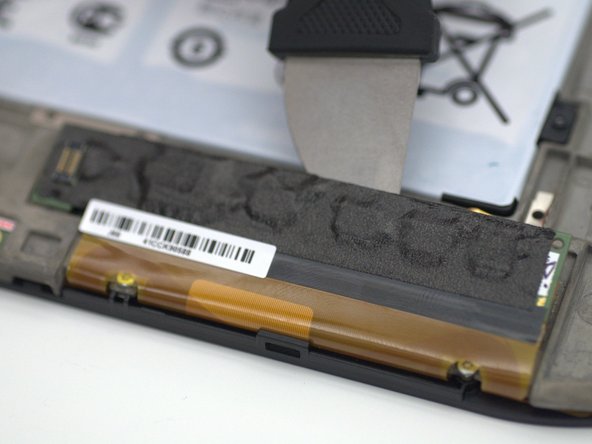
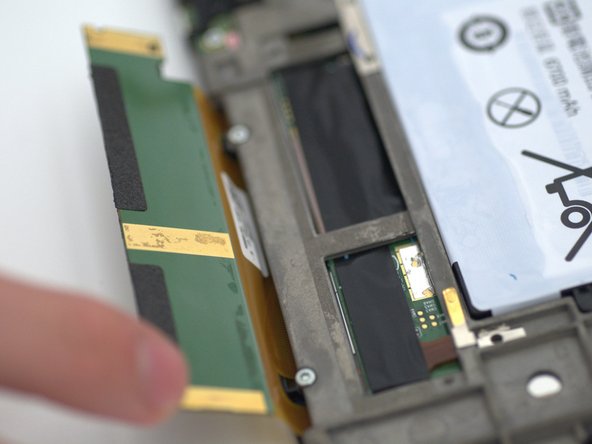
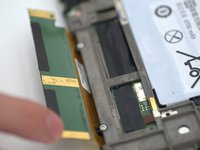
    • Using a pry tool, gently apply force along the crevice between the digitizer board and the chassis.

    • Using your fingers, gently bend the digitizer board to the position.

    • This step is mandatory to completely remove the screen assembly.

    FixBotに聞いてみる
  7. Motorola Xoom 2 Screen Replacement: 手順 7、 3の画像 1 Motorola Xoom 2 Screen Replacement: 手順 7、 3の画像 2 Motorola Xoom 2 Screen Replacement: 手順 7、 3の画像 3
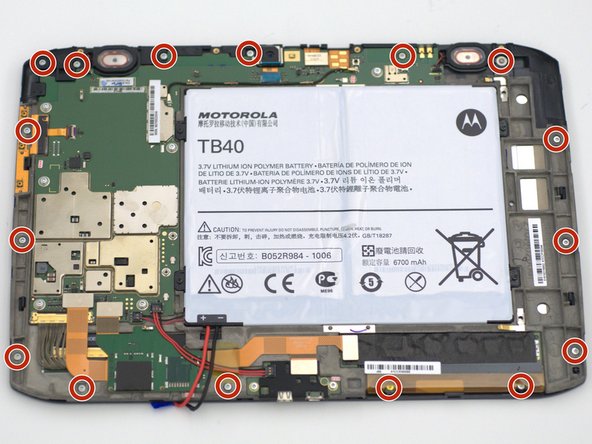
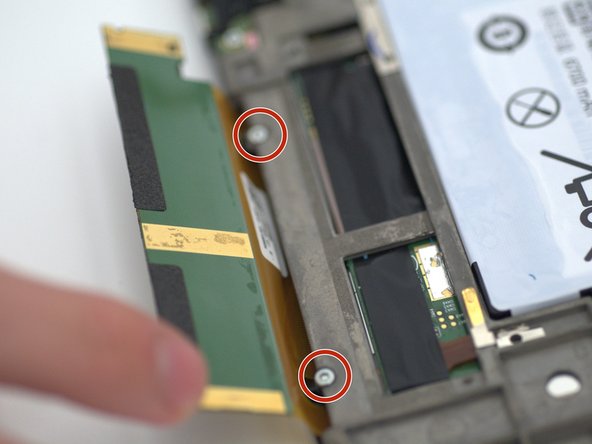
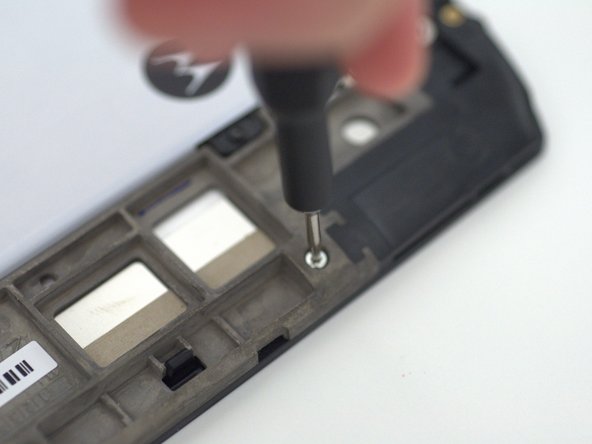
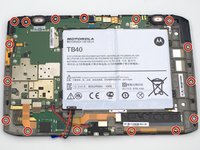
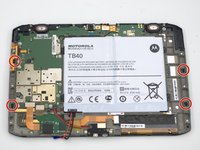
    • Unscrew the sixteen (16) 1.5mm screws using the T5 Torx screwdriver.

    • Two of the screws were previously hidden behind the digitizer connector.

    • The screw located in the top right of the device has a washer attached.

    FixBotに聞いてみる
  8. Motorola Xoom 2 Screen Replacement: 手順 8、 3の画像 1 Motorola Xoom 2 Screen Replacement: 手順 8、 3の画像 2 Motorola Xoom 2 Screen Replacement: 手順 8、 3の画像 3
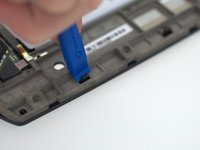
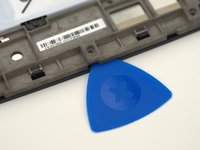
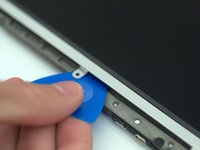
    • Using a prying tool, unclip the four black plastic tabs on the shorter edges of the device.

    • Inserting opening picks between the digitizer and the casing may make the process easier by helping to keep the tabs un-clipped.

    • Do not touch the LCD underneath, keep it as clean as possible!

    FixBotに聞いてみる
  9. Motorola Xoom 2 Screen Replacement: 手順 9、 3の画像 1 Motorola Xoom 2 Screen Replacement: 手順 9、 3の画像 2 Motorola Xoom 2 Screen Replacement: 手順 9、 3の画像 3
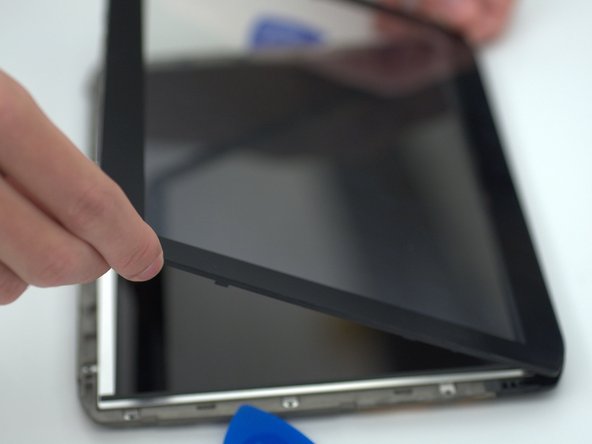
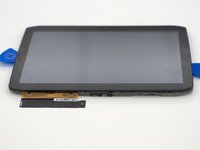
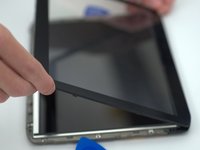
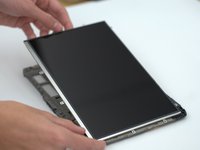
    • Carefully flip the device over and unfold the digitizer connector out from under the device.

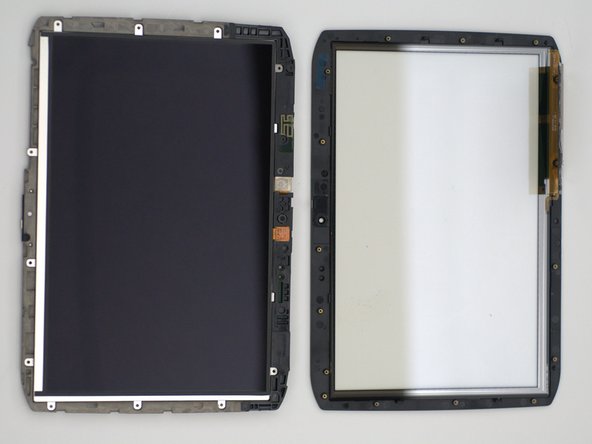
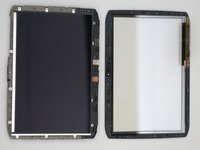
    • Gently lift up on the bottom edge of the digitizer to remove it from the device.

    • Do not touch the LCD underneath, keep it as clean as possible!

    • From here the digitizer may be replaced with a new one, the next steps continue to replace the LCD.

    FixBotに聞いてみる
  10. Motorola Xoom 2 Screen Replacement: 手順 10、 3の画像 1 Motorola Xoom 2 Screen Replacement: 手順 10、 3の画像 2 Motorola Xoom 2 Screen Replacement: 手順 10、 3の画像 3
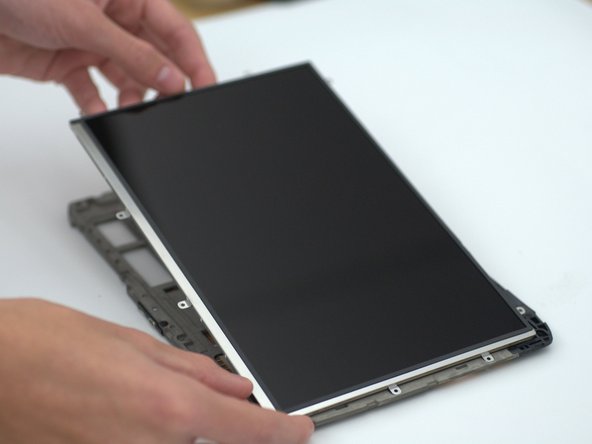
    • Using an opening pick, gently lift the LCD from the casing.

    • Holding the screw tabs with your hands, fold the LCD gently down to reveal the LCD connector located at the bottom right of the device.

    • Do not touch the LCD surface, keep it as clean as possible!

    • The LCD and the underside of the new digitizer may be cleaned by gently brushing it with a microfiber cloth.

    FixBotに聞いてみる
  11. Motorola Xoom 2 Screen Replacement: 手順 11、 3の画像 1 Motorola Xoom 2 Screen Replacement: 手順 11、 3の画像 2 Motorola Xoom 2 Screen Replacement: 手順 11、 3の画像 3
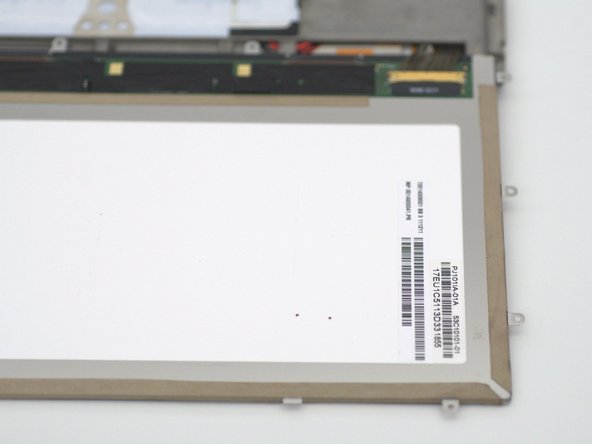
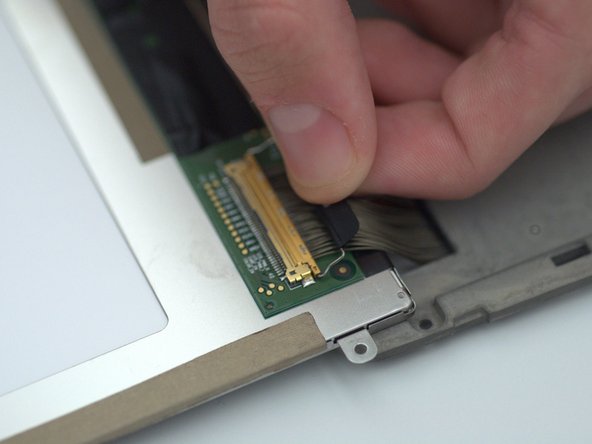
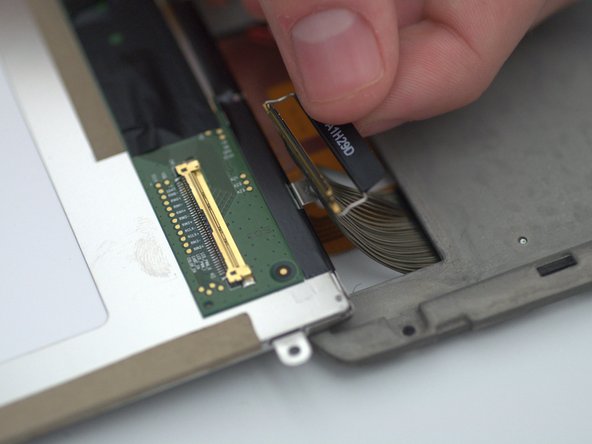
    • Gently lift up the tab and carefully pull it straight back, parallel to the cable, until the LCD cable is removed.

    • Slightly wiggling the tab can help to ease the connector apart.

    • Do not use excessive force to remove the connector, this risks the pins getting damaged rendering the cable and/or LCD unusable.

    FixBotに聞いてみる
  12. Motorola Xoom 2 Screen Replacement: 手順 12、 1の画像 1
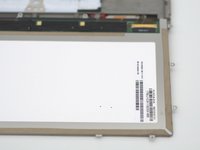
    • Remove the LCD from the device.

    FixBotに聞いてみる
終わりに

To reassemble your device, follow these instructions in reverse order.

ある他の人がこのガイドを完成しました。

作成者

4人の作成者と共同で作成されました。

Enrique Escobar

メンバー登録日: 09/24/19

486 ポイント

3のガイドは作成済み

チーム

0件のガイドコメント

コメントを追加

統計データ:

過去 24時間: 1

過去 7 日: 6

過去 30 日: 44

今までの合計 737