はじめに
Guide to installing a new camera.
必要な工具と部品
-
-
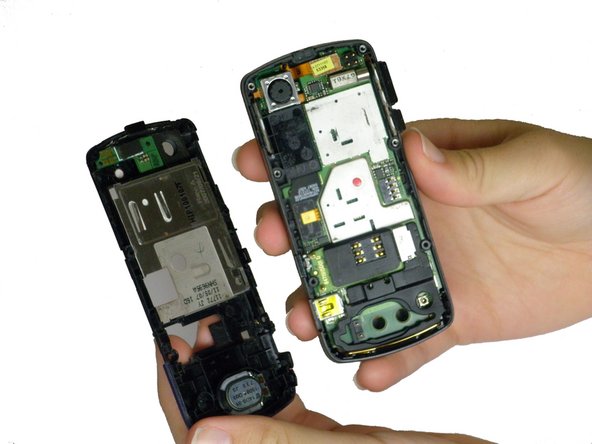
Press the panel release button on the top of the phone and simultaneously pull the rear panel away from the phone.
 FixBotに聞いてみる
-
-
-
Tilt the battery by lifting at the exposed notch.
-
Slide the battery out of its casing.
-
-
-
Use a T4 screwdriver to unscrew all six of the .216 inch screws that attach the housing to the case.
-
-
-
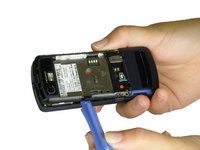
Use a plastic opening tool to lift the plastic casing.
-
Pull the plastic casing directly away from the phone.
-
-
-
-
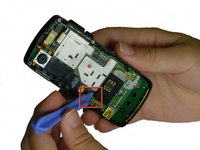
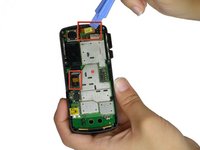
Use a plastic opening tool to gently lift up the SIM card reader, located above the rubber antenna casing. You should hear a click as it releases.
-
-
-
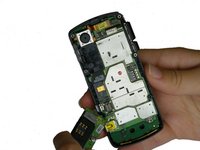
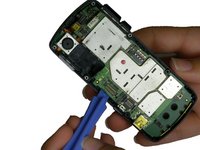
Use a plastic opening tool to pry the two ribbon cable connectors, unclipping them from their sockets on the motherboard.
-
-
-
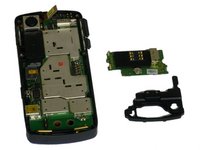
Use a plastic opening tool to gently pry the motherboard up until you can tilt it with your fingers. Unhook it from the casing and slowly pull it out.
-
-
-
Turn the phone to the front.
-
Push the keypad out through the plastic casing.
-
-
-
Turn the phone to the side.
-
Thread the hinges of the slider through their holes in the casing and pull the slider down and away from the casing.
-
-
-
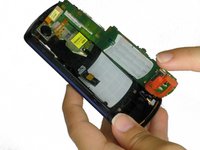
Slip the plastic opening tool carefully between the camera and the plastic casing.
-
Gently pry the camera unit loose, being mindful of the adhesive that holds it in place and the copper colored ribbons that are attached to it.
-


To reassemble your device, follow these instructions in reverse order.
チーム

Cal Poly, Team 5-34, Amido Fall 2011 Cal Poly, Team 5-34, Amido Fall 2011人のメンバー
CPSU-AMIDO-F11S5G34
4 メンバー
6のガイドは作成済み