はじめに
This guide involves the removal of various small screws and parts so make sure you are in a clean and organized environment to avoid the loss of any components.
必要な工具と部品
-
-
Use the Torx T5 Screwdriver to remove two 5.0 mm screws at the bottom of the phone.
 FixBotに聞いてみる
-
-
-
To remove the SIM card, use an unfolded paperclip to press down on the metal plate on the left side of the phone until it pops up.
-
-
-
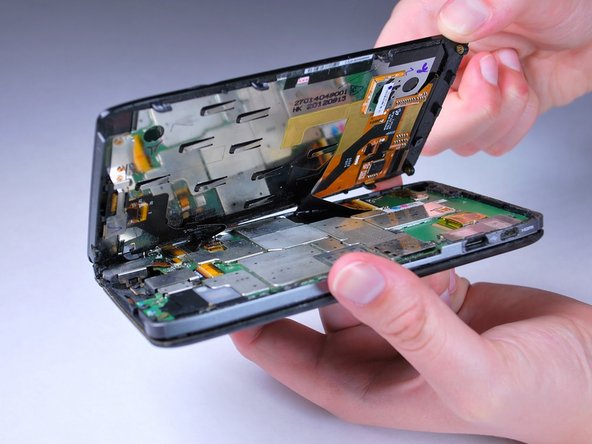
Gently push the screen toward the top edge of the phone and tilt the screen to reveal the black flex cables.
-
-
-
-
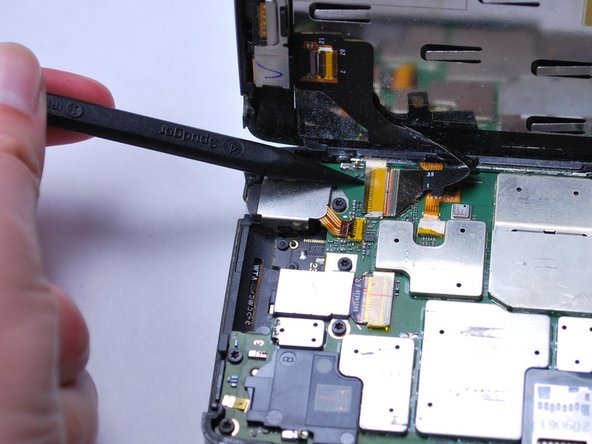
Release the two black ribbon flex cables by gently pulling up on the connection using the spudger. Then lift the screen to remove.
-
-
-
On the back of the LCD display, release the yellow front-facing camera ribbon cable by gently lifting upward on the black retaining clip with the spudger.
-
-
-
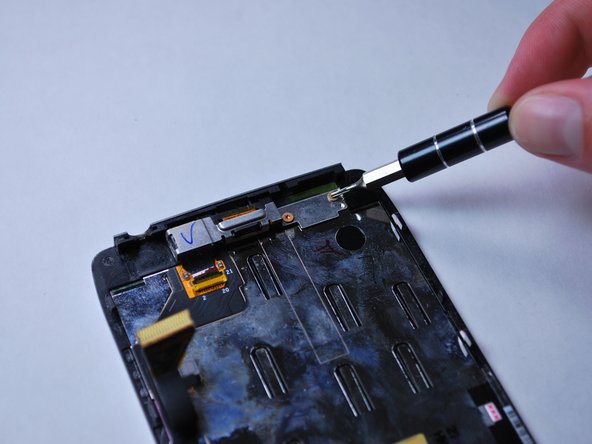
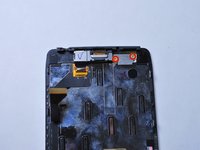
With a Torx T3 screwdriver, unscrew the two 2.0 mm screws on front-facing camera mounting bracket. Then lift to remove it.
-
-
この手順で使用する道具:Tweezers$4.99
-
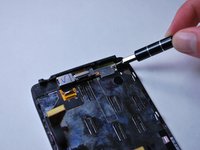
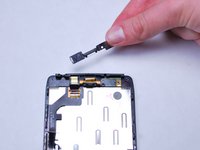
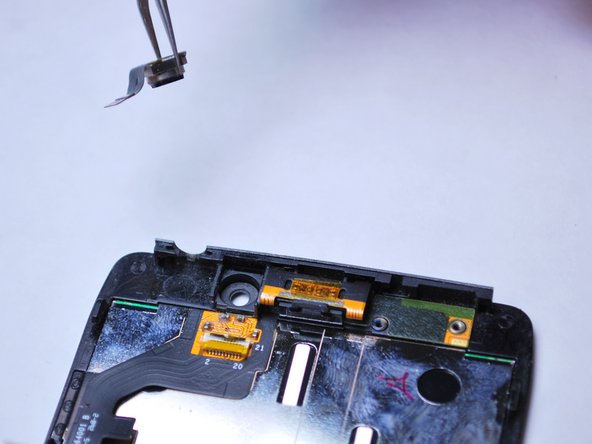
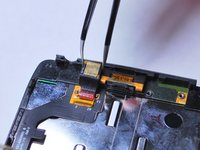
Use tweezers to remove the front-facing camera by lifting it from the LCD display frame.
-
-
-
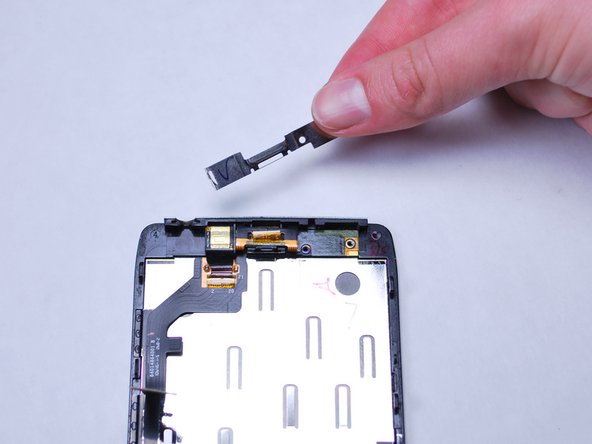
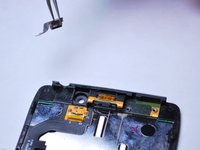
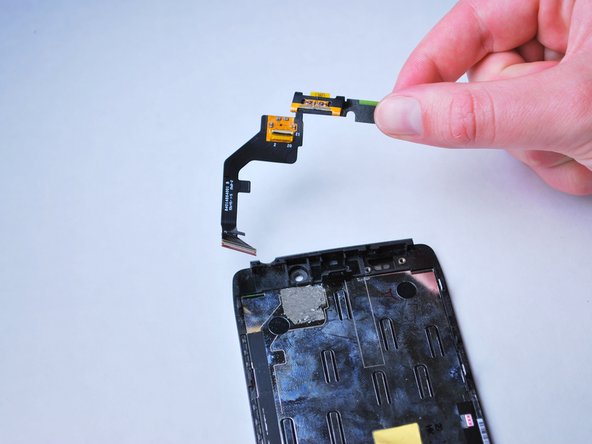
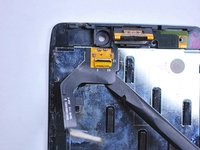
Insert the spudger between the speaker and retaining clip and gently pry upward to release the earpiece speaker.
-
-
-
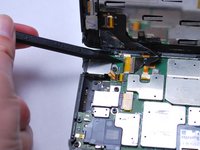
Using a spudger, gently pry up on the lower right edge of the black earpiece speaker ribbon cable, attached to the screen, to release it from the LCD display.
-










To reassemble your device, follow these instructions in reverse order.
8 の人々がこのガイドを完成させました。

チーム

Cal Poly, Team 8-40, Amido Winter 2015 Cal Poly, Team 8-40, Amido Winter 2015人のメンバー
CPSU-AMIDO-W15S8G40
5 メンバー
18のガイドは作成済み
