はじめに
Follow this guide to replace the display assembly for the Motorola Moto G5. This includes the digitizer assembly as well as the display frame.
Before you begin, download the Rescue and Smart Assistant app to backup your device and diagnose whether your problem is software or hardware related.
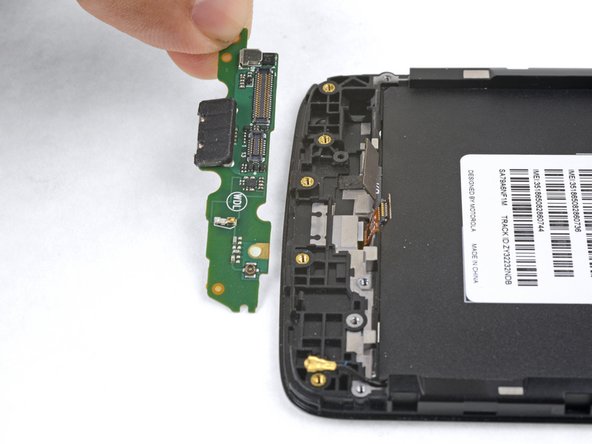
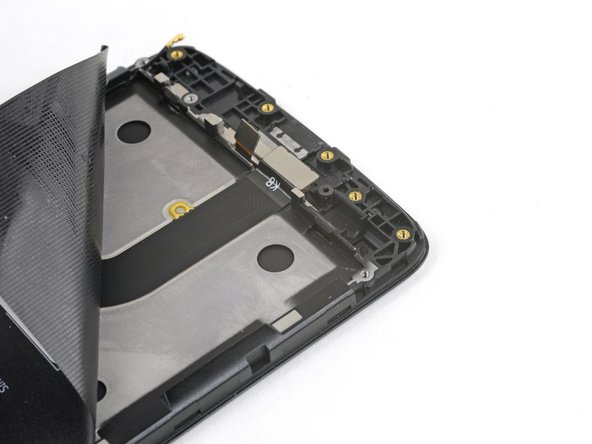
Your replacement part should look like this. You will be transferring components from the previous display frame onto the new one. If your part did not come with a display frame, you will need to complete additional steps, which are not covered in this guide.
For your safety, discharge your existing battery below 25% before disassembling your phone. This reduces the risk of a dangerous thermal event if the battery is accidentally damaged during the repair.
必要な工具と部品
-
-
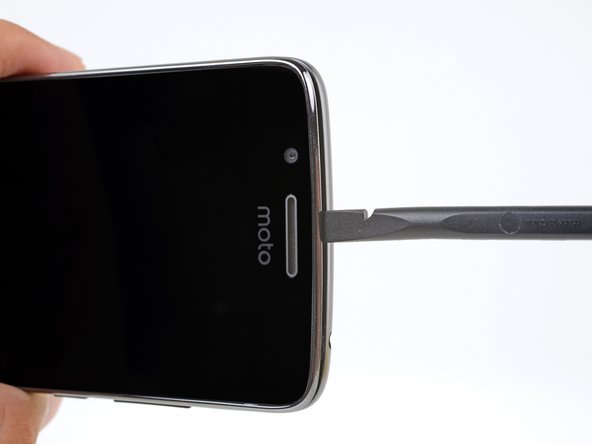
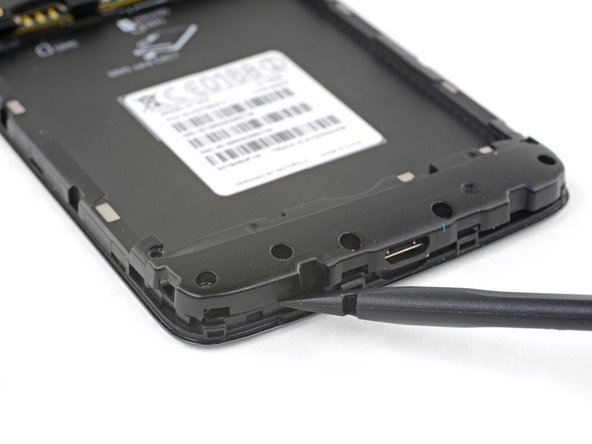
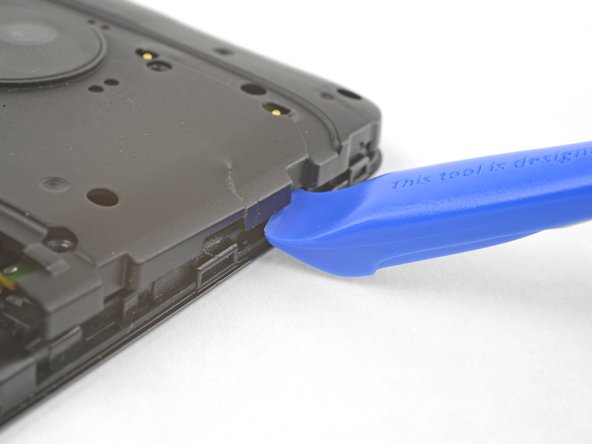
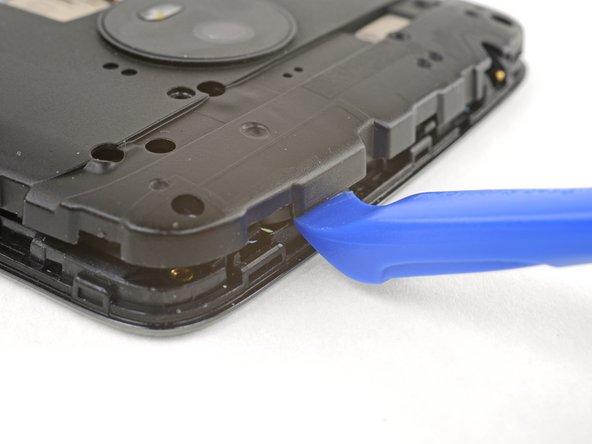
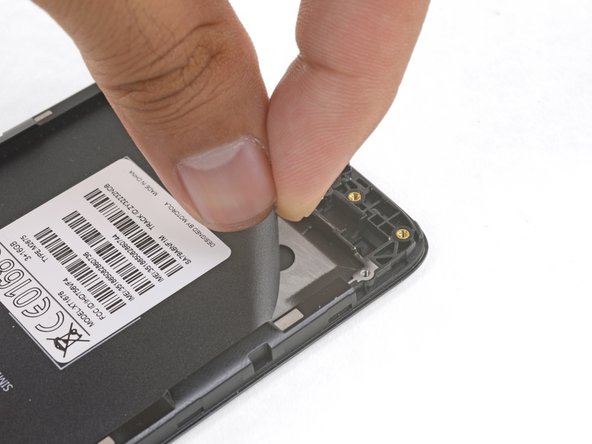
Insert your fingernail or the flat end of a spudger into the notch on the bottom edge of the phone near the charging port.
-
Pry with your fingernail or twist the spudger to release the back cover from the phone.
-
-
-
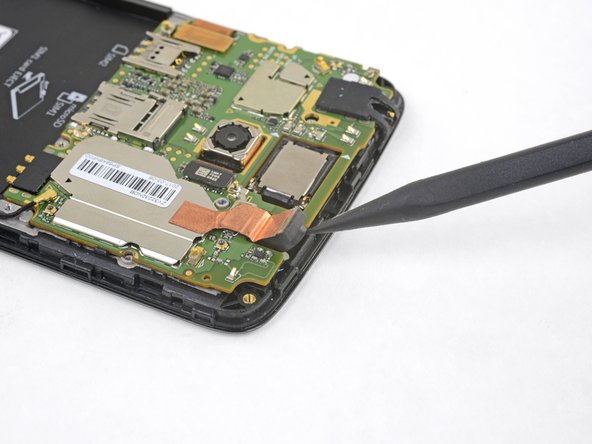
Insert your fingernail or the flat end of the spudger into the notch below the battery.
-
Pry with your fingernail or spudger until you free the battery from its recess.
-
-
-
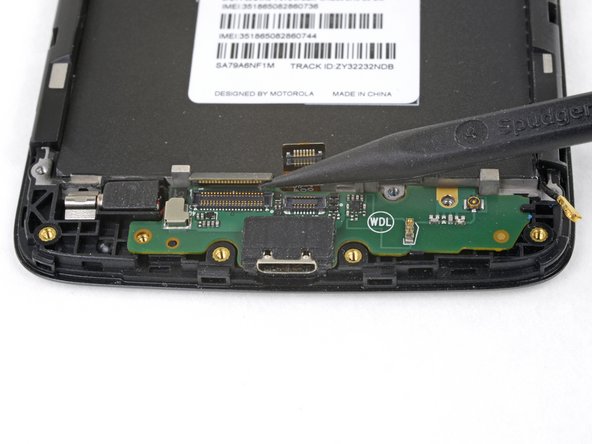
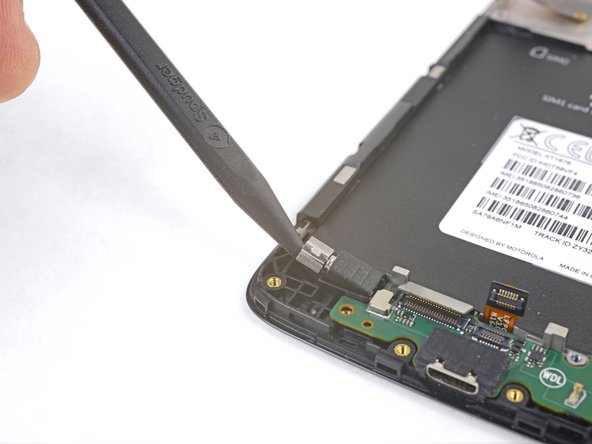
Remove the sixteen 3 mm Phillips screws securing the motherboard and daughterboard covers.
-
-


To reassemble your device, follow these instructions in reverse order.
Take your e-waste to an R2 or e-Stewards certified recycler.
Repair didn’t go as planned? Check out our Motorola Moto G5 Answers community for troubleshooting help.
To reassemble your device, follow these instructions in reverse order.
Take your e-waste to an R2 or e-Stewards certified recycler.
Repair didn’t go as planned? Check out our Motorola Moto G5 Answers community for troubleshooting help.
18 の人々がこのガイドを完成させました。


11 件のコメント
Thanks. These tips, plus the Moto G5 Plus guide solved my problem. The replacement I purchased was only for the LCD (needed to heat and remove the glass after disassembling the whole phone). Again, thanks.
Thanks a lot for this guide! A few things I noticed while I was doing it:
-There’s no screws to remove on one of the red circles on the bottom right (it’s not a hole for a screw!)
-The front speakers are not in the right position in the picture. I followed that, and I didn’t had any sound anymore. Flipping it fixed the problem.
Otherwise I’m really glad you made that tutorial, thank you very much !!!
Hi Quentin,
Thank you for the notes! I have updated the guide to reflect the changes!
There are seams between housing and display assembly, as well as between various other parts of the phone. These become overstretched and unusable during disassembly. Buy a set of seams and double-sided tape specifically made for the G5, or it will become even less waterproof than before. Unfortunately, I have only found sources for those parts in the US.
This guide was great, made the job very easy. I was even able to reuse some of the rubber seams.
I had a few small issues when reassembling the device. I failed twice to adjust the antenna to the correct position (always to much on one side) and the big ribbon cable wouldn’t stay in place anymore. To work around this I connected the big ribon cable and the antenna to both boards before placing them inside the phone case, that way everything was already in the right place and I then used the battery mat to hold the big ribon cable in place. After that I only needed to install the speaker back and add the screws.