メインコンテンツにスキップ

Motorola Moto E6 Plus Motherboard Replacement

必要な工具と部品

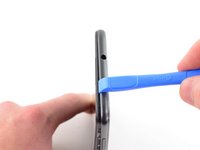
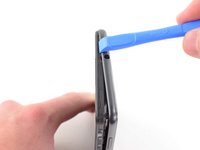
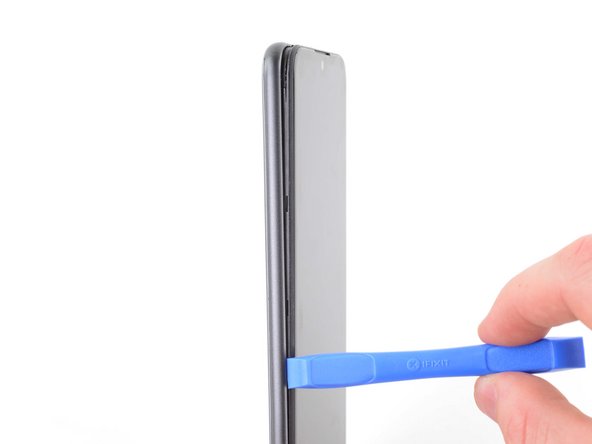
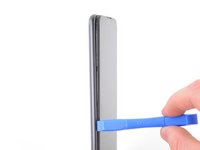
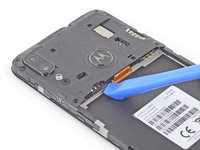
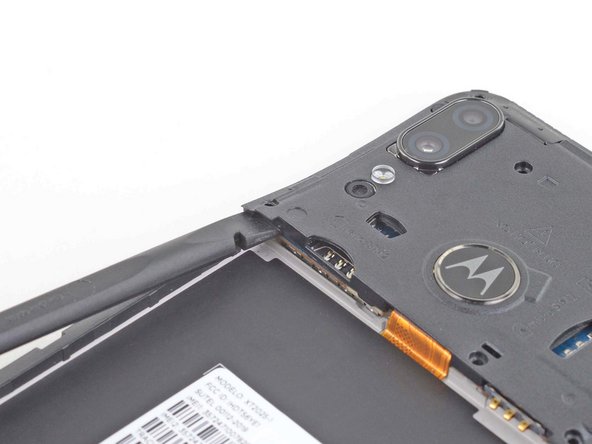
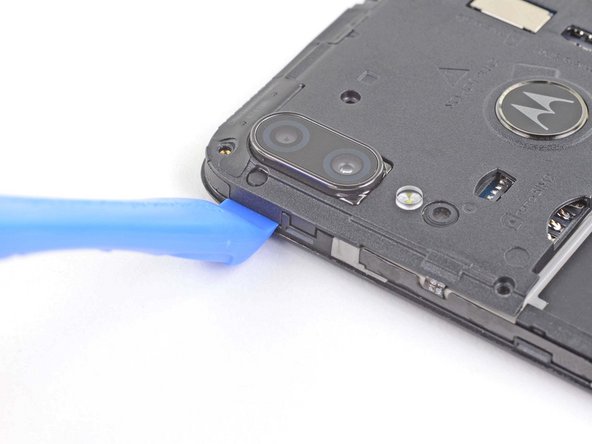
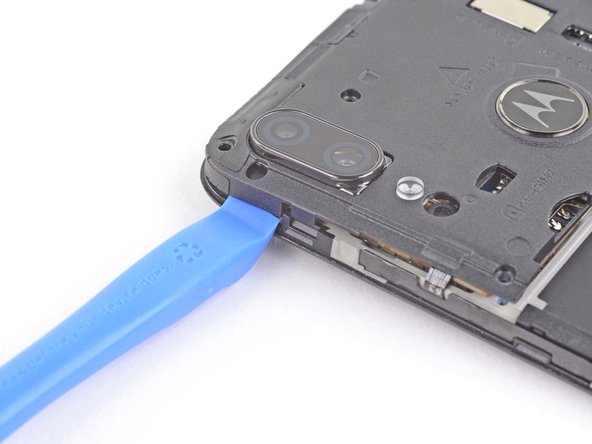
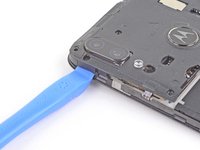
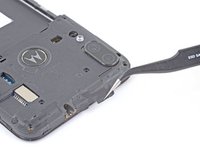
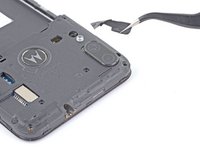
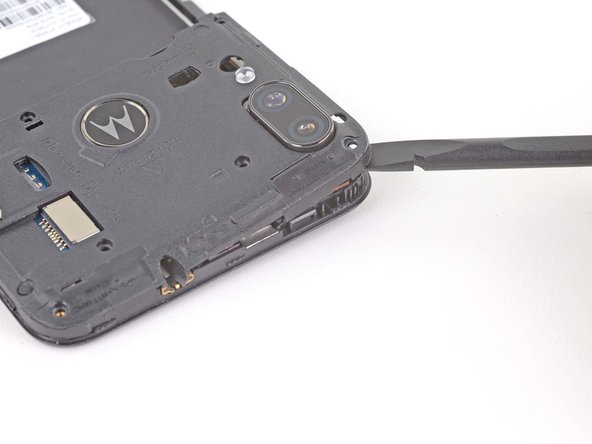
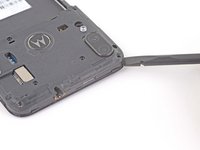
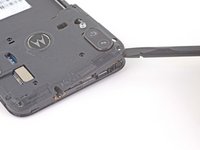
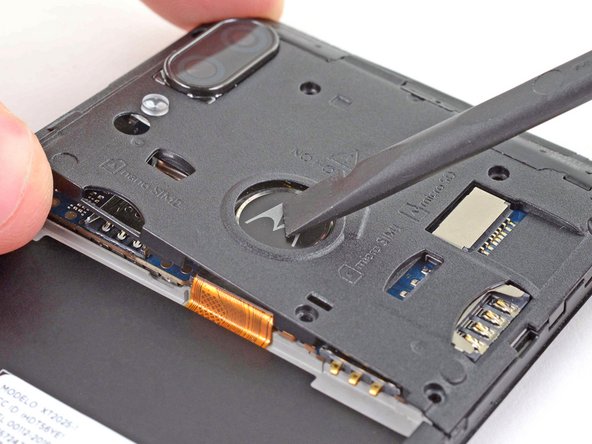
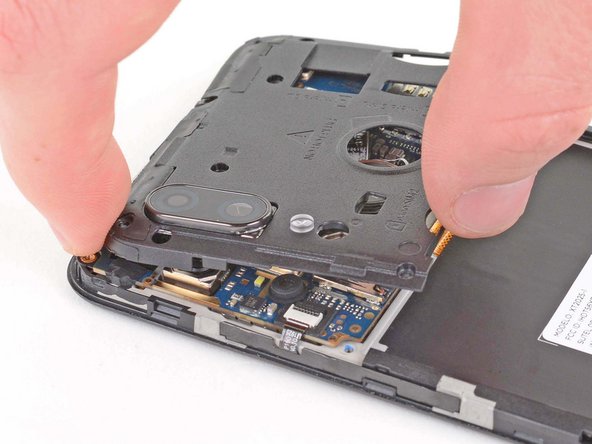
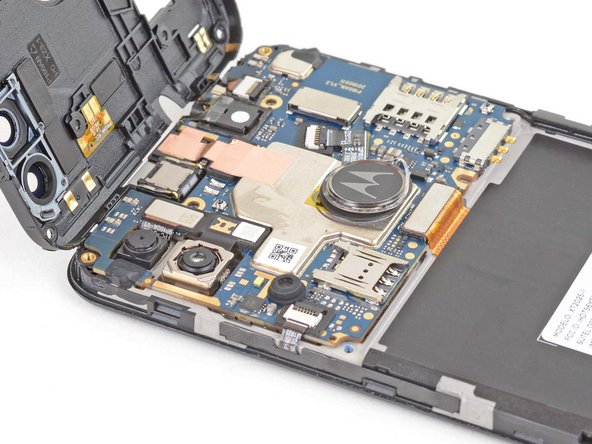
  1. Motorola Moto E6 Plus Motherboard Replacement, Unclip the back cover: 手順 1、 2の画像 1 Motorola Moto E6 Plus Motherboard Replacement, Unclip the back cover: 手順 1、 2の画像 2
    • Use an opening tool or your fingernail to pry the back cover away from the frame using the notch at the bottom right corner.

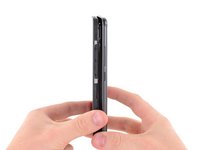
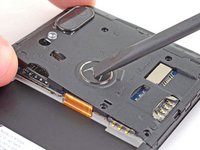
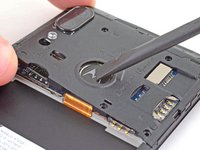
  2. Motorola Moto E6 Plus Motherboard Replacement, Unclip the right edge: 手順 2、 3の画像 1 Motorola Moto E6 Plus Motherboard Replacement, Unclip the right edge: 手順 2、 3の画像 2 Motorola Moto E6 Plus Motherboard Replacement, Unclip the right edge: 手順 2、 3の画像 3
    • Use an opening tool or your fingernail to release the clips on the right edge by sliding up and around the top right corner.

  3. Motorola Moto E6 Plus Motherboard Replacement, Unclip the top edge: 手順 3、 2の画像 1 Motorola Moto E6 Plus Motherboard Replacement, Unclip the top edge: 手順 3、 2の画像 2
    • Continue to slide the opening tool or your fingernail across the top edge to release the clips securing the back cover to the frame.

  4. Motorola Moto E6 Plus Motherboard Replacement, Unclip the left edge: 手順 4、 2の画像 1 Motorola Moto E6 Plus Motherboard Replacement, Unclip the left edge: 手順 4、 2の画像 2
    • Continue to slide the opening tool or your fingernail down the left edge to release the clips.

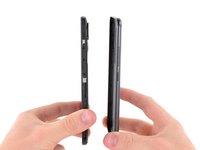
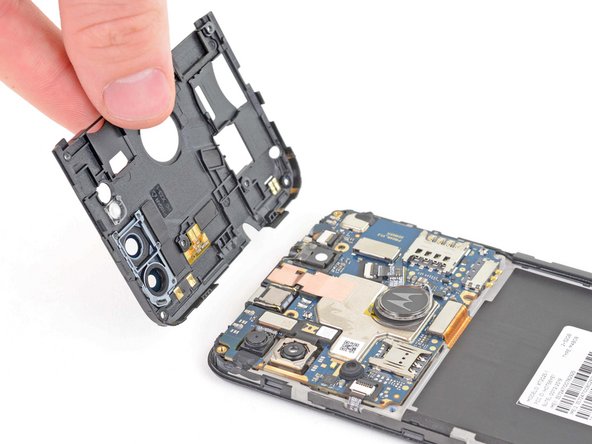
  5. Motorola Moto E6 Plus Motherboard Replacement, Remove the back cover: 手順 5、 3の画像 1 Motorola Moto E6 Plus Motherboard Replacement, Remove the back cover: 手順 5、 3の画像 2 Motorola Moto E6 Plus Motherboard Replacement, Remove the back cover: 手順 5、 3の画像 3
    • Remove the back cover.

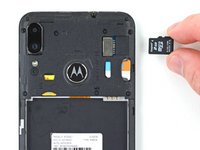
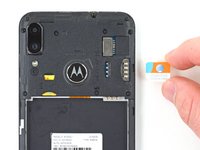
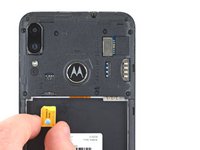
  6. Motorola Moto E6 Plus Motherboard Replacement, Remove the SIM and SD cards: 手順 6、 3の画像 1 Motorola Moto E6 Plus Motherboard Replacement, Remove the SIM and SD cards: 手順 6、 3の画像 2 Motorola Moto E6 Plus Motherboard Replacement, Remove the SIM and SD cards: 手順 6、 3の画像 3
    • Use a spudger or your fingernail to remove the Micro SD card, the Micro SIM card, and the Nano SIM card.

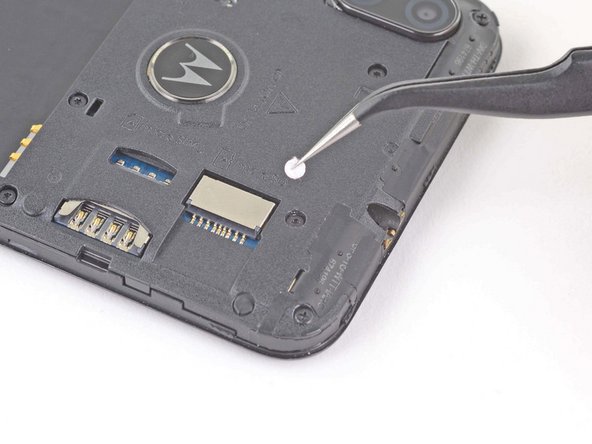
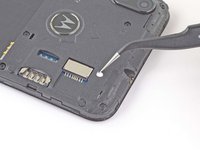
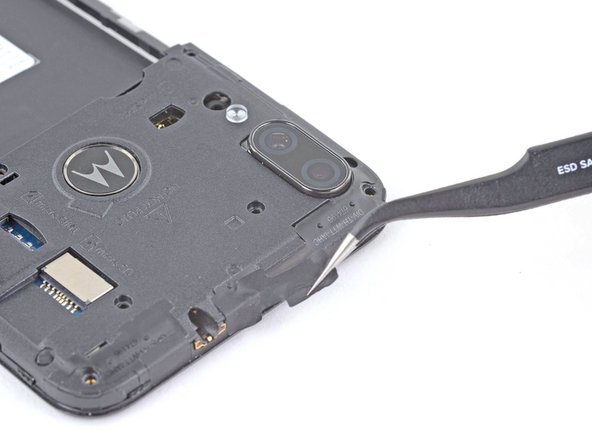
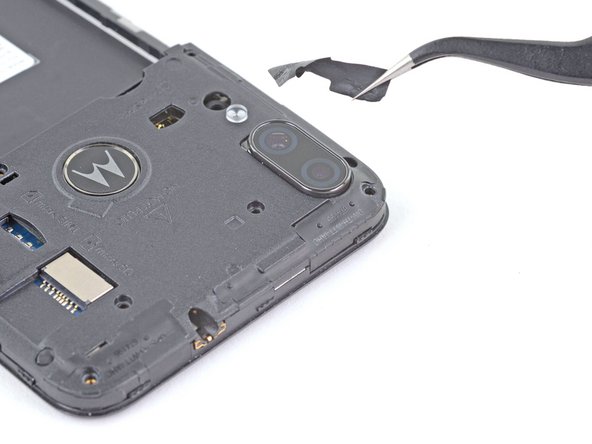
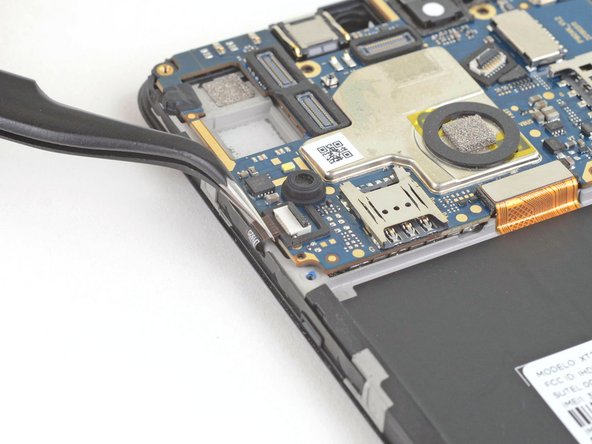
  7. Motorola Moto E6 Plus Motherboard Replacement, Remove the white sticker: 手順 7、 2の画像 1 Motorola Moto E6 Plus Motherboard Replacement, Remove the white sticker: 手順 7、 2の画像 2
    この手順で使用する道具:
    Tweezers
    $4.99
    購入する
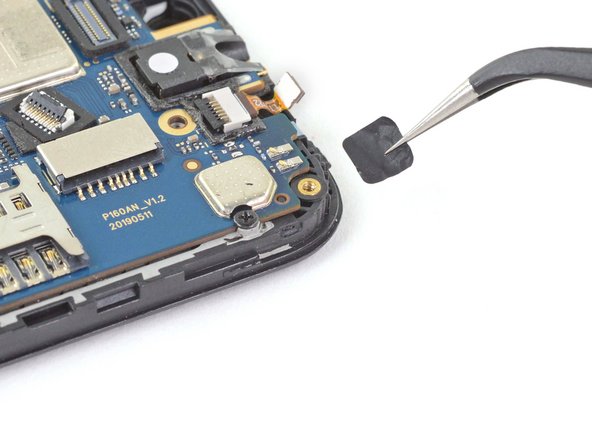
    • Use a pair of tweezers to remove the sticker covering the screw below the audio jack port.

  8. Motorola Moto E6 Plus Motherboard Replacement, Remove the screws: 手順 8、 1の画像 1
    • Use a Torx T3 driver to remove the five 3.6 mm-long screws securing the motherboard cover to the frame.

    • Use a Phillips screwdriver to remove the two 3.1 mm-long screws.

  9. Motorola Moto E6 Plus Motherboard Replacement, Peel back the button sticker: 手順 9、 2の画像 1 Motorola Moto E6 Plus Motherboard Replacement, Peel back the button sticker: 手順 9、 2の画像 2
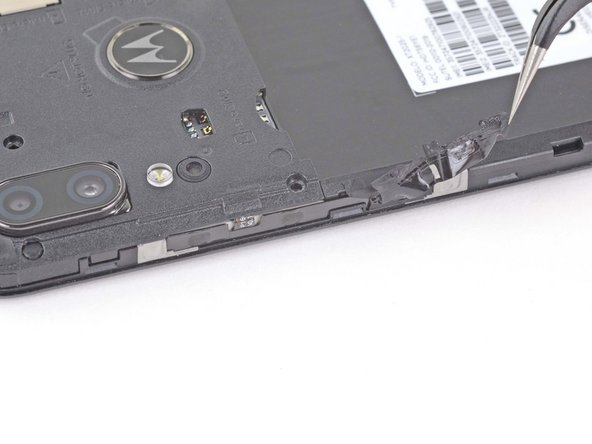
    • Use a pair of tweezers to peel back the sticker covering the volume buttons.

  10. Motorola Moto E6 Plus Motherboard Replacement, Pry up the motherboard cover: 手順 10、 3の画像 1 Motorola Moto E6 Plus Motherboard Replacement, Pry up the motherboard cover: 手順 10、 3の画像 2 Motorola Moto E6 Plus Motherboard Replacement, Pry up the motherboard cover: 手順 10、 3の画像 3
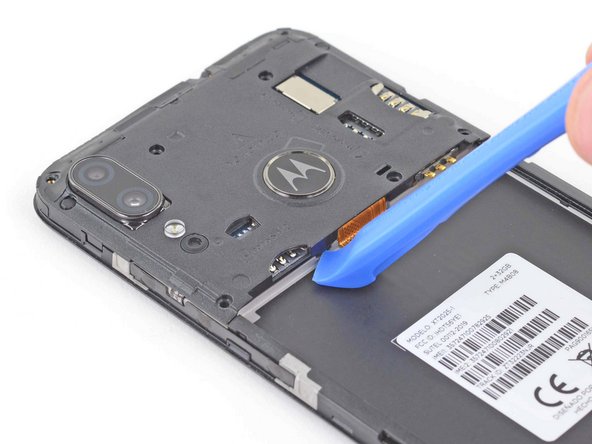
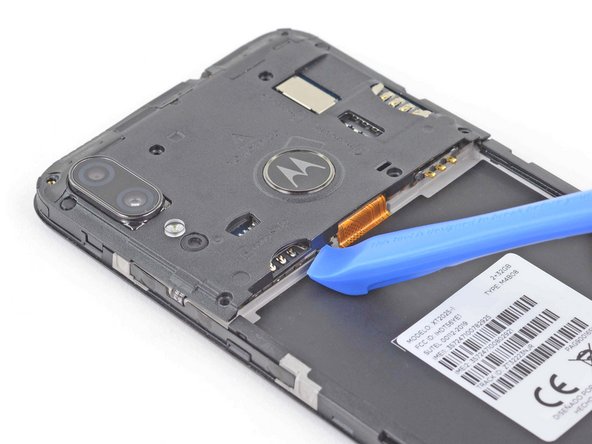
    • Use an opening tool to release the clip to the left of the motherboard flex cable.

  11. Motorola Moto E6 Plus Motherboard Replacement: 手順 11、 2の画像 1 Motorola Moto E6 Plus Motherboard Replacement: 手順 11、 2の画像 2
    • Insert a spudger along the left edge of the motherboard cover to loosen the clips.

  12. Motorola Moto E6 Plus Motherboard Replacement, Pry up the motherboard cover: 手順 12、 3の画像 1 Motorola Moto E6 Plus Motherboard Replacement, Pry up the motherboard cover: 手順 12、 3の画像 2 Motorola Moto E6 Plus Motherboard Replacement, Pry up the motherboard cover: 手順 12、 3の画像 3
    • Use an opening tool to release the clip next to the rear cameras.

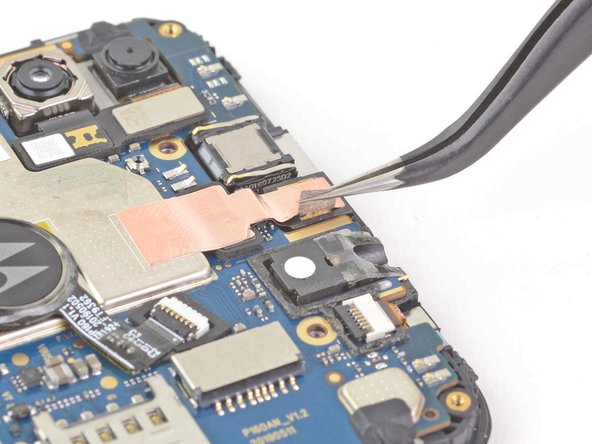
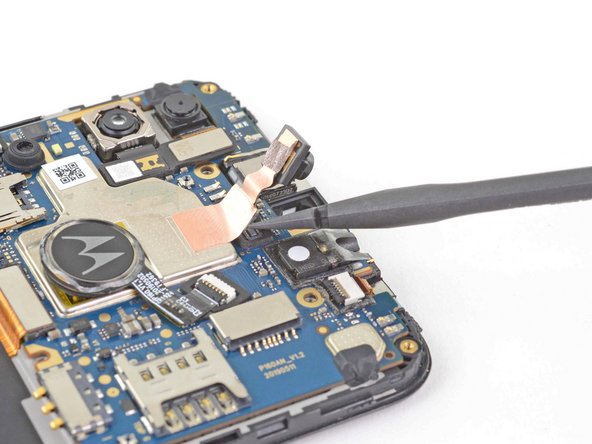
  13. Motorola Moto E6 Plus Motherboard Replacement: 手順 13、 3の画像 1 Motorola Moto E6 Plus Motherboard Replacement: 手順 13、 3の画像 2 Motorola Moto E6 Plus Motherboard Replacement: 手順 13、 3の画像 3
    • Use a pair of tweezers to peel off the sticker on the top edge of the motherboard cover.

  14. Motorola Moto E6 Plus Motherboard Replacement, Pry up the motherboard cover: 手順 14、 2の画像 1 Motorola Moto E6 Plus Motherboard Replacement, Pry up the motherboard cover: 手順 14、 2の画像 2
    • Use a spudger to lift up the left edge of the motherboard cover to loosen the clips.

  15. Motorola Moto E6 Plus Motherboard Replacement, Dislodge the fingerprint sensor: 手順 15、 2の画像 1 Motorola Moto E6 Plus Motherboard Replacement, Dislodge the fingerprint sensor: 手順 15、 2の画像 2
    • Use a spudger to push and dislodge the fingerprint sensor off of the motherboard cover.

    • The fingerprint sensor is secured to the underside of the motherboard cover with some light adhesive.

  16. Motorola Moto E6 Plus Motherboard Replacement, Remove the motherboard cover: 手順 16、 3の画像 1 Motorola Moto E6 Plus Motherboard Replacement, Remove the motherboard cover: 手順 16、 3の画像 2 Motorola Moto E6 Plus Motherboard Replacement, Remove the motherboard cover: 手順 16、 3の画像 3
    • Use your fingers to twist the motherboard cover counterclockwise to release the clips securing the motherboard cover.

  17. Motorola Moto E6 Plus Motherboard Replacement: 手順 17、 2の画像 1 Motorola Moto E6 Plus Motherboard Replacement: 手順 17、 2の画像 2
    • Remove the motherboard cover.

  18. Motorola Moto E6 Plus Motherboard Replacement, Peel back the tape: 手順 18、 2の画像 1 Motorola Moto E6 Plus Motherboard Replacement, Peel back the tape: 手順 18、 2の画像 2
    この手順で使用する道具:
    Tweezers
    $4.99
    購入する
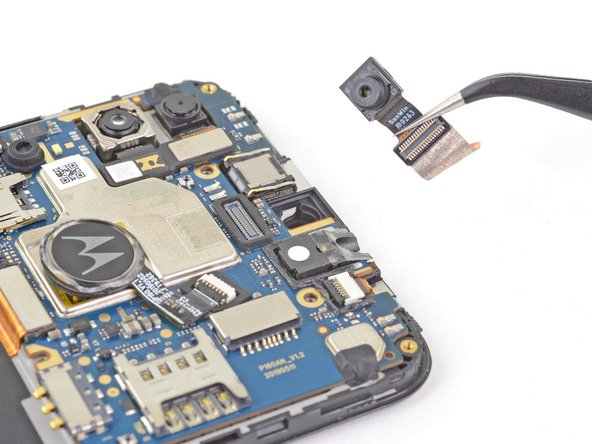
    • Use a pair of tweezers to peel back the tape securing the front camera to the motherboard.

  19. Motorola Moto E6 Plus Motherboard Replacement, Remove the front camera: 手順 19、 3の画像 1 Motorola Moto E6 Plus Motherboard Replacement, Remove the front camera: 手順 19、 3の画像 2 Motorola Moto E6 Plus Motherboard Replacement, Remove the front camera: 手順 19、 3の画像 3
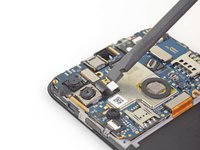
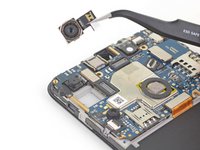
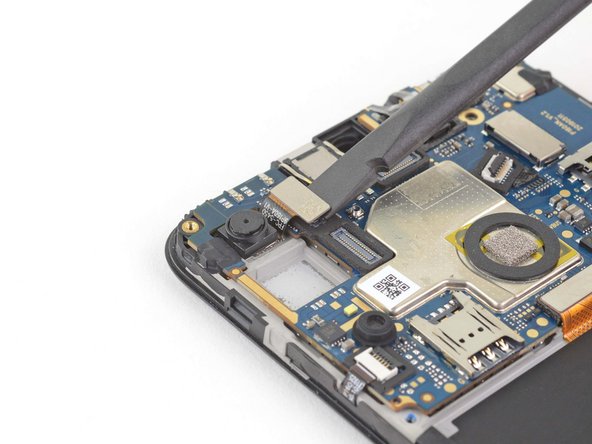
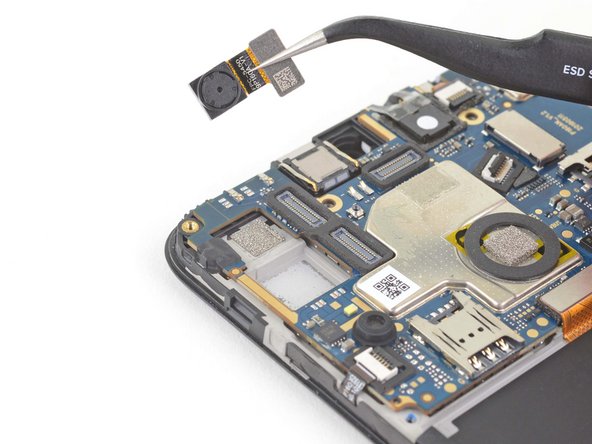
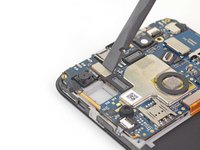
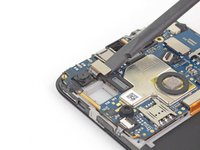
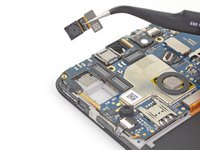
    • Use the flat end of a spudger to lift the front camera's press connector straight up to disconnect it from the motherboard.

    • Remove the front camera.

  20. Motorola Moto E6 Plus Motherboard Replacement, Remove the fingerprint sensor: 手順 20、 3の画像 1 Motorola Moto E6 Plus Motherboard Replacement, Remove the fingerprint sensor: 手順 20、 3の画像 2 Motorola Moto E6 Plus Motherboard Replacement, Remove the fingerprint sensor: 手順 20、 3の画像 3
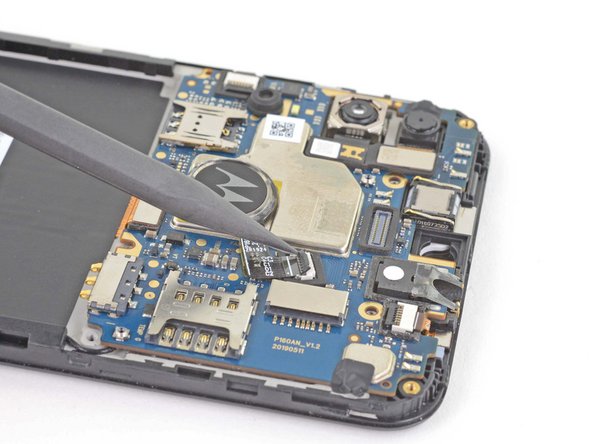
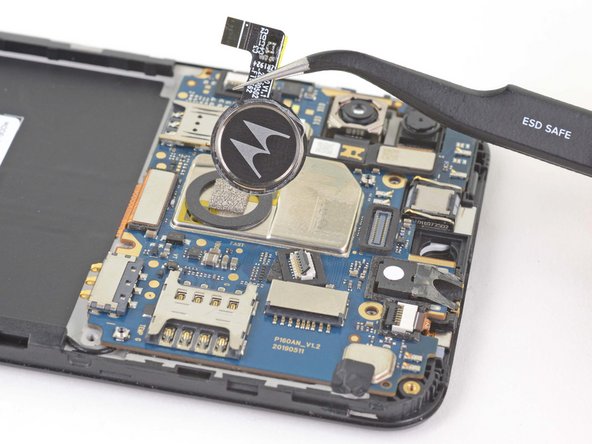
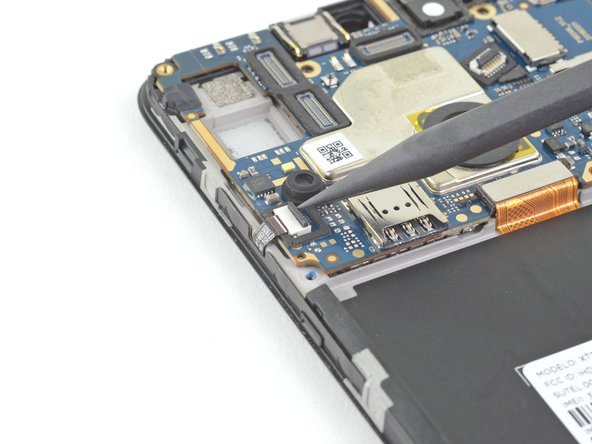
    • Use the tip of a spudger, an opening tool, or your fingernail to flip up the small, hinged locking flap on the fingerprint sensor ZIF connector.

    • Pull the fingerprint sensor ribbon cable straight out of the connector to remove it.

    • Remove the fingerprint sensor.

  21. Motorola Moto E6 Plus Motherboard Replacement, Remove the rear cameras: 手順 21、 3の画像 1 Motorola Moto E6 Plus Motherboard Replacement, Remove the rear cameras: 手順 21、 3の画像 2 Motorola Moto E6 Plus Motherboard Replacement, Remove the rear cameras: 手順 21、 3の画像 3
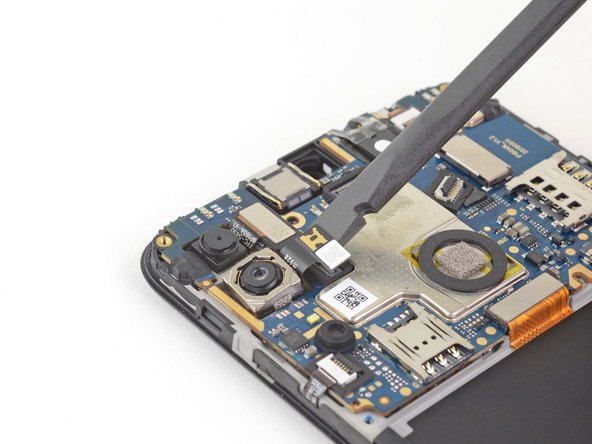
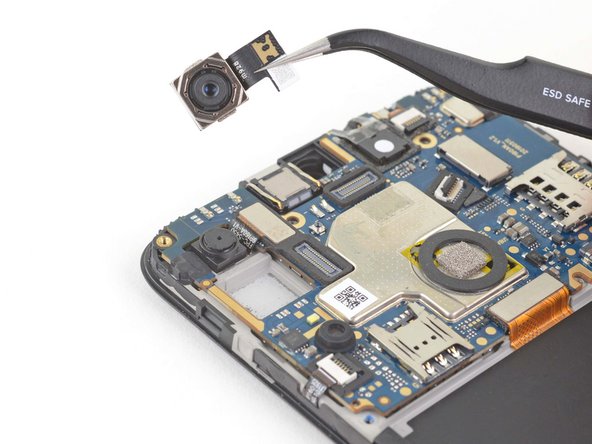
    • Use the flat end of a spudger to disconnect the rear camera from the motherboard by lifting straight up on the press connector.

    • Remove the rear camera.

  22. Motorola Moto E6 Plus Motherboard Replacement: 手順 22、 3の画像 1 Motorola Moto E6 Plus Motherboard Replacement: 手順 22、 3の画像 2 Motorola Moto E6 Plus Motherboard Replacement: 手順 22、 3の画像 3
    • Use the flat end of a spudger to disconnect the depth information camera from the motherboard by lifting straight up on the press connector.

    • Remove the depth information camera.

  23. Motorola Moto E6 Plus Motherboard Replacement: 手順 23、 3の画像 1 Motorola Moto E6 Plus Motherboard Replacement: 手順 23、 3の画像 2 Motorola Moto E6 Plus Motherboard Replacement: 手順 23、 3の画像 3
    この手順で使用する道具:
    Tweezers
    $4.99
    購入する
    • Use the tip of a spudger, an opening tool, or your fingernail to flip up the small, hinged locking flap on the button ZIF connector.

    • Use a pair of tweezers to pull the button ribbon cable straight out of the connector.

  24. Motorola Moto E6 Plus Motherboard Replacement, Disconnect the motherboard flex cable: 手順 24、 2の画像 1 Motorola Moto E6 Plus Motherboard Replacement, Disconnect the motherboard flex cable: 手順 24、 2の画像 2
    • Use the flat end of a spudger to disconnect the motherboard flex cable by lifting straight up on the press connector.

  25. Motorola Moto E6 Plus Motherboard Replacement: 手順 25、 2の画像 1 Motorola Moto E6 Plus Motherboard Replacement: 手順 25、 2の画像 2
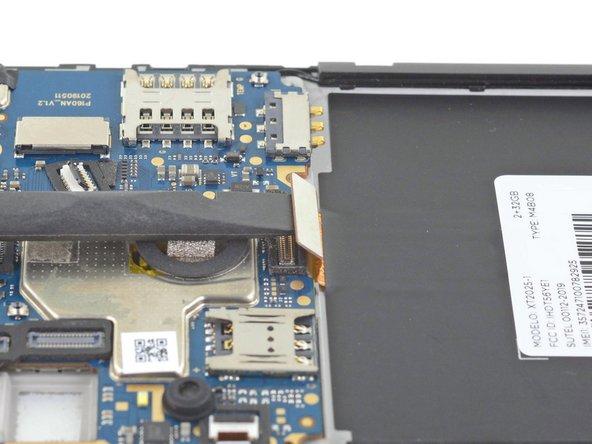
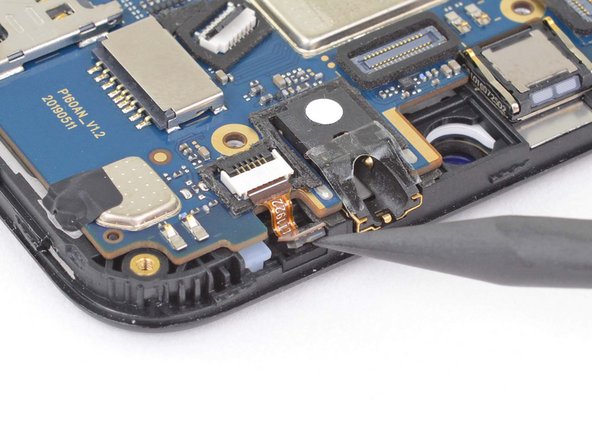
    • Use the pointed end of a spudger to pry the IR sensor out of the frame.

    • Remove the IR sensor gasket from the frame.

  26. Motorola Moto E6 Plus Motherboard Replacement, Remove the stickers: 手順 26、 2の画像 1 Motorola Moto E6 Plus Motherboard Replacement, Remove the stickers: 手順 26、 2の画像 2
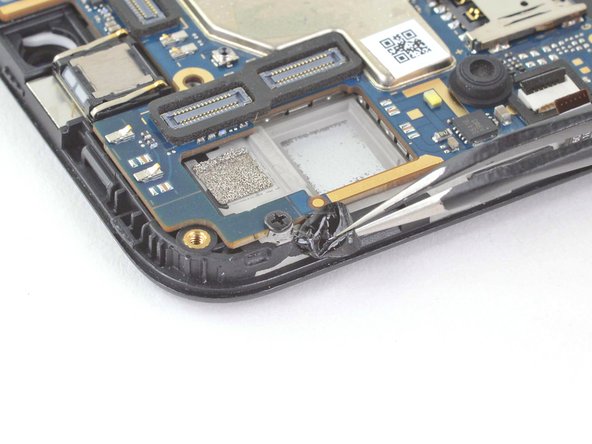
    • Use a pair of tweezers to peel off the tape covering the right motherboard screw.

  27. Motorola Moto E6 Plus Motherboard Replacement: 手順 27、 2の画像 1 Motorola Moto E6 Plus Motherboard Replacement: 手順 27、 2の画像 2
    • Use a pair of tweezers to peel off the tape covering the left motherboard screw.

  28. Motorola Moto E6 Plus Motherboard Replacement: 手順 28、 1の画像 1
    • Use a Phillips screwdriver to remove the two 3.1 mm-long screws securing the motherboard to the frame.

    • Do not attempt to completely remove the motherboard until the coaxial cable is disconnected.

  29. Motorola Moto E6 Plus Motherboard Replacement: 手順 29、 3の画像 1 Motorola Moto E6 Plus Motherboard Replacement: 手順 29、 3の画像 2 Motorola Moto E6 Plus Motherboard Replacement: 手順 29、 3の画像 3
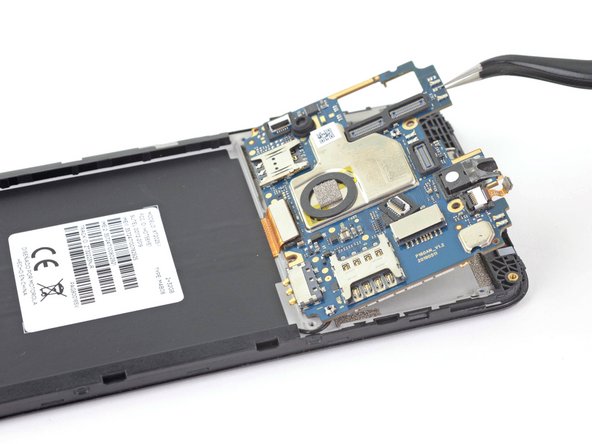
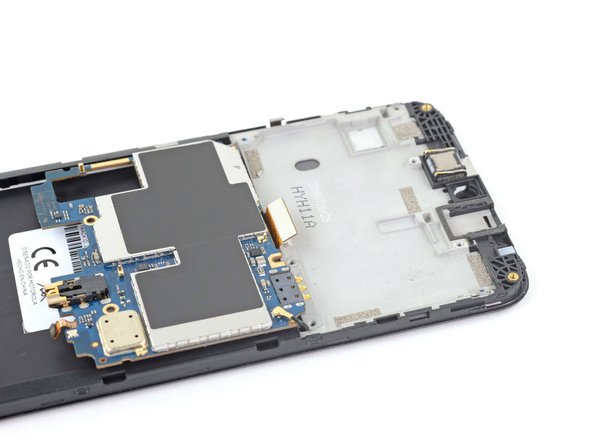
    • Flip the motherboard assembly over.

  30. Motorola Moto E6 Plus Motherboard Replacement: 手順 30、 2の画像 1 Motorola Moto E6 Plus Motherboard Replacement: 手順 30、 2の画像 2
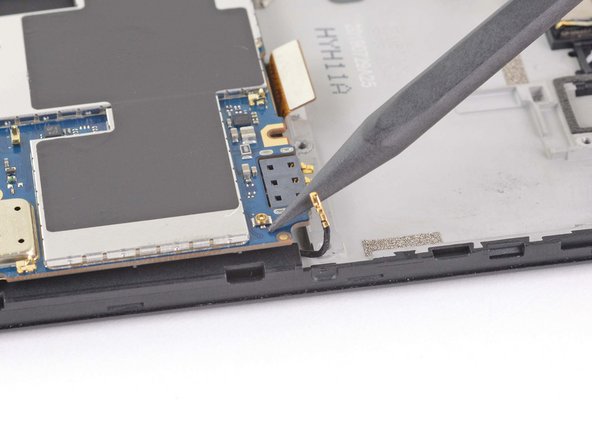
    • Use the pointed end of a spudger to disconnect the coaxial cable by prying up on the cable as close to the connector as possible.

  31. Motorola Moto E6 Plus Motherboard Replacement: 手順 31、 1の画像 1
    • Remove the motherboard.

  32. Motorola Moto E6 Plus Motherboard Replacement, Remove the IR sensor: 手順 32、 2の画像 1 Motorola Moto E6 Plus Motherboard Replacement, Remove the IR sensor: 手順 32、 2の画像 2
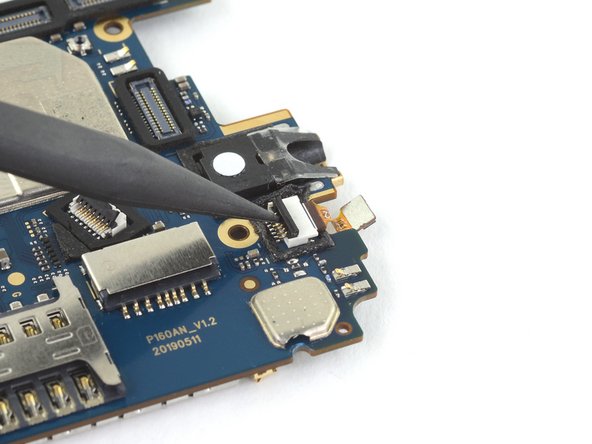
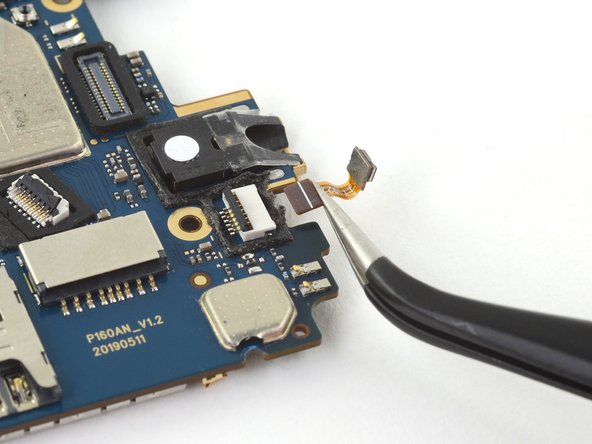
    • Use the tip of a spudger, an opening tool, or your fingernail to flip up the small, hinged locking flap on the IR sensor ZIF connector.

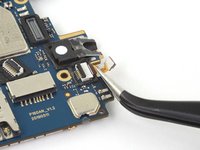
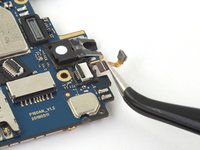
  33. Motorola Moto E6 Plus Motherboard Replacement: 手順 33、 2の画像 1 Motorola Moto E6 Plus Motherboard Replacement: 手順 33、 2の画像 2
    • Use a pair of tweezers to pull the IR sensor ribbon cable straight out of the connector.

    • Only the motherboard remains.

終わりに

To reassemble your device, follow these instructions in reverse order.

Take your e-waste to an R2 or e-Stewards certified recycler.

Repair didn’t go as planned? Try some basic troubleshooting, or ask our Motorola Moto E6 Plus Answers community for help.

ある他の人がこのガイドを完成しました。

作成者

2人の作成者と共同で作成されました。

Robert Boyd

メンバー登録日: 02/01/21

26,668 ポイント

94のガイドは作成済み

0 件のコメント

コメントを追加

統計データ:

過去 24時間: 1

過去 7 日: 3

過去 30 日: 24

今までの合計 883