はじめに
The LCD Screen Replacement is one of the trickier guides. The LCD screen is attached on adhesive foam tape that may be difficult to pry off. However, once you are able to remove the LCD Screen, the replacement itself is fairly simple.
必要な工具と部品
-
-
-
Using the Phillips #1 screwdriver, remove the battery cover screw.
-
Remove the battery cover from its hinges and set aside.
 FixBotに聞いてみる
-
-
この手順で使用する道具:Tweezers$4.99
-
Lift the battery from its slot.
-
Using precision tweezers, grip the connector plug.
-
Wiggle the connector plug and pull up to remove the connecting wires.
-
Remove the battery from the unit and set it aside.
-
-
-
-
-
-
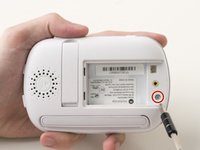
Using the Phillips #1 screwdriver, remove the 7mm screw under the battery cover.
-
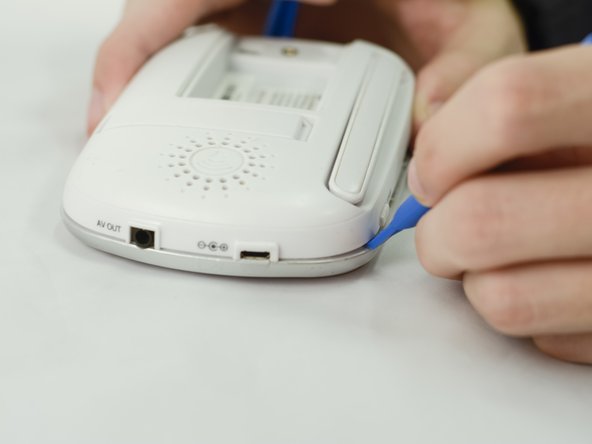
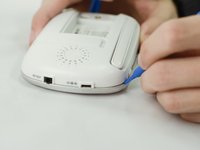
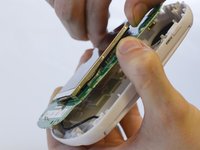
Using the blue plastic opening tools, begin prying open the corners and disconnecting the seven clasps around the edges of the parent unit.
-
-
-
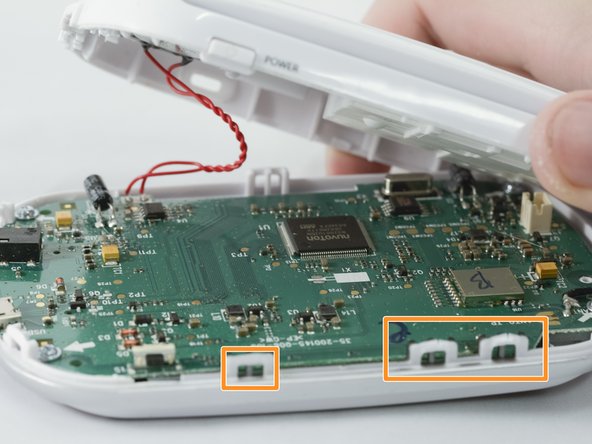
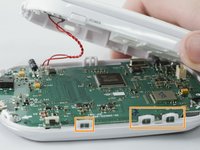
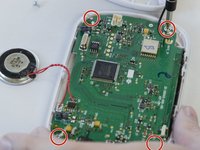
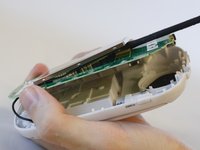
Using the Phillips #1 screwdriver, remove the 5.5mm screws holding the circuit board to the shell.
-
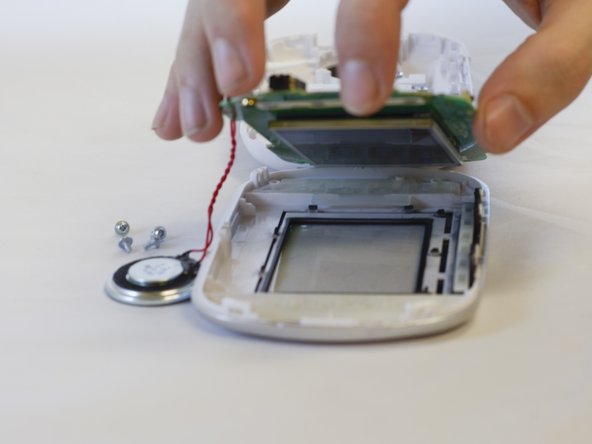
Lift the circuit board from the face of the shell, the back should still be connected by the antenna and the speaker.
-
-
-
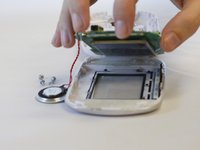
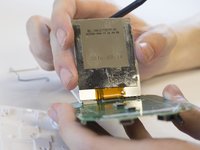
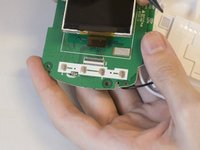
Using the flat end of the spudger tool, wedge the tool between the foam layer and the circuit board.
-
Using the spudger and your fingers, pry the screen from the circuit board.
-
-
-
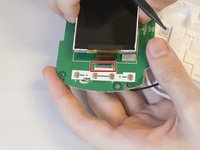
Gripping the screen with your fingers, gently pull and wiggle back and fourth until the circuit ribbon detaches from the circuit board.
-
-


To reassemble your device, follow these instructions in reverse order.
3 の人々がこのガイドを完成させました。

チーム

Eastern Washington University, Team S2-G5, Crane Fall 2017 Eastern Washington University, Team S2-G5, Crane Fall 2017人のメンバー
EWU-CRANE-F17S2G5
4 メンバー
10のガイドは作成済み