メインコンテンツにスキップ
リペアコミュニティに参加 - アカウントの作成

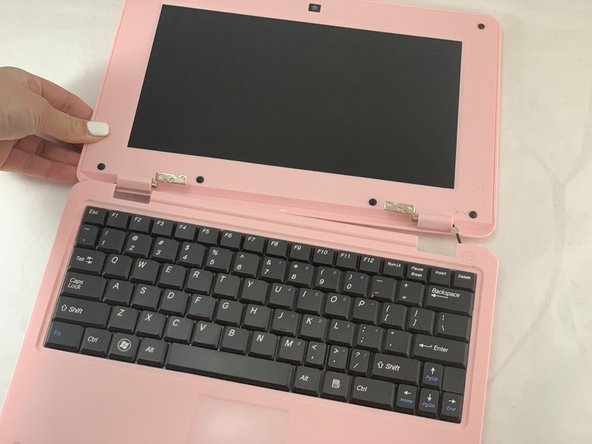
Maylong MN-1000P Screen Replacement

必要な工具と部品

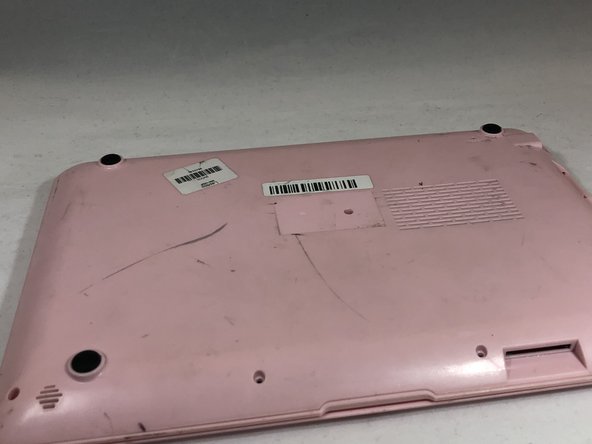
    1. Maylong MN-1000P Screen Replacement, Bottom Cover: 手順 1、 1の画像 1
      • Place the netbook top down, with the opening of the netbook facing you.

      FixBotに聞いてみる

      コメントを追加

    2. Maylong MN-1000P Screen Replacement: 手順 2、 1の画像 1
      • Remove the six 6mm Phillips #00 screws from the netbook.

      FixBotに聞いてみる

      コメントを追加

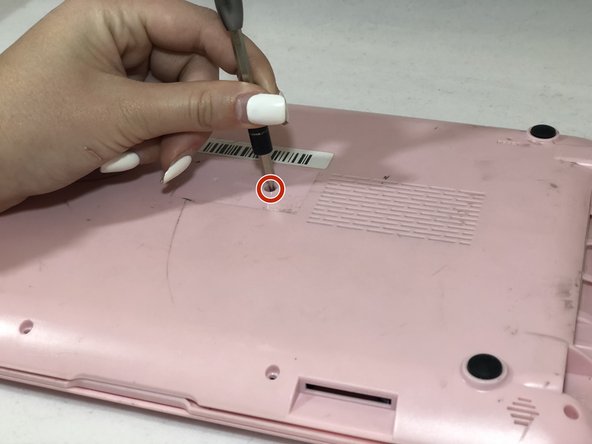
    3. Maylong MN-1000P Screen Replacement: 手順 3、 3の画像 1 Maylong MN-1000P Screen Replacement: 手順 3、 3の画像 2 Maylong MN-1000P Screen Replacement: 手順 3、 3の画像 3
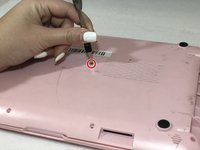
      • Remove the sticker in the middle of the netbook.

      • Remove the middle 6mm Phillips #00 screw.

      FixBotに聞いてみる

      コメントを追加

    4. Maylong MN-1000P Screen Replacement: 手順 4、 1の画像 1
      • Using two plastic opening tools, pry off the bottom of the netbook by going around the edges.

      FixBotに聞いてみる

      コメントを追加

    5. Maylong MN-1000P Screen Replacement: 手順 5、 1の画像 1
      • Remove the bottom of the netbook by lifting the corners.

      FixBotに聞いてみる

      コメントを追加

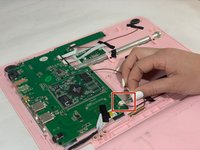
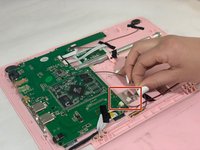
    1. Maylong MN-1000P Screen Replacement, Battery: 手順 6、 2の画像 1 Maylong MN-1000P Screen Replacement, Battery: 手順 6、 2の画像 2
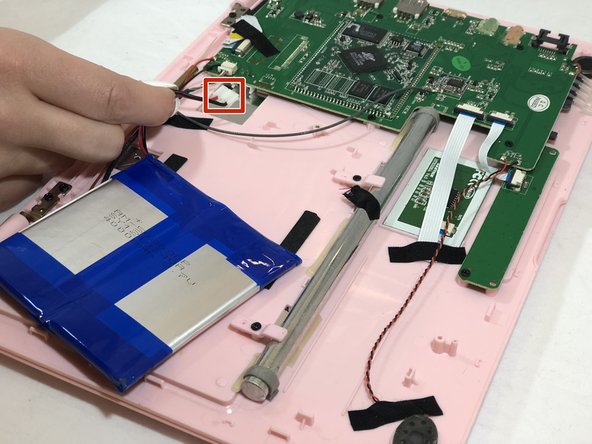
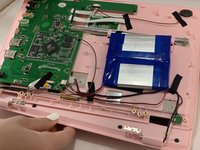
      • Pinch the red and black wires connected to the section closest to the small white connector, and pull to remove them from the motherboard.

      FixBotに聞いてみる

      コメントを追加

    1. Maylong MN-1000P Screen Replacement, Screen: 手順 7、 1の画像 1
      • Remove the six 6mm Phillips #00 screws from both sides of the netbook.

      FixBotに聞いてみる

      コメントを追加

    2. Maylong MN-1000P Screen Replacement: 手順 8、 2の画像 1 Maylong MN-1000P Screen Replacement: 手順 8、 2の画像 2
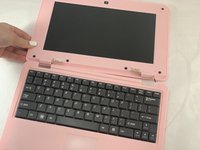
      • Pull the top of the computer and the back side of the computer away from each other until they are detached.

      • Flip the entire computer over so you can see both the screen and keyboard.

      FixBotに聞いてみる

      コメントを追加

    3. Maylong MN-1000P Screen Replacement: 手順 9、 2の画像 1 Maylong MN-1000P Screen Replacement: 手順 9、 2の画像 2
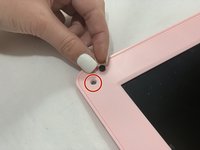
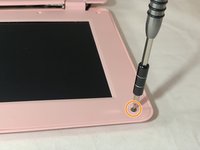
      • Remove all the black circular pads from around the screen.

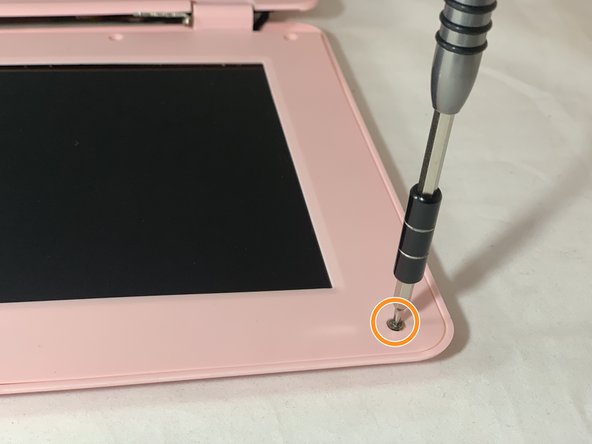
      • Remove all 6mm Phillips #00 screws from around the screen bezel.

      FixBotに聞いてみる

      コメントを追加

    4. Maylong MN-1000P Screen Replacement: 手順 10、 1の画像 1
      • Using a plastic opening tool, pry off the screen bezel.

      • After detaching the screen bezel, pull up on the bezel near the hinge area.

      FixBotに聞いてみる

      コメントを追加

    5. Maylong MN-1000P Screen Replacement: 手順 11、 1の画像 1
      この手順で使用する道具:
      Tweezers
      $4.99
      • Use tweezers to gently pull on the black and white wires at the top of the netbook until the white connector detaches.

      FixBotに聞いてみる

      コメントを追加

    6. Maylong MN-1000P Screen Replacement: 手順 12、 1の画像 1
      • Use your fingers to pull on the green, red, black, and white intertwined wires at the bottom of the netbook until the white connector detaches.

      FixBotに聞いてみる

      コメントを追加

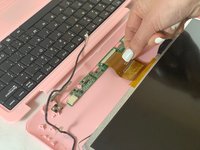
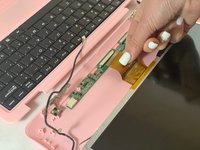
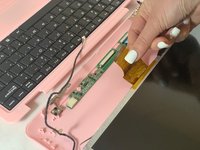
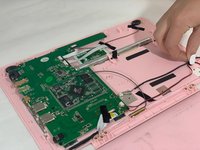
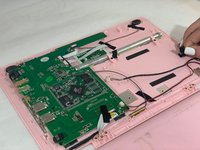
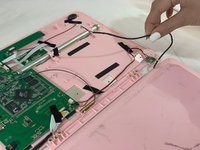
    7. Maylong MN-1000P Screen Replacement: 手順 13、 3の画像 1 Maylong MN-1000P Screen Replacement: 手順 13、 3の画像 2 Maylong MN-1000P Screen Replacement: 手順 13、 3の画像 3
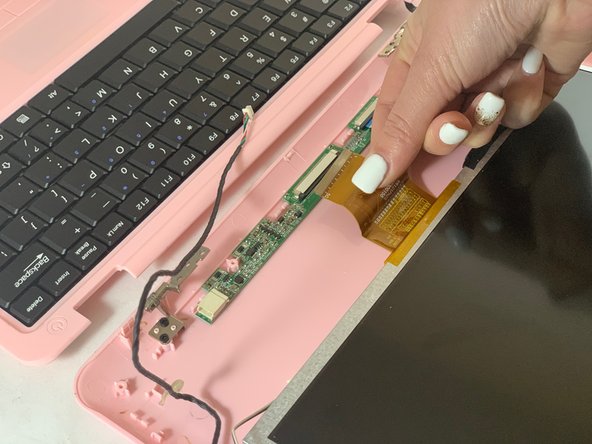
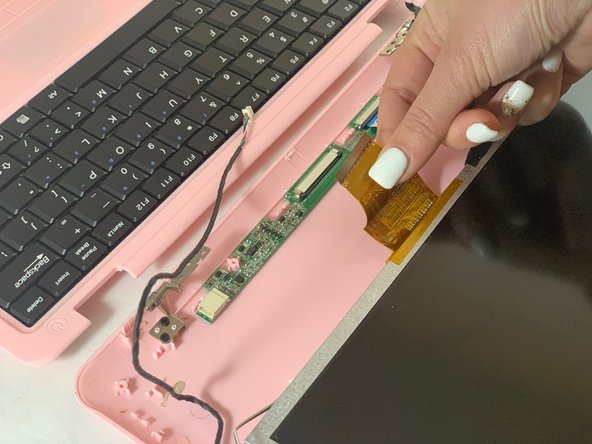
      • Detach the wide yellow ribbon cable connected to the screen from the computer.

      FixBotに聞いてみる

      コメントを追加

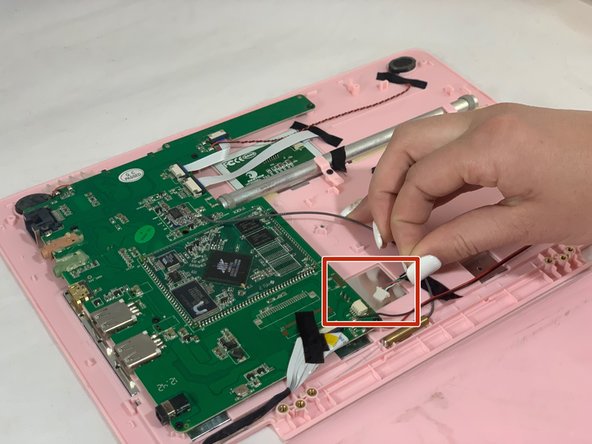
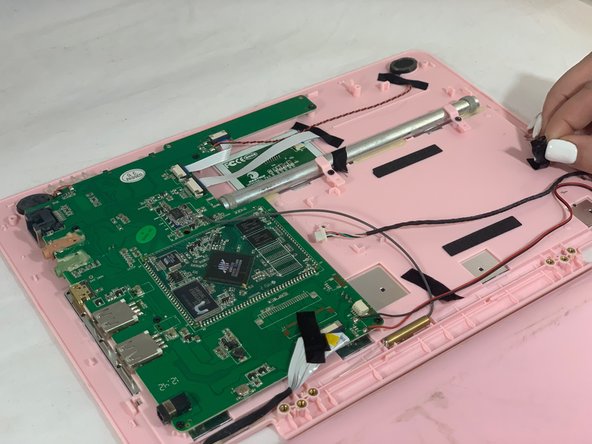
    8. Maylong MN-1000P Screen Replacement: 手順 14、 2の画像 1 Maylong MN-1000P Screen Replacement: 手順 14、 2の画像 2
      • Flip the computer over.

      • Disconnect the red, green, black, and white intertwined wires from the connector to the motherboard.

      FixBotに聞いてみる

      コメントを追加

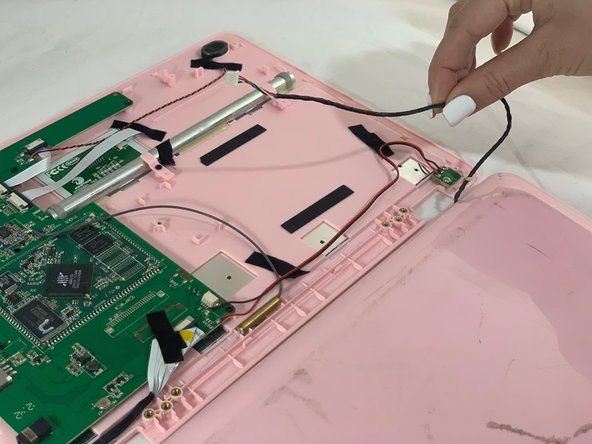
    9. Maylong MN-1000P Screen Replacement: 手順 15、 3の画像 1 Maylong MN-1000P Screen Replacement: 手順 15、 3の画像 2 Maylong MN-1000P Screen Replacement: 手順 15、 3の画像 3
      • Remove the black tape holding down the red, green, black, and white intertwined wires.

      • Remove the screen.

      FixBotに聞いてみる

      コメントを追加

終わりに

To reassemble your device, follow these instructions in reverse order.

キャンセル: このガイドを終了できませんでした。

作成者

5人の作成者と共同で作成されました。

katelyn buckman

メンバー登録日: 01/13/20

553 ポイント

5のガイドは作成済み

チーム

0件のガイドコメント

コメントを追加

統計データ:

過去 24時間: 1

過去 7 日: 4

過去 30 日: 19

今までの合計 389