メインコンテンツにスキップ
リペアコミュニティに参加 - アカウントの作成

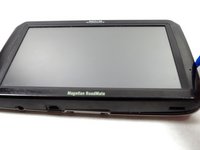
Magellan Roadmate 9055-LM Power Button Replacement

必要な工具と部品

    1. Magellan Roadmate 9055-LM Power Button Replacement, Magellan Roadmate 9055-LM Back Panel Disassembly: 手順 1、 1の画像 1
      • Flip your device with back panel facing up.

      FixBotに聞いてみる
      コメントを追加

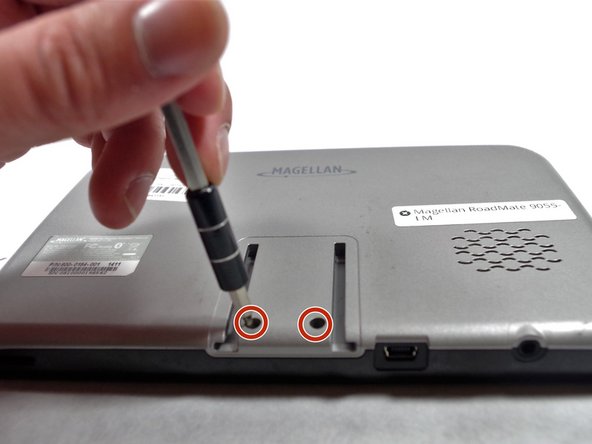
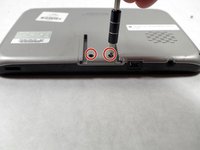
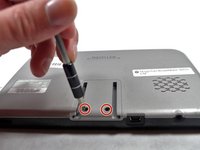
    2. Magellan Roadmate 9055-LM Power Button Replacement: 手順 2、 3の画像 1 Magellan Roadmate 9055-LM Power Button Replacement: 手順 2、 3の画像 2 Magellan Roadmate 9055-LM Power Button Replacement: 手順 2、 3の画像 3
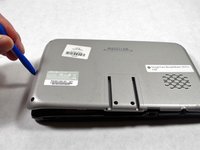
      • Unscrew four Phillips #0 screws from the back panel.

      FixBotに聞いてみる

      コメントを追加

    3. Magellan Roadmate 9055-LM Power Button Replacement: 手順 3、 2の画像 1 Magellan Roadmate 9055-LM Power Button Replacement: 手順 3、 2の画像 2
      • Unscrew two Phillips #0 screws from the back panel.

      FixBotに聞いてみる

      コメントを追加

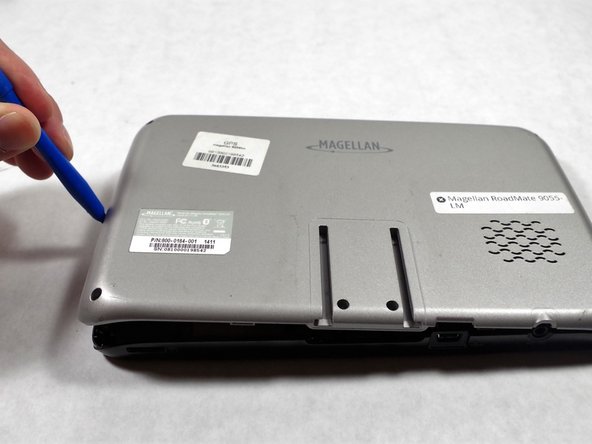
    4. Magellan Roadmate 9055-LM Power Button Replacement: 手順 4、 2の画像 1 Magellan Roadmate 9055-LM Power Button Replacement: 手順 4、 2の画像 2
      • Use a plastic opening tool to pop the right side of the panel.

      FixBotに聞いてみる

      コメントを追加

    5. Magellan Roadmate 9055-LM Power Button Replacement: 手順 5、 1の画像 1
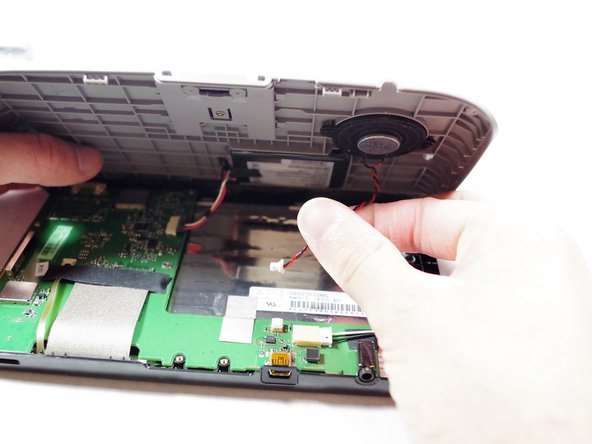
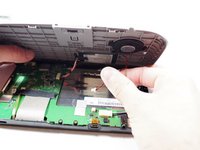
      • Lifting the back panel too quickly or forcefully may damage the speaker cable and battery cable, which are still attached underneath.

      • Gently lift up the back panel.

      FixBotに聞いてみる

      コメントを追加

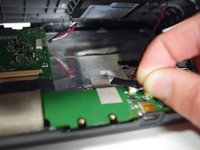
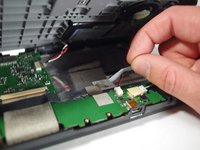
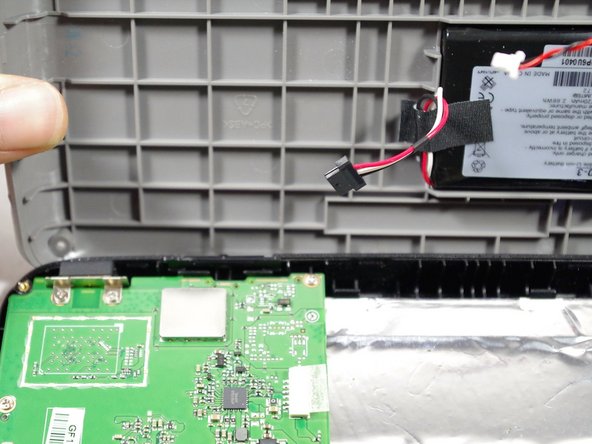
    6. Magellan Roadmate 9055-LM Power Button Replacement: 手順 6、 3の画像 1 Magellan Roadmate 9055-LM Power Button Replacement: 手順 6、 3の画像 2 Magellan Roadmate 9055-LM Power Button Replacement: 手順 6、 3の画像 3
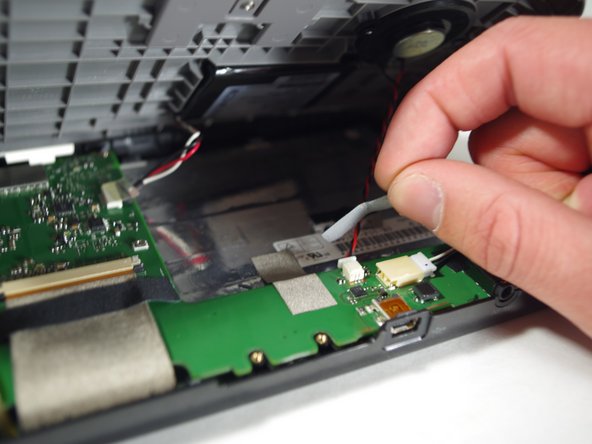
      • Remove the tape.

      • Unplug the cable for the speaker.

      FixBotに聞いてみる

      コメントを追加

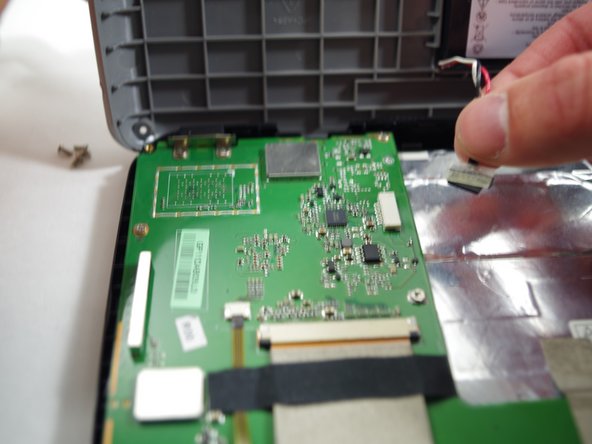
    7. Magellan Roadmate 9055-LM Power Button Replacement: 手順 7、 3の画像 1 Magellan Roadmate 9055-LM Power Button Replacement: 手順 7、 3の画像 2 Magellan Roadmate 9055-LM Power Button Replacement: 手順 7、 3の画像 3
      • Remove the cable of the battery.

      • Tape removal is not necessary.

      FixBotに聞いてみる

      コメントを追加

    8. Magellan Roadmate 9055-LM Power Button Replacement: 手順 8、 1の画像 1
      • Place the back panel gently on the table.

      FixBotに聞いてみる

      コメントを追加

    1. Magellan Roadmate 9055-LM Power Button Replacement, Power Button: 手順 9、 1の画像 1
      • After the back panel is placed on the table, you must need to locate the starting button.

      FixBotに聞いてみる

      コメントを追加

    2. Magellan Roadmate 9055-LM Power Button Replacement: 手順 10、 1の画像 1
      • It is easily removable and can now be replaced.

      FixBotに聞いてみる

      コメントを追加

終わりに

To reassemble your device, follow these instructions in reverse order.

キャンセル: このガイドを終了できませんでした。

作成者

3人の作成者と共同で作成されました。

Giovanni

メンバー登録日: 10/18/16

313 ポイント

3のガイドは作成済み

チーム

UMass Dartmouth, Team 1-5, Catania Fall 2016 UMass Dartmouth, Team 1-5, Catania Fall 2016人のメンバー

UMASSD-CATANIA-F16S1G5

3 メンバー

28のガイドは作成済み

0件のガイドコメント

コメントを追加

統計データ:

過去 24時間: 1

過去 7 日: 5

過去 30 日: 21

今までの合計 290