この翻訳は機械によって生成されたものであり、まだ人間による校正は行われていません。 日本語を話せますか? レビューはこちらから。
はじめに
故障した冷却ファンの交換は比較的簡単で、ノートパソコンの冷却性能を維持できます。
必要な工具と部品
-
-
-
-
-
以下の3本のネジを外します:
-
下部ケース中央のプラスネジ(11 mm):1本(頭部直径:5 mm、厚さ:0.75 mm)
-
プラスネジ(14.5 mm):2本(頭部直径:5 mm、厚さ:0.75 mm)
-
-
-
バッテリー筐体の背面にある次の3本のネジを取り外します。
-
プラスネジ #0:3 mm(頭部径:2.75 mm)× 1本
-
プラスネジ #0:4 mm(頭部径:2.75 mm)× 両側2本
-
-
-
バッテリー筐体の右側の壁の両端にある2本のプラスネジを取り外します(バッテリーコネクタに近いネジではありません)。
-
6.25 mm プラスネジ #000 × 2本(頭部:直径 4 mm × 厚さ 0.5 mm)
-
-
-
-
バッテリー筐体の前壁にある、示された4本のプラスネジを外す。左側から作業する場合、2番目、4番目、7番目、9番目のネジを外す。
-
3.25 mm プラスネジ #000 4本(頭部:直径4 mm × 厚さ4 mm)
-
-
-
コンピューターの背面から以下のネジを4本外します:
-
11 mm プラスネジ #00(シャンク部:直径2.2 mm × 長さ2 mm)(頭部:直径3.2 mm × 厚さ0.5 mm)を2本
-
7.25 mm プラスネジ #00(シャンク部:直径2 mm × 長さ3.75 mm)(頭部:直径3.2 mm × 厚さ0.5 mm)を2本
-
-
-
光学ドライブ(右)側のプラスネジ2本を外します。
-
5.2mmプラス#00ネジが2本、シャンク付き(直径2.3mm x 長さ3.25mmの長さ)(ネジ頭:直径3.2mm x 厚さ0.5mmの厚み)
-
-
この手順で使用する道具:Plastic Cards$2.99
-
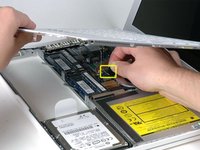
オープニングツールや使用済みのプラスチック製クレジットカード、あるいは同程度の厚さのカードを使用して、左上隅からコンピュータ前面に向かってアッパーケースを上にこじ開けます。
-
-
-
-
-
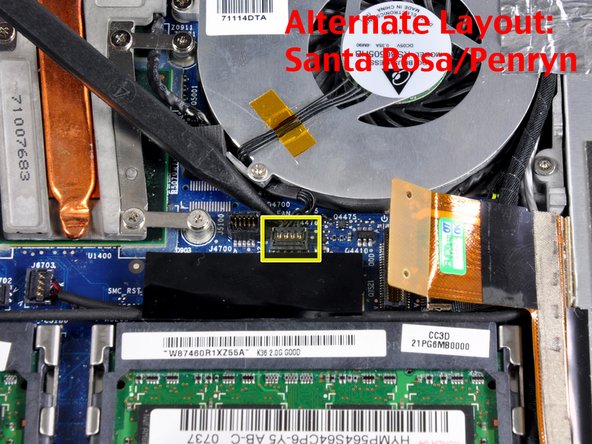
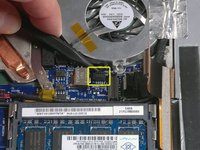
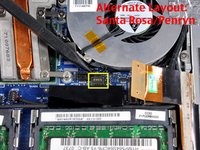
スパッジャーを使用して、グレーのディスプレイケーブルと黒のスピーカーケーブルを右側に移動します。これにより、ファンハウジングをロワーケースに固定している銀色のネジが露出します。
-

 FixBotに聞いてみる






デバイスを再組み立てするには、これらのインストラクションを逆の順番に従って作業を進めてください。
309 の人々がこのガイドを完成させました。

23件のガイドコメント
My wife's MacBook has been overheating for some time, and then shutting itself down. Your instructions were great, but I did note that I needed to unscrew the cable tie near the speaker in Step 17.
The system had some dust in it, used the air can to spray it all out. Dust was on the heatsink vents, too. Closed it all up, and peak temps during a software install that crashed it three times yesterday was 145F - yesterday it was passing 170F and crashing.
Thanks for the instructions, ifixit!
Download and print out the PDF version of the repair guide. Tape the screws to their corresponding image in the guide so that you can't go wrong!
Good Idea. I generally sketch up rough diagrams and putsmall pieces of double sided tapes and stick the screws on my drawing.
Sandeep Giri - 返信 共有
