はじめに
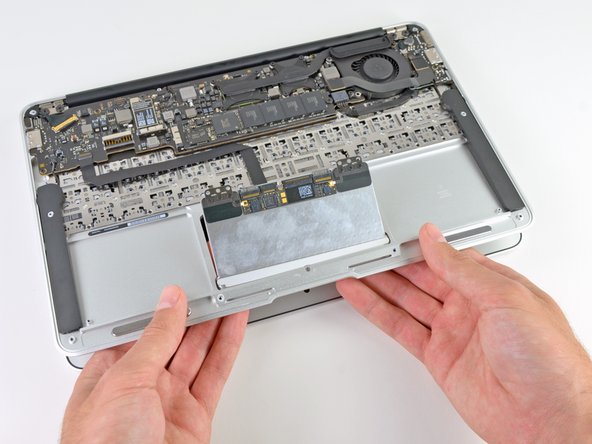
MacBook Air 11" Late 2010からトラックパッドを取り外します。
必要な工具と部品
-
-
-
バッテリーをロジックボードに近い上端から持ち上げ、上部ケースから取り外します。
-
100%になるまで充電します。充電後も最低2時間はプラグを繋げたままにします。それからプラグを外して、通常通り使用しながら、自然に放電させます。バッテリー残量小のサインが表示されたら、これまでの作業を保存して、スリープ状態になるまで放置してください。スリープ状態に入ったら、少なくとも5時間置きます。それから一気に100%まで充電します。
-
新しいバッテリーを装着後、通常通り作動しない場合は、MacBook ProのSMCをリセットしなければならない可能性があります。
-
-
-
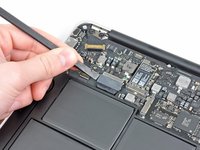
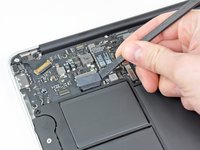
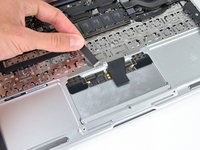
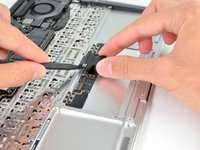
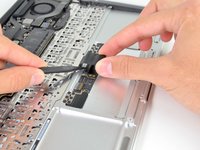
スパッジャーの先端を使いトラックパッドデータケーブルZIFコネクターの保持フラップを持ち上げます。
-
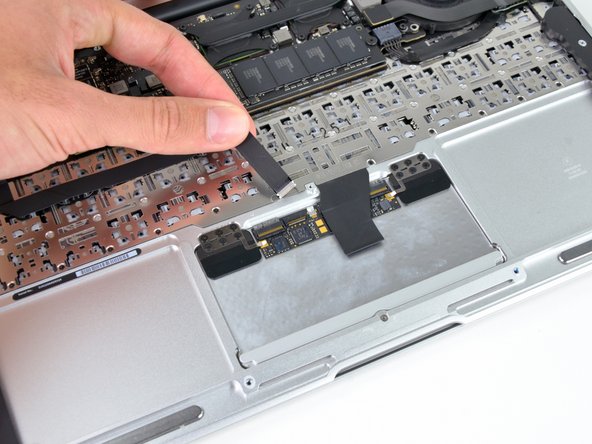
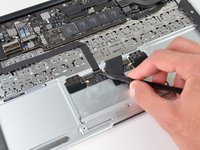
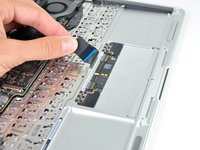
トラックパッドのリボンケーブルをZIFコネクターから徐々に引き出します。
-
デバイスを再組み立てする際は、これらの手順を逆の順番に従って作業を進めてください。
デバイスを再組み立てする際は、これらの手順を逆の順番に従って作業を進めてください。
28 の人々がこのガイドを完成させました。
以下の翻訳者の皆さんにお礼を申し上げます:
100%
sfukukawaさんは世界中で修理する私たちを助けてくれています! あなたも貢献してみませんか?
翻訳を始める ›
4 件のコメント
I did it! Replaced the trackpad after the MacBook Air took a dive from a stand, which fortunately just shattered the trackpad's glass. Thanks for the easy to use instructions!
Just one note on step 8: I had to use a PH000 (triple 0) instead of the double 0 - almost destroyed one of the screws before realising.
Best regards,
StH
The trackpad from my macbook air would not click anymore. The pointer still worked, i could still tap and hoover around.
My guess was that something fell between the trackpad and the housing.
And I was right, it was a bread crumb or else of a little seed.
While following this guide, I saw that a little magnet underneath the unibody is lifting the trackpad up again, after being pushed down. Right in that tiny space was the little bugger :)
I'm with Stefan, about his comment by step 8. I actually did destroy one screw (there sat really, really tight) and had to use brute force with a pincer and a tip of WD-40 to loosen it. It seems like Apple took that into account, since there are enough to leave one out :)
I had the same issue, non-clicking mouse, and a dis-assembly & light clean also sorted me out. Thanks everyone!
pabz -
Replacement went well - iFixit guide marvellous as usual and replacement trackpad performs perfectly. So good to resurrect
the trusty MB Air!


