メインコンテンツにスキップ
リペアコミュニティに参加 - アカウントの作成

Logitech UE Hyperboom Bottom Panel Replacement

必要な工具と部品

  1. Logitech UE Hyperboom Bottom Panel Replacement, Handle: 手順 1、 2の画像 1 Logitech UE Hyperboom Bottom Panel Replacement, Handle: 手順 1、 2の画像 2
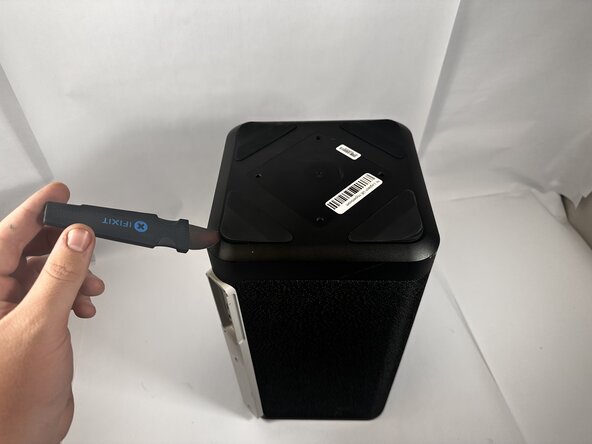
    • Unscrew the two black flat-top screws that attach the handle to the speaker with your hands.

    • You may need pliers to grip the screws.

  2. Logitech UE Hyperboom Bottom Panel Replacement, Bottom Panel: 手順 2、 2の画像 1 Logitech UE Hyperboom Bottom Panel Replacement, Bottom Panel: 手順 2、 2の画像 2
    • Use the Jimmy to pry off the four rubber feet on the bottom of the speaker.

  3. Logitech UE Hyperboom Bottom Panel Replacement: 手順 3、 3の画像 1 Logitech UE Hyperboom Bottom Panel Replacement: 手順 3、 3の画像 2 Logitech UE Hyperboom Bottom Panel Replacement: 手順 3、 3の画像 3
    • Use a Phillips #0 screwdriver to remove all twelve 11.7mm screws from the bottom panel of the speaker.

    • Pull the panel off to access the internal components.

終わりに

To reassemble your device, follow these instructions in reverse order.

ある他の人がこのガイドを完成しました。

作成者

2人の作成者と共同で作成されました。

Ethan Abbott

メンバー登録日: 03/10/26

643 ポイント

6のガイドは作成済み

チーム

Idaho State University, Team 1-2, Watkins Spring 2026 Idaho State University, Team 1-2, Watkins Spring 2026人のメンバー

ISU-WATKINS-S26S1G2

3 メンバー

6のガイドは作成済み

0件のガイドコメント

コメントを追加

統計データ:

過去 24時間: 1

過去 7 日: 6

過去 30 日: 14

今までの合計 29