メインコンテンツにスキップ
リペアコミュニティに参加 - アカウントの作成

Logitech Harmony Smart Keyboard Back Panel

必要な工具と部品

    1. Logitech Harmony Smart Keyboard Back Panel, Back Panel: 手順 1、 2の画像 1 Logitech Harmony Smart Keyboard Back Panel, Back Panel: 手順 1、 2の画像 2
      • Turn keyboard over to the backside.

      FixBotに聞いてみる

      コメントを追加

    2. Logitech Harmony Smart Keyboard Back Panel: 手順 2、 3の画像 1 Logitech Harmony Smart Keyboard Back Panel: 手順 2、 3の画像 2 Logitech Harmony Smart Keyboard Back Panel: 手順 2、 3の画像 3
      • Press and slide up on the upper battery latch, using both thumbs.

      FixBotに聞いてみる

      コメントを追加

    3. Logitech Harmony Smart Keyboard Back Panel: 手順 3、 1の画像 1
      • Remove the two AA batteries and set them aside.

      FixBotに聞いてみる
      コメントを追加

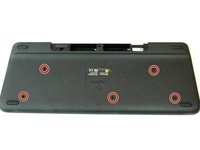
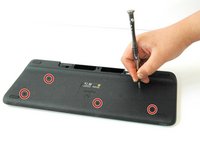
    4. Logitech Harmony Smart Keyboard Back Panel: 手順 4、 2の画像 1 Logitech Harmony Smart Keyboard Back Panel: 手順 4、 2の画像 2
      • Unscrew all five 4.0 mm screws, using Phillips #1 screwdriver.

      FixBotに聞いてみる
      コメントを追加

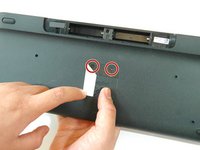
    5. Logitech Harmony Smart Keyboard Back Panel: 手順 5、 2の画像 1 Logitech Harmony Smart Keyboard Back Panel: 手順 5、 2の画像 2
      • Peel off the center sticker to reveal two hidden 4.0 mm screws.

      • Unscrew these two screws with a Phillips #1 screwdriver.

      FixBotに聞いてみる
      コメントを追加

    6. Logitech Harmony Smart Keyboard Back Panel: 手順 6、 3の画像 1 Logitech Harmony Smart Keyboard Back Panel: 手順 6、 3の画像 2 Logitech Harmony Smart Keyboard Back Panel: 手順 6、 3の画像 3
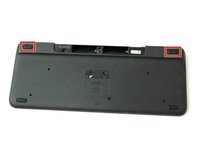
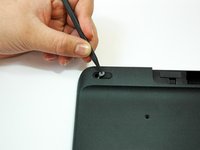
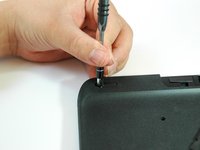
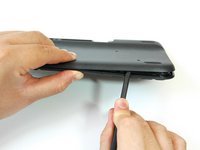
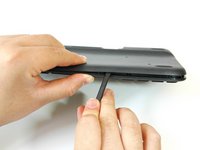
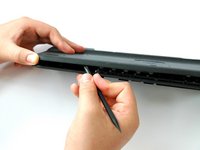
      • Lift both top left and top right rubber stickers halfway, using the sharp end of the plastic spudger.

      • Unscrew a total of two 4.0 mm screws, under the rubber stickers, using a Phillips #1 screwdriver.

      FixBotに聞いてみる

      コメントを追加

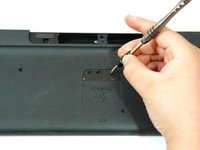
    7. Logitech Harmony Smart Keyboard Back Panel: 手順 7、 2の画像 1 Logitech Harmony Smart Keyboard Back Panel: 手順 7、 2の画像 2
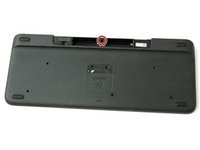
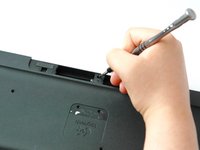
      • Unscrew the top center 4.0 mm screw, in the battery compartment, using the Phillips #1 screwdriver.

      • Now, you should have a total of ten 4.0 mm screws set aside.

      FixBotに聞いてみる

      コメントを追加

    8. Logitech Harmony Smart Keyboard Back Panel: 手順 8、 3の画像 1 Logitech Harmony Smart Keyboard Back Panel: 手順 8、 3の画像 2 Logitech Harmony Smart Keyboard Back Panel: 手順 8、 3の画像 3
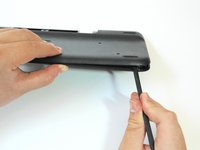
      • Wedge the flat end of the spudger between the back panel and front panel.

      • Slide the flat end of the spudger from right to left to pry the two panels apart.

      FixBotに聞いてみる

      コメントを追加

    9. Logitech Harmony Smart Keyboard Back Panel: 手順 9、 3の画像 1 Logitech Harmony Smart Keyboard Back Panel: 手順 9、 3の画像 2 Logitech Harmony Smart Keyboard Back Panel: 手順 9、 3の画像 3
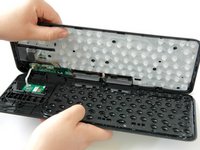
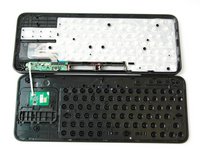
      • Separate the back panel from the front panel completely, using both hands.

      • A white ribbon flex cable will remain connected to both panels.

      • Pull the panels apart slowly and gently, or the white ribbon flex cable may be unsafely removed.

      FixBotに聞いてみる
      コメントを追加

終わりに

To reassemble your device, follow these instructions in reverse order.

キャンセル: このガイドを終了できませんでした。

2 の人々がこのガイドを完成させました。

作成者

4人の作成者と共同で作成されました。

Hayley Nichols

メンバー登録日: 09/05/17

525 ポイント

4のガイドは作成済み

チーム

CSU Fullerton, Team S1-G2, Bruce Fall 2017 CSU Fullerton, Team S1-G2, Bruce Fall 2017人のメンバー

CSUF-BRUCE-F17S1G2

3 メンバー

10のガイドは作成済み

0件のガイドコメント

コメントを追加

統計データ:

過去 24時間: 1

過去 7 日: 11

過去 30 日: 34

今までの合計 1,546