はじめに
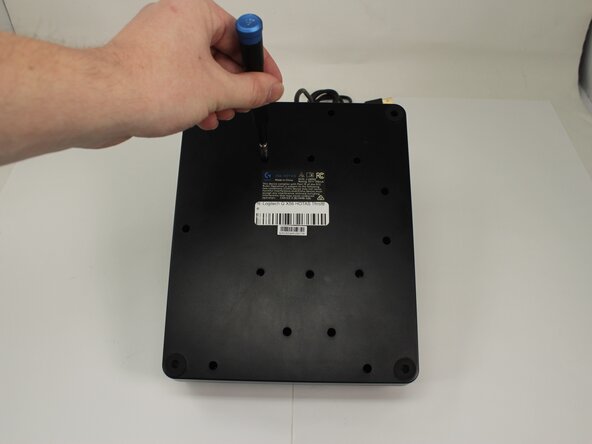
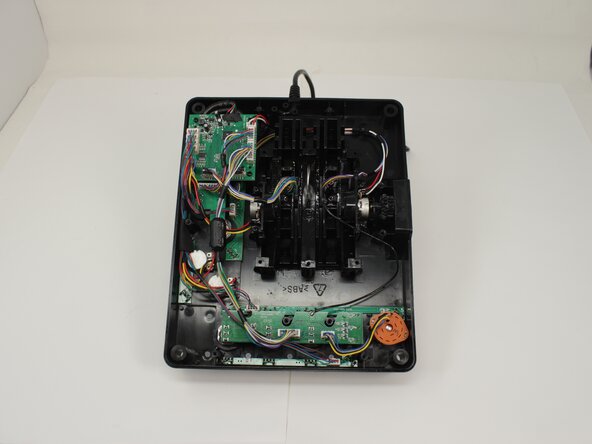
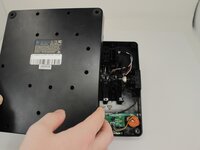
Logitech G X56 HOTASスロットルの背面パネルを取り外すことは、LEDインジケーター、トグルスイッチ、スロットル動作に関連する機械部品などの内部コンポーネントにアクセスするために必要な手順です。LEDの誤作動、スイッチの反応不良、スロットル操作時の物理的な抵抗などの問題が発生している場合、背面パネルを分解することで、影響を受けている部品の点検、修理、または交換が可能になります。この修理ガイドでは、ワイヤリングや内部のコネクタを損傷させないよう、背面パネルを安全に取り外す手順を解説します。
必要な工具と部品


デバイスを再組み立てするには、これらのインストラクションを逆の順番に従って作業を進めてください。
ある他の人がこのガイドを完成しました。
以下の翻訳者の皆さんにお礼を申し上げます:
100%

Translation Botさんは世界中で修理する私たちを助けてくれています! あなたも貢献してみませんか?
翻訳を始める ›

チーム

University of Memphis, Team 3-5, Sneed Spring 2025 University of Memphis, Team 3-5, Sneed Spring 2025人のメンバー
UM-SNEED-S25S3G5
4 メンバー
77のガイドは作成済み