メインコンテンツにスキップ
リペアコミュニティに参加 - アカウントの作成

Linksys WRT54G Motherboard Component Replacement

必要な工具と部品

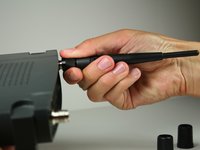
    1. Linksys WRT54G Motherboard Component Replacement, Antennas: 手順 1、 1の画像 1
      • Unfold the antennas straight away from the device.

      FixBotに聞いてみる

      コメントを追加

    2. Linksys WRT54G Motherboard Component Replacement: 手順 2、 3の画像 1 Linksys WRT54G Motherboard Component Replacement: 手順 2、 3の画像 2 Linksys WRT54G Motherboard Component Replacement: 手順 2、 3の画像 3
      • Remove the black caps from the antennas by pulling them away from the device.

      FixBotに聞いてみる
      コメントを追加

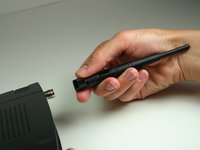
    3. Linksys WRT54G Motherboard Component Replacement: 手順 3、 3の画像 1 Linksys WRT54G Motherboard Component Replacement: 手順 3、 3の画像 2 Linksys WRT54G Motherboard Component Replacement: 手順 3、 3の画像 3
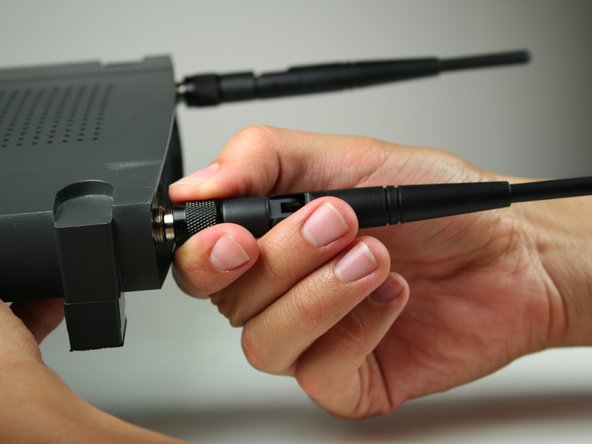
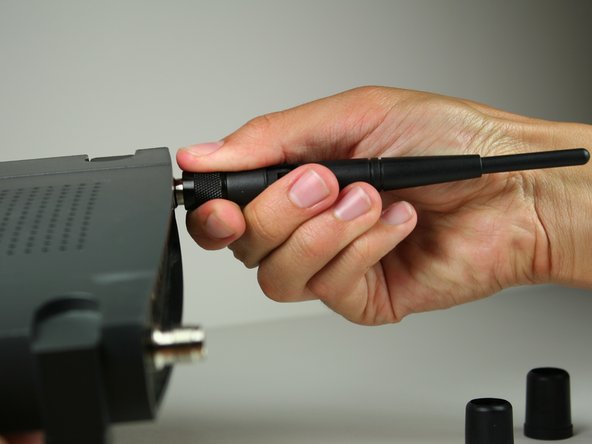
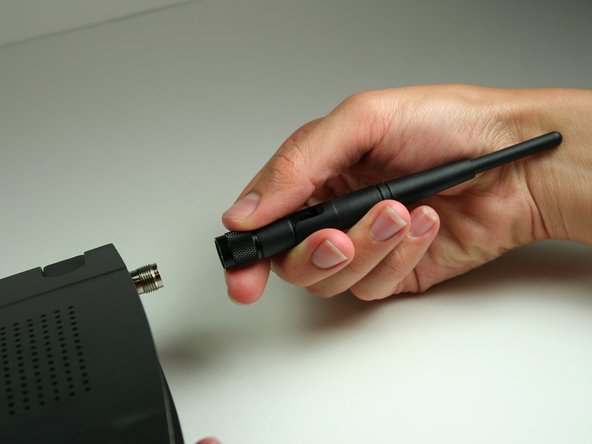
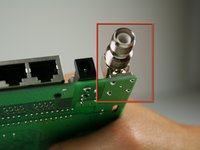
      • Unscrew each of the antennas from the wireless device.

      FixBotに聞いてみる
      コメントを追加

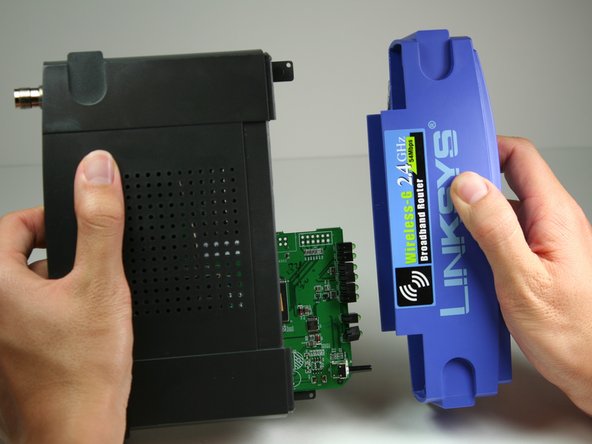
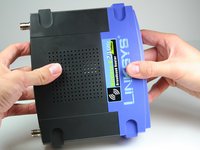
    1. Linksys WRT54G Motherboard Component Replacement, Casing: 手順 4、 2の画像 1 Linksys WRT54G Motherboard Component Replacement, Casing: 手順 4、 2の画像 2
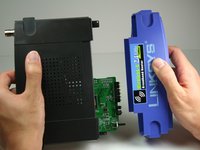
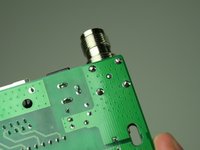
      • Using a bit of force, remove the blue plastic case.

      FixBotに聞いてみる
      コメントを追加

    1. Linksys WRT54G Motherboard Component Replacement, Motherboard: 手順 5、 2の画像 1 Linksys WRT54G Motherboard Component Replacement, Motherboard: 手順 5、 2の画像 2
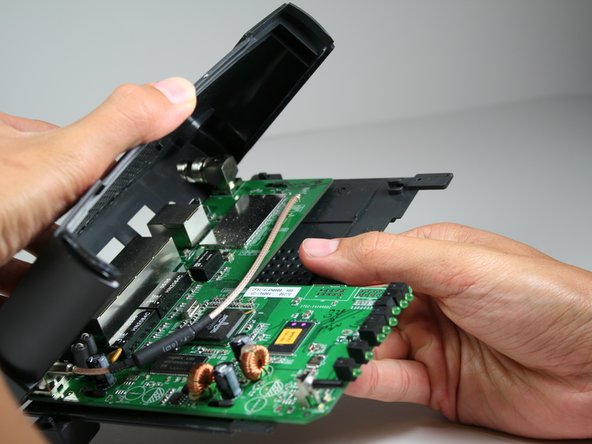
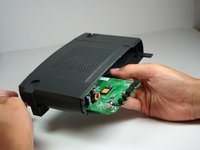
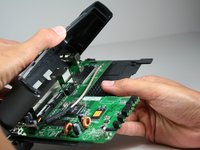
      • To remove the black casing that surrounds the green motherboard, slide the top half of the casing backwards. It only moves a very short distance.

      • Pull the top piece upwards and away from the bottom to remove.

      FixBotに聞いてみる

      コメントを追加

    2. Linksys WRT54G Motherboard Component Replacement: 手順 6、 2の画像 1 Linksys WRT54G Motherboard Component Replacement: 手順 6、 2の画像 2
      • Locate the 2 M2.5x6mm screws that attach the motherboard to the back case.

      • Remove the two screws from the motherboard as indicated with the Phillips head screwdriver.

      FixBotに聞いてみる

      コメントを追加

    3. Linksys WRT54G Motherboard Component Replacement: 手順 7、 1の画像 1
      • Once screws have been removed, slide the motherboard in the direction of its LED lights.

      • Lift motherboard up and away from the black lower casing.

      FixBotに聞いてみる

      コメントを追加

    1. Linksys WRT54G Motherboard Component Replacement, Motherboard Component: 手順 8、 1の画像 1
      • Obtain a desoldering wick (Desoldering Braid). Plug in soldering iron and allow to heat. For soldering information, refer to the iFixit soldering guide (はんだ付けとはんだ除去の作業ガイド).

      • Make sure that the soldering iron is not resting on top of anything that would be damaged by the heat.

      FixBotに聞いてみる

      コメントを追加

    2. Linksys WRT54G Motherboard Component Replacement: 手順 9、 2の画像 1 Linksys WRT54G Motherboard Component Replacement: 手順 9、 2の画像 2
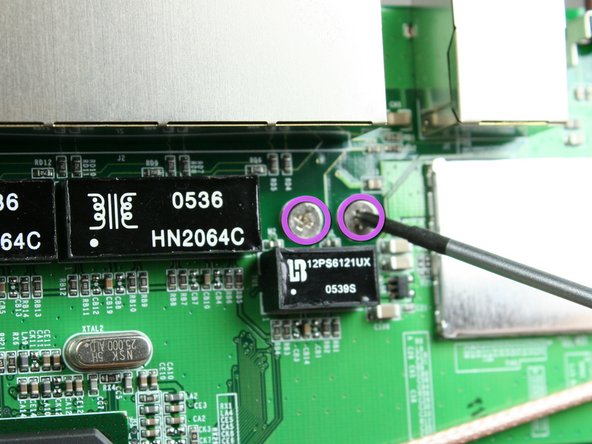
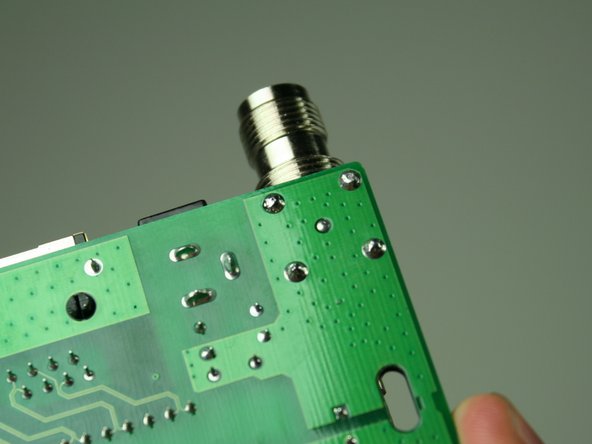
      • Identify the functional component which will be removed.

      • Turn the board over so that the pins holding the component in are exposed.

      FixBotに聞いてみる

      コメントを追加

    3. Linksys WRT54G Motherboard Component Replacement: 手順 10、 1の画像 1
      FixBotに聞いてみる

      コメントを追加

終わりに

To reassemble your device, follow these instructions in reverse order.

キャンセル: このガイドを終了できませんでした。

2 の人々がこのガイドを完成させました。

作成者

6人の作成者と共同で作成されました。

Nicole C

メンバー登録日: 10/12/11

114 ポイント

1ガイドが承認済み

チーム

Cal Poly, Team 17-7, Regan Fall 2011 Cal Poly, Team 17-7, Regan Fall 2011人のメンバー

CPSU-REGAN-F11S17G7

4 メンバー

4のガイドは作成済み

1件のガイドコメント

Se puede sustituir el puerto de entrada de Internet que es de red, por uno de telefono DSL?

Vladimir Velázquez - 返信 共有

コメントを追加

統計データ:

過去 24時間: 0

過去 7 日: 5

過去 30 日: 25

今までの合計 4,301