はじめに
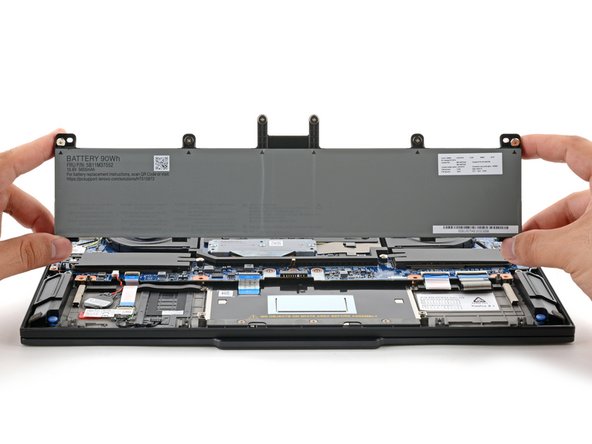
Follow this guide to remove, replace, or upgrade the SSD in your Lenovo ThinkPad P1 Gen 7 laptop.
The ThinkPad P1 Gen 7 uses an M.2 2280 PCIe NVMe 4.0 solid-state drive (up to 4 TB).
Before replacing the SSD, make a backup copy of all the data you want to keep.
You'll likely need new thermal pads to complete this repair, depending on whether the old pads stay intact and undamaged. The thickness of the pad depends on what kind of SSD you're installing—2.25 mm for a single-sided SSD and 0.8 mm for a double-sided SSD.
For your safety, discharge your battery below 25% before disassembling your device. This reduces the risk of a dangerous fire if the battery is accidentally damaged during the repair. If your battery is swollen, take appropriate precautions.
必要な工具と部品
-
-
Shut down your laptop (don't just put it in sleep mode) and disconnect all cables.
-
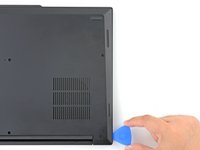
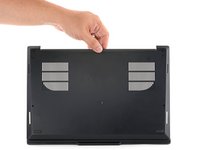
Flip the laptop upside-down, and rotate it so the screen hinge faces towards you.
-
-
-
Use a Phillips screwdriver to loosen the six captive screws securing the base cover.
-
-
-
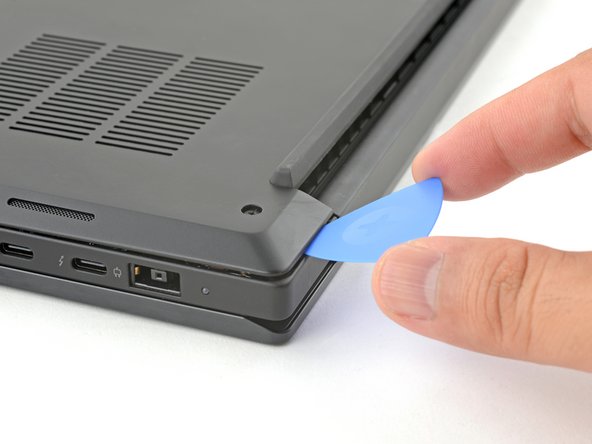
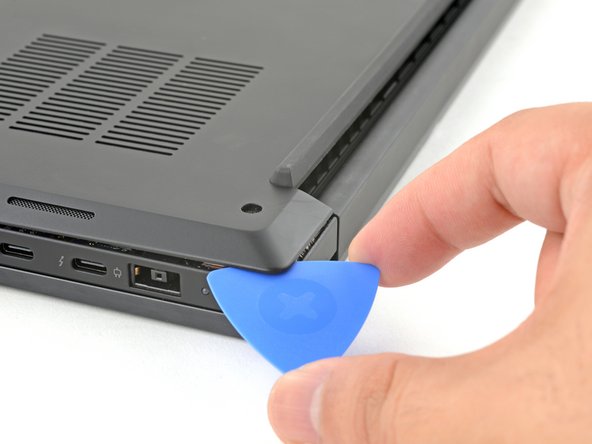
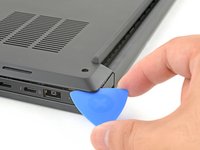
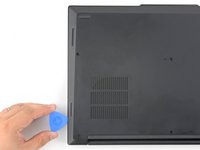
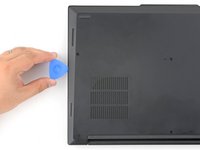
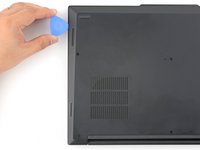
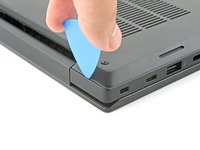
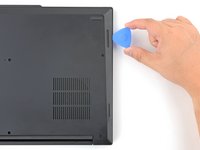
Press the tip of an opening pick into the seam between the base cover and the bottom-left corner of the frame (near the screen hinge).
-
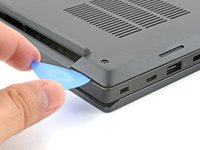
Pivot the pick down and slide it around the corner to release the clips.
-
-
-
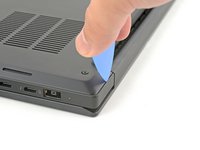
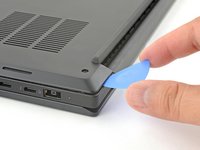
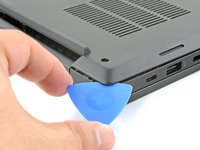
Press the tip of an opening pick into the seam between the base cover and the bottom-right corner of the frame (near the screen hinge).
-
Pivot the pick down and slide it around the corner to release the clips.
-
-
-
-
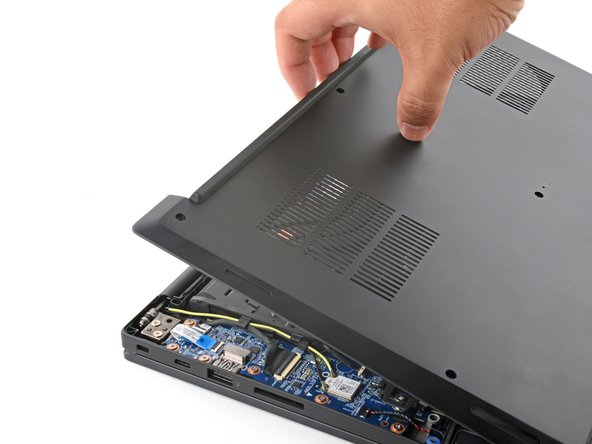
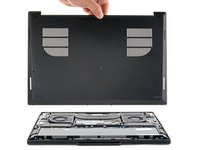
Grasp the base cover along the screen hinge edge and pull up to loosen the cover.
-
-
-
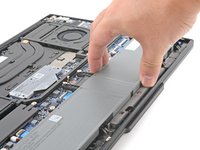
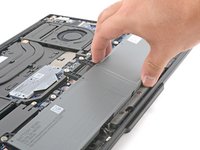
Use a Phillips screwdriver to loosen the six captive screws securing the battery.
-
-
-
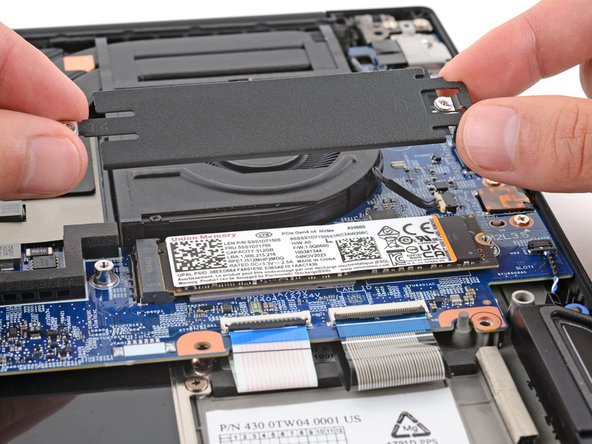
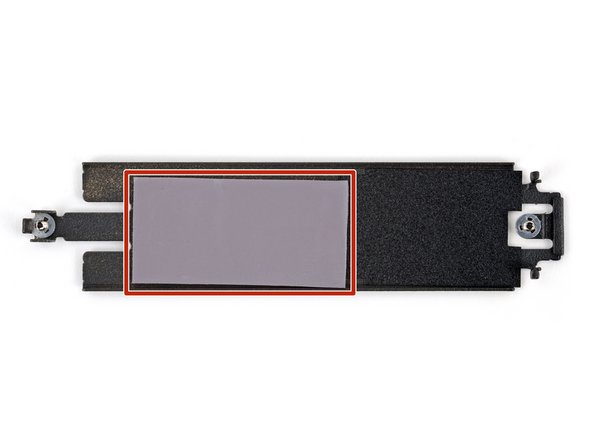
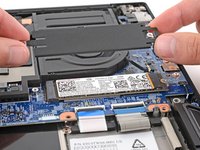
Use a Phillips screwdriver to loosen the two captive screws securing the SSD cover.
-
-
-
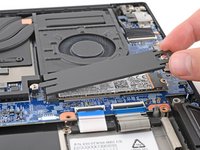
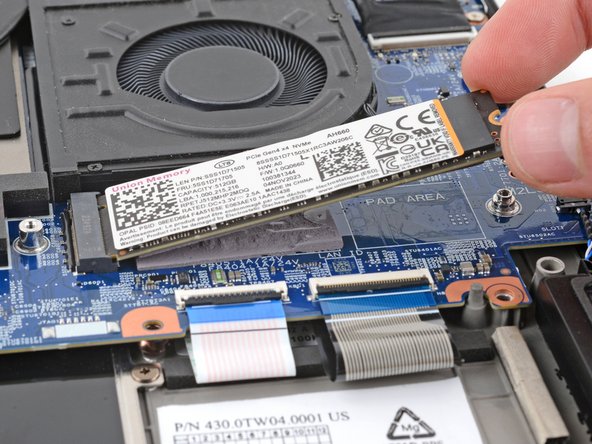
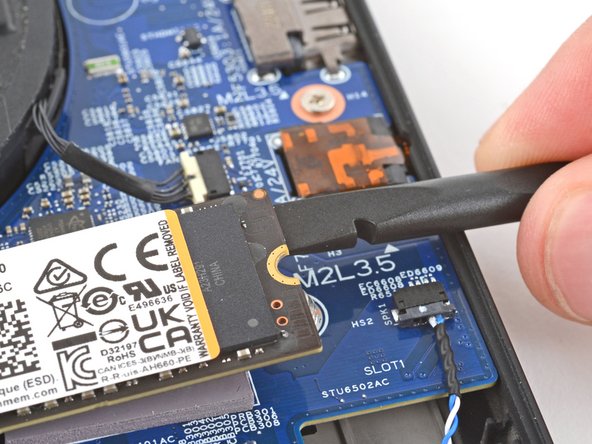
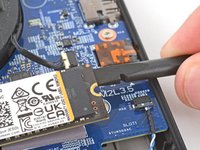
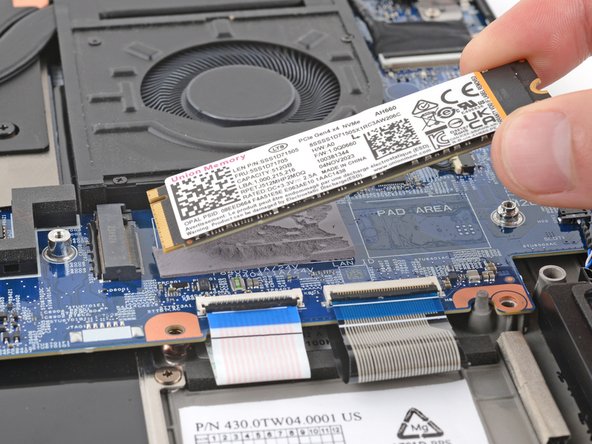
Grip the SSD by its edges near the screw notch and lift to separate it from the thermal pads underneath—it should pop up at a slight angle.
-
-
-
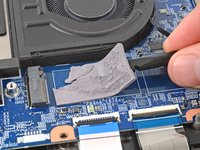
Check the condition of the two thermal pads under the SSD and replace them if they're damaged. If a pad remained intact on the bottom of the old SSD, carefully transfer it to its spot on the board.
-
If you're changing the type of SSD (single-sided or double-sided), you'll need to change the pads so they're the proper thickness.
-
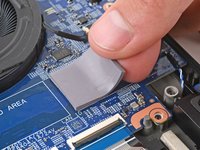
Make sure your new pad is the correct thickness and size. Pad thickness depends on the type of your replacement SSD—2.25 mm for a single-sided SSD and 0.8 mm for a double-sided SSD.
-
Use a spudger or your fingers to carefully remove all of the old pad from the motherboard.
-
Use highly-concentrated (more than 90%) isopropyl alcohol and a lint-free cloth (or coffee filters) to clean up any thermal pad residue.
-
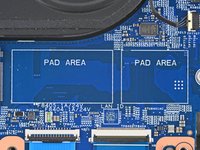
Carefully put the new pad onto the board, making sure it goes into the rectangle marked PAD AREA.
-
To reassemble your device, follow these instructions in reverse order.
Take your e-waste to an R2 or e-Stewards certified recycler.
Repair didn’t go as planned? Try some basic troubleshooting, or ask our Answers community for help.
To reassemble your device, follow these instructions in reverse order.
Take your e-waste to an R2 or e-Stewards certified recycler.
Repair didn’t go as planned? Try some basic troubleshooting, or ask our Answers community for help.
ある他の人がこのガイドを完成しました。
コメント 1 件
Thanks, good piece. It looks like you are installing the SSD in the second slot. And the text mentions that we should check for a thermal pad in the SSD cover. Is there a thermal pad in that cover when it has not been used before? I will install a Samsung 990 Pro 1 TB drive there and I'd like to know what thermal pads to acquire for this.


