メインコンテンツにスキップ
リペアコミュニティに参加 - アカウントの作成

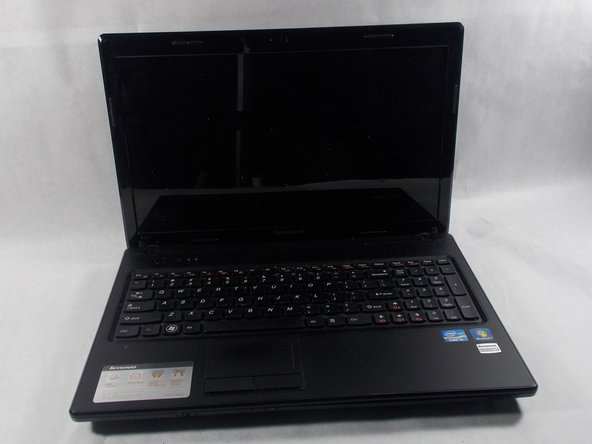
Lenovo Essential G570 Keyboard Replacement

必要な工具と部品

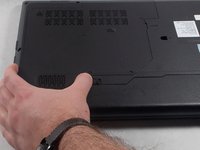
    1. Lenovo Essential G570 Keyboard Replacement, Battery: 手順 1、 1の画像 1
      • Turn off the laptop.

      • Disconnect the charging cable.

      • Failure to unplug the cable could result in electric shock.

      • Turn the computer upside down.

      FixBotに聞いてみる

      コメントを追加

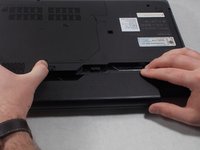
    2. Lenovo Essential G570 Keyboard Replacement: 手順 2、 2の画像 1 Lenovo Essential G570 Keyboard Replacement: 手順 2、 2の画像 2
      • Locate the two switches that lock the battery.

      • Push the right switch outwards to unlock the battery.

      FixBotに聞いてみる

      コメントを追加

    3. Lenovo Essential G570 Keyboard Replacement: 手順 3、 2の画像 1 Lenovo Essential G570 Keyboard Replacement: 手順 3、 2の画像 2
      • Push and hold the left switch outwards to unlock the battery.

      • Pull the battery away from the computer.

      FixBotに聞いてみる

      コメントを追加

    1. Lenovo Essential G570 Keyboard Replacement, Back Panel: 手順 4、 1の画像 1
      • Turn the laptop over so that the bottom side is facing up.

      FixBotに聞いてみる

      コメントを追加

    2. Lenovo Essential G570 Keyboard Replacement: 手順 5、 1の画像 1
      • Unscrew the five 5mm Phillips #0 screws that hold the cover in place.

      • The screws do not come out fully from the back plate. They stay attached to the plate itself.

      FixBotに聞いてみる

      コメントを追加

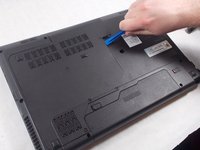
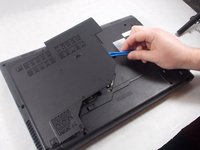
    3. Lenovo Essential G570 Keyboard Replacement: 手順 6、 3の画像 1 Lenovo Essential G570 Keyboard Replacement: 手順 6、 3の画像 2 Lenovo Essential G570 Keyboard Replacement: 手順 6、 3の画像 3
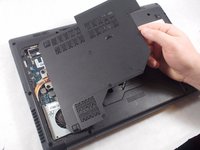
      • With the screws removed, insert the plastic opening tool into the groove located on the right side.

      • Begin to pry up, and the plate should lift up from the body of the laptop.

      • While lifting up, take the piece in one hand and pull up and to the right to fully remove the back plate.

      FixBotに聞いてみる

      コメントを追加

    1. Lenovo Essential G570 Keyboard Replacement, Keyboard: 手順 7、 1の画像 1
      • Remove the two 9mm Phillips #0 screws.

      • Remove the single 5mm Phillips #0 screw.

      • All 3 screws are located next to keyboard icons.

      FixBotに聞いてみる

      コメントを追加

    2. Lenovo Essential G570 Keyboard Replacement: 手順 8、 2の画像 1 Lenovo Essential G570 Keyboard Replacement: 手順 8、 2の画像 2
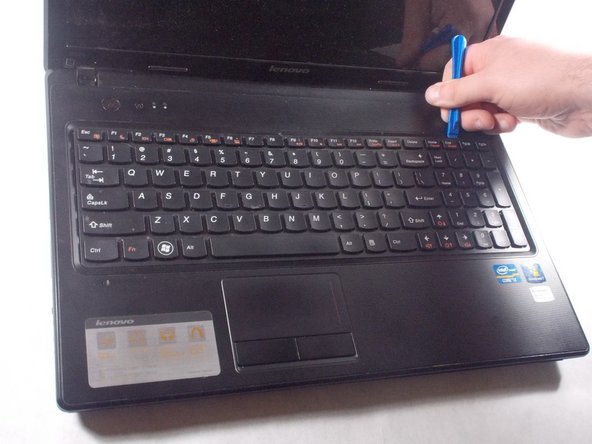
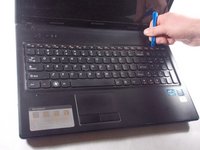
      • Flip the computer over and open it.

      • Using the plastic opening tool, pry open the top of the keyboard.

      FixBotに聞いてみる

      コメントを追加

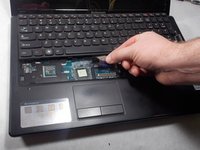
    3. Lenovo Essential G570 Keyboard Replacement: 手順 9、 1の画像 1
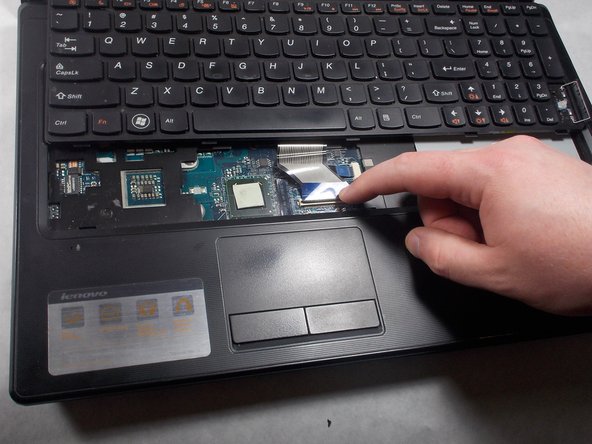
      • Remove the keyboard by gently pulling the top of the keyboard loose, and then lifting the keyboard out.

      • Be careful lifting the keyboard up because there is a delicate ribbon cable connected to the bottom.

      FixBotに聞いてみる

      コメントを追加

    4. Lenovo Essential G570 Keyboard Replacement: 手順 10、 3の画像 1 Lenovo Essential G570 Keyboard Replacement: 手順 10、 3の画像 2 Lenovo Essential G570 Keyboard Replacement: 手順 10、 3の画像 3
      • While lifting the keyboard, push the black latch on the keyboard cable ZIF connector forward to unlock it.

      • Carefully pull away the ribbon cable to detach it from the motherboard.

      • Be careful when unlatching the lock on the keyboard cable ZIF connector. It is extremely delicate and can easily break.

      FixBotに聞いてみる

      コメントを追加

終わりに

To reassemble your device, follow these instructions in reverse order.

キャンセル: このガイドを終了できませんでした。

4 の人々がこのガイドを完成させました。

作成者

2人の作成者と共同で作成されました。

Nina Francisco

メンバー登録日: 03/01/18

412 ポイント

2のガイドは作成済み

チーム

UMass Dartmouth, Team S1-G1, Simcock Spring 2018 UMass Dartmouth, Team S1-G1, Simcock Spring 2018人のメンバー

UMASSD-SIMCOCK-S18S1G1

3 メンバー

6のガイドは作成済み

0件のガイドコメント

コメントを追加

統計データ:

過去 24時間: 1

過去 7 日: 18

過去 30 日: 45

今までの合計 3,149