メインコンテンツにスキップ
リペアコミュニティに参加 - アカウントの作成

Le Pan S Screen Replacement

必要な工具と部品

  1. Le Pan S Screen Replacement, Battery: 手順 1、 1の画像 1
    • Remove the two 3.5 mm Phillips #00 screws that are covered by the micro SD port.

    • This cover is adjacent to the volume button on the side of the Le Pan S.

    FixBotに聞いてみる
  2. Le Pan S Screen Replacement: 手順 2、 2の画像 1 Le Pan S Screen Replacement: 手順 2、 2の画像 2
    • Insert the spudger between the front and back panel in order to pry them apart.

    • Do this beside the volume button and the micro SD cover.

    • Pry open the rest of the Le Pan S by dragging the spudger across the side.

    FixBotに聞いてみる
  3. Le Pan S Screen Replacement: 手順 3、 1の画像 1
    • Once the front and back faces are completely separated, remove the back cover to reveal the inside components.

    FixBotに聞いてみる
  4. Le Pan S Screen Replacement: 手順 4、 2の画像 1 Le Pan S Screen Replacement: 手順 4、 2の画像 2
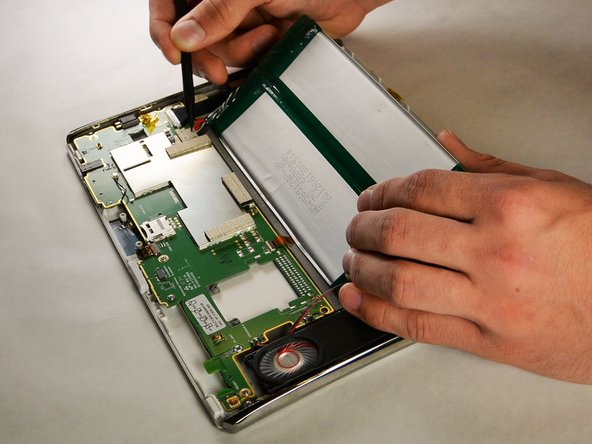
    • Disconnect the battery from the circuitry and lay it out of the way.

    • The best method to complete this is to pull the bundled cable connector out with your hands. Pull towards the wires and away from the electrical board. Use the spudger to further coax the cable out.

    • If you are replacing your battery, make sure to dispose of it properly.

    FixBotに聞いてみる
  5. Le Pan S Screen Replacement, Screen: 手順 5、 1の画像 1
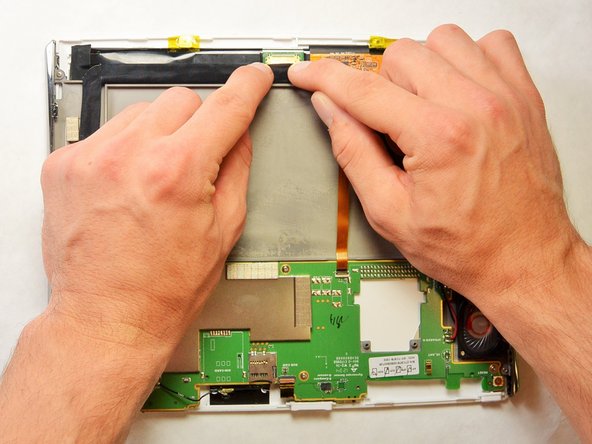
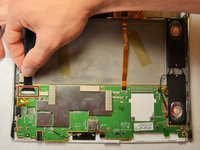
    • Remove the tape covering the end of the flat ribbon cable.

    FixBotに聞いてみる
  6. Le Pan S Screen Replacement: 手順 6、 2の画像 1 Le Pan S Screen Replacement: 手順 6、 2の画像 2
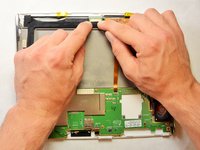
    • Disconnect the display cable connector by gently pulling the white connection head out of its base.

    • Repeat for the cable's other end attached near the top of the tablet.

    FixBotに聞いてみる
  7. Le Pan S Screen Replacement: 手順 7、 1の画像 1
    • Disconnect the flat ribbon cable by disconnecting the zero insertion force (ZIF) connector.

    • This can be done by using a plastic opening tool, spudger, or fingernail to lift the retaining flap.

    FixBotに聞いてみる
  8. Le Pan S Screen Replacement: 手順 8、 1の画像 1
    • Remove the six 2.5 mm Phillips #00 screws securing the green electrical board.

    FixBotに聞いてみる
  9. Le Pan S Screen Replacement: 手順 9、 1の画像 1
    • Use the spudger to remove the vibration controller.

    FixBotに聞いてみる
  10. Le Pan S Screen Replacement: 手順 10、 1の画像 1
    • Remove the four 3.5 mm Phillips #00 screws holding the speakers in place.

    FixBotに聞いてみる
  11. Le Pan S Screen Replacement: 手順 11、 2の画像 1 Le Pan S Screen Replacement: 手順 11、 2の画像 2
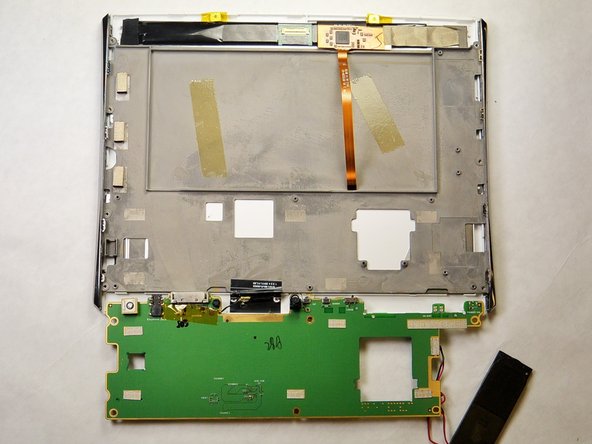
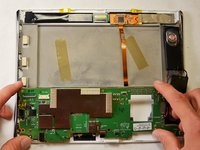
    • Flip the green electrical board back so that the screen is separated from the green board.

    • Be careful not to break the Wi-Fi antenna cable that is still soldered to the plastic casing.

    FixBotに聞いてみる
  12. Le Pan S Screen Replacement: 手順 12、 1の画像 1
    • Remove the seven 3.5 mm Phillips #00 screws that connect the grey backing to the screen.

    FixBotに聞いてみる
  13. Le Pan S Screen Replacement: 手順 13、 2の画像 1 Le Pan S Screen Replacement: 手順 13、 2の画像 2
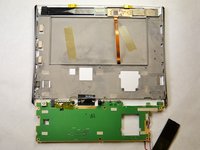
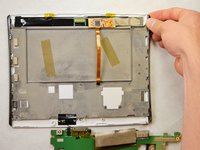
    • Take the gray backing off of the screen so that only the back of the LCD display is showing.

    FixBotに聞いてみる
  14. Le Pan S Screen Replacement: 手順 14、 1の画像 1
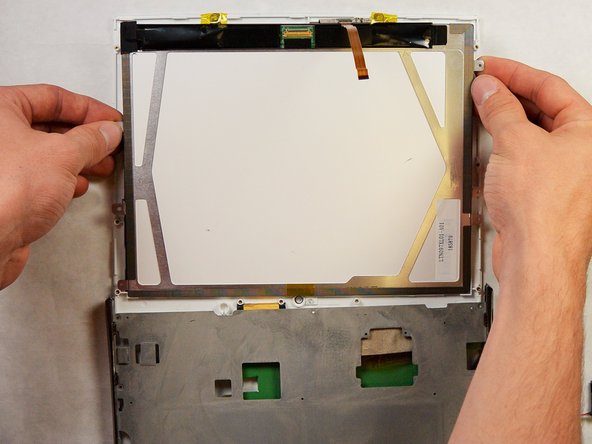
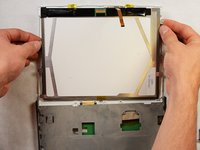
    • Remove the LCD display by lifting up carefully.

    • Place the display in an area where it will not be damaged.

    FixBotに聞いてみる
  15. Le Pan S Screen Replacement: 手順 15、 1の画像 1
    • Flip the device over to the front.

    • Use a heat gun or hairdryer to help loosen any adhesive present on the screen. Start with a low, evenly applied heat and slowly increase the temperature as needed.

    • If you do not have a heat gun or hairdryer, use the metal opening tools mentioned in Step 16.

    • Use the plastic spudger and the plastic opening tool to prop the screen off of the adhesive at one corner.

    FixBotに聞いてみる
  16. Le Pan S Screen Replacement: 手順 16、 1の画像 1
    • Slide the metal opening tools across the sides of the screen in order to separate the adhesive away from the screen.

    • Continue this process until all the sides of the screen are disconnected from the Le Pan S.

    • Make sure to scrape off any remaining adhesive from the housing before adding the new screen and adhesive.

    FixBotに聞いてみる
終わりに

To reassemble your device, follow these instructions in reverse order.

ある他の人がこのガイドを完成しました。

作成者

4人の作成者と共同で作成されました。

Maria Dole

メンバー登録日: 09/17/15

395 ポイント

3のガイドは作成済み

チーム

IUPUI, Team 2-1, Harley Fall 2015 IUPUI, Team 2-1, Harley Fall 2015人のメンバー

IUPUI-HARLEY-F15S2G1

5 メンバー

10のガイドは作成済み

1件のガイドコメント

Where can I find the replacement display screen for my Lepan TC802a tablet.

James

jrmpr@aol.com

James - 返信 共有

コメントを追加

統計データ:

過去 24時間: 1

過去 7 日: 9

過去 30 日: 56

今までの合計 1,503