はじめに
In this guide, you will be shown step-by-step how to replace your broken Le Pan II camera.
必要な工具と部品
-
-
-
Insert metal spudger between front and back panel to pry apart.
-
Continue to pry while moving the metal spudger along the crevice to completely separate two panels.
 FixBotに聞いてみる
-
-
-
Use the plastic opening tool to disconnect the flat ribbon cable from the motherboard connector.
-
Disconnect the flat ribbon by gently pulling it out from its connecting port.
-
-
-
Use the plastic opening tool to disconnect the display cable from its motherboard connector.
-
Disconnect the display cable by gently pulling it out from its connecting port.
-
-
-
-
Flip the tablet so the screen is facing upward, and use the metal spudger to pry apart the screen from the side pieces.
-
-
-
-
-
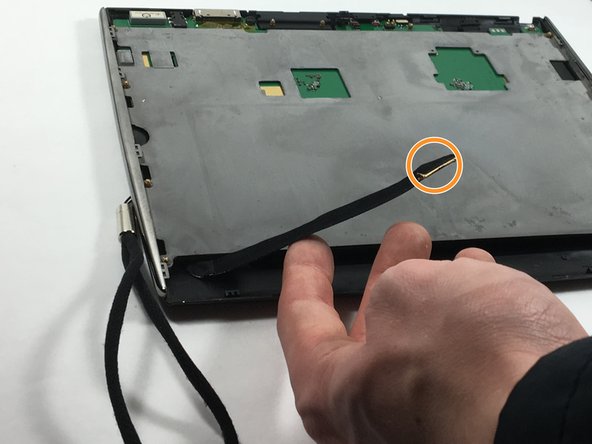
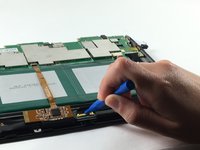
Use the plastic opening tool to lift the connector up and remove the camera.
-
-




To reassemble your device, follow these instructions in reverse order.

チーム

UMass Dartmouth, Team 6-3, Martin Fall 2016 UMass Dartmouth, Team 6-3, Martin Fall 2016人のメンバー
UMASSD-MARTIN-F16S6G3
3 メンバー
10のガイドは作成済み
