はじめに
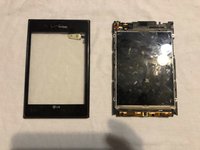
If your screen protector is cracked or prevents touch commands to the display, use this guide to replace your screen protector.
必要な工具と部品
-
-
-
Remove the thirteen 5mm screws holding the plastic shield covering the motherboard using the Phillips #00 screwdriver.
-
-
-
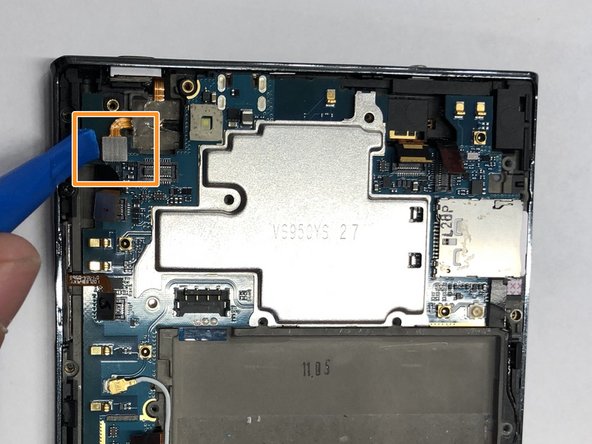
Carefully use the plastic opening tool to pry the ribbon cable below the camera itself from the motherboard.
-
-
-
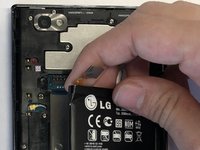
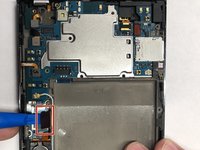
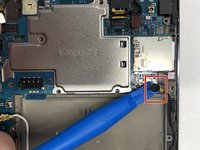
Carefully use the plastic opening tool to pry the ribbon cable connecting the battery to the motherboard of the phone.
-
Slowly pull the ribbon cable upward releasing the volume buttons from the phone.
-
-
-
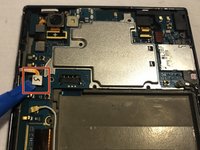
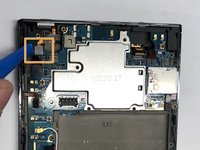
Carefully use the plastic opening tool to pry the ribbon cable below the volume buttons on the left side of the phone.
-
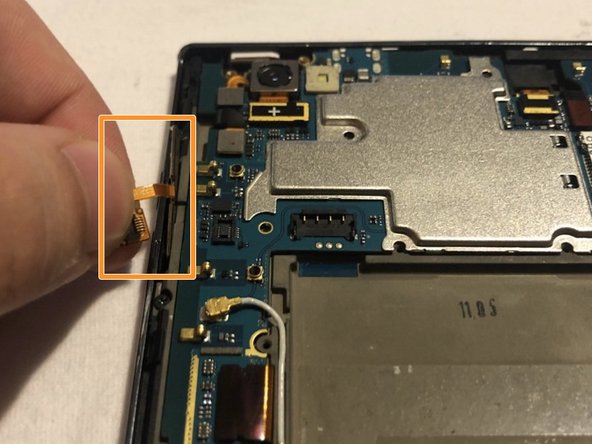
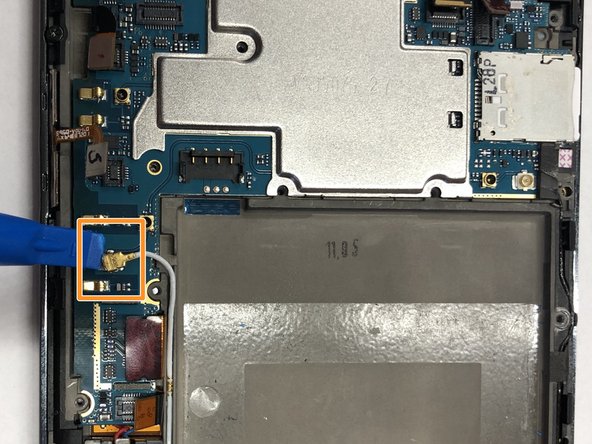
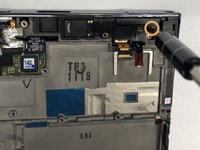
Carefully use the plastic opening tool to pry the ribbon cable to the left of the camera.
-


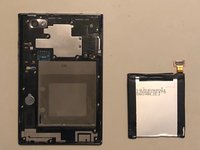


To reassemble your device, follow these instructions in reverse order.
チーム

UMass Dartmouth, Team S3-G4, Peak Fall 2018 UMass Dartmouth, Team S3-G4, Peak Fall 2018人のメンバー
UMASSD-PEAK-F18S3G4
3 メンバー
6のガイドは作成済み