はじめに
This guide will show you the steps to replace a damaged rear facing camera.
必要な工具と部品
-
-
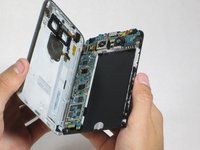
While holding the battery release button, pull the bottom end of the phone out of the body.
 FixBotに聞いてみる
-
-
-
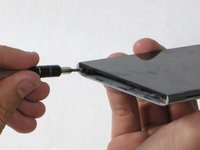
Insert the sim card eject tool (0.8mm sim card eject head) into the small hole on the sim card tray.
-
Press inward with some force to eject the tray.
-
Pull the sim card tray out of the phone.
-
-
-
-
Insert the plastic opening tool into the seam between the glass screen and the metal body.
-
Pry the glass from the body only a slight amount.
-
-
-
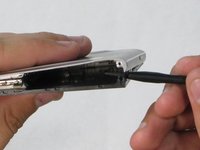
Insert the Spudger into the now open space between the body and screen.
-
Push inward to separate the screen even more.
-
Slowly slide the nylon spudger up the edge the phone till the screen pops out of the body.
-
-
-
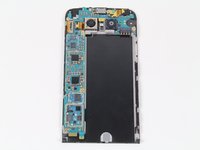
Peel the screen away from the body. The two parts should be completely separated.
-
-
-
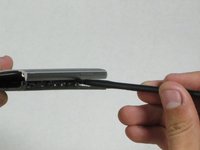
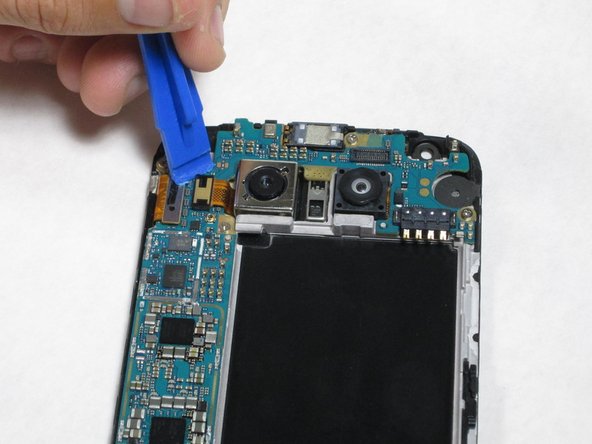
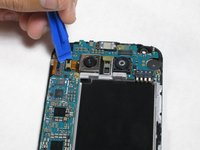
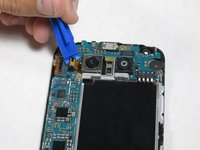
Insert the plastic opening tool between the camera-ribbon connector and the motherboard, then pull up. It should pop out easily.
-
-
この手順で使用する道具:Tweezers$4.99
-
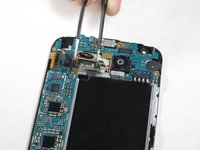
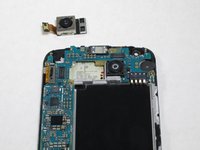
After detaching the ribbon, carefully remove the camera using tweezers
-


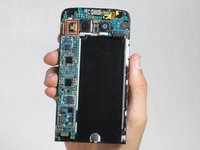


To reassemble your device, follow these instructions in reverse order.
34 の人々がこのガイドを完成させました。

チーム

Cal Poly, Team 18-2, Forte Fall 2016 Cal Poly, Team 18-2, Forte Fall 2016人のメンバー
CPSU-FORTE-F16S18G2
4 メンバー
15のガイドは作成済み
6件のガイドコメント
Great instructions. This was my first time taking apart any phone. Everything went smoothly and my camera now works! thank you
This worked great for me. I was a little nervous prying on my phone, especially when I heard the first POP. But after that, it was not hard at all. The new camera focuses great for me now and I can get back to taking great pictures with my G5!
Thanks for the detailed instructions, tools and affordable part!