-
-
-
First ensure your laptop is turned off and check if you have the necessary tools
 FixBotに聞いてみる
-
-
-
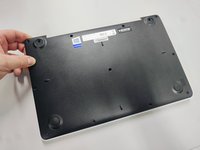
All screws are identified by circles. Pay special attention to the yellow circles, as the rubber feet hide screws.
-
-
-
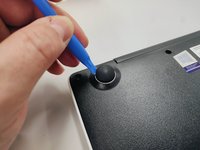
With the opening tool, remove a rubber foot.
-
For this action you will have to exert some force, because the foot is glued with a resistant glue.
-
-
-
-
Remove all screws with a Philips screwdriver PH1
-
All screws are the same so don't worry about identifying them.
-
-
-
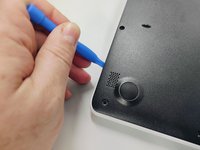
With the plastic tool, insert between the plastics and gently pry open.
-
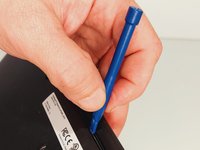
With your fingers continue to force open the bottom cover on the side indicated in the figure.
-
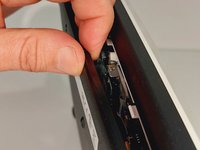
You will feel and hear several clicks, perfectly normal, nothing is breaking. Remove the cover completely.
-
-
-
Finally, we have the laptop open and ready to replace most of its components. Look elsewhere on how to replace a component.
-
To close the laptop just follow this guide in reverse.
-
-
-


To reassemble your device, follow the previous steps in inverse order.
