はじめに
Use this guide to remove and replace a dysfunctional lens on the Kodak EasyShare CD82 digital camera.
必要な工具と部品
-
-
-
Remove the batteries and the memory card from the device.
-
Remove the two screws located at the bottom of the camera.
 FixBotに聞いてみる
-
-
-
Remove the two screws on the side of the device, to left of the camera lens.
-
Remove the two screws on side of the device, to the right of the camera lens.
-
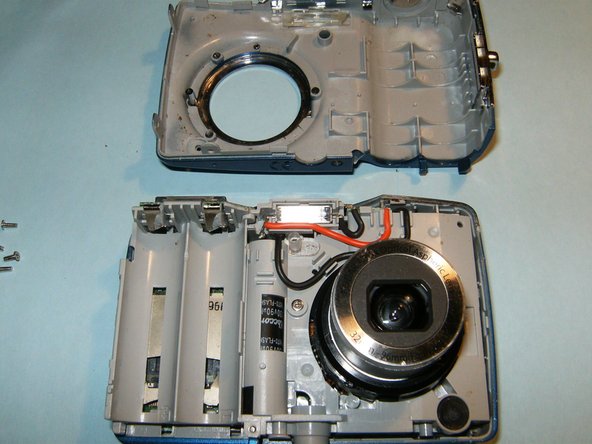
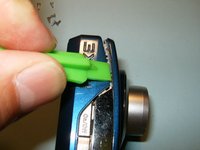
Pry the casing apart at the seems, starting at the battery compartment.
-
-
-
Remove the front casing from the mid-frame, first.
-
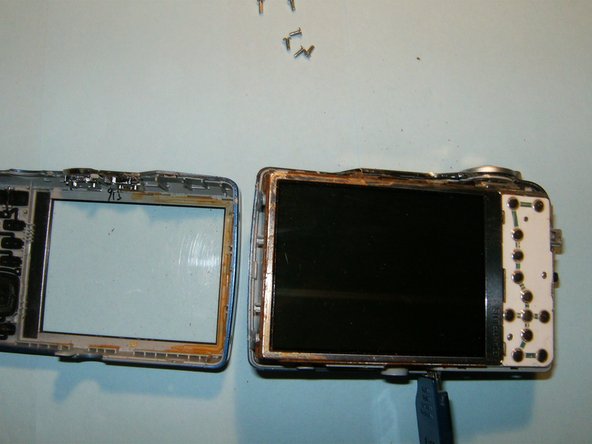
Continue to remove the back casing from the mid-frame.
-
Do not remove the LCD screen from the device once it becomes visible.
-
-
-
-
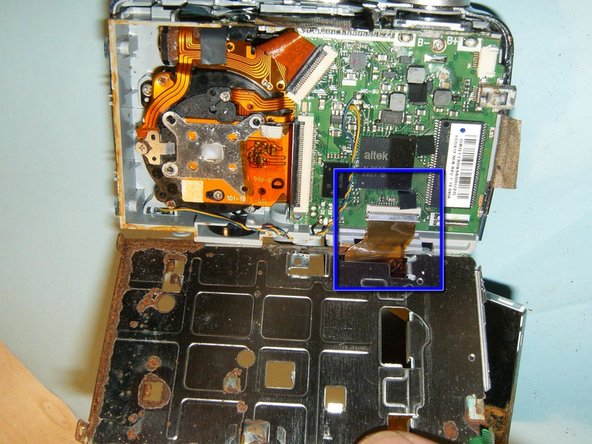
Flip the LCD screen out of the holder from the top to reveal ribbon cable.
-
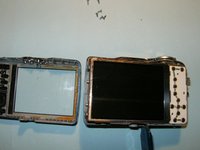
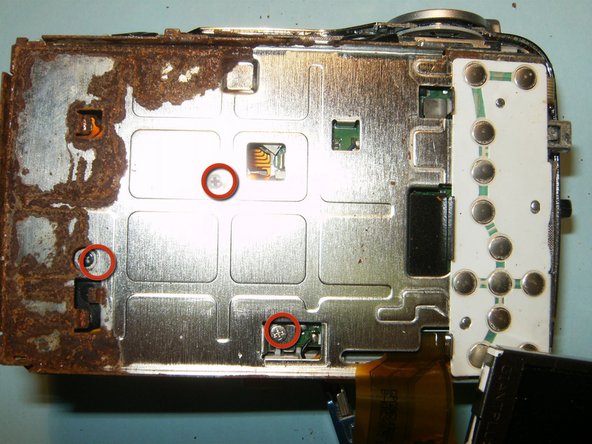
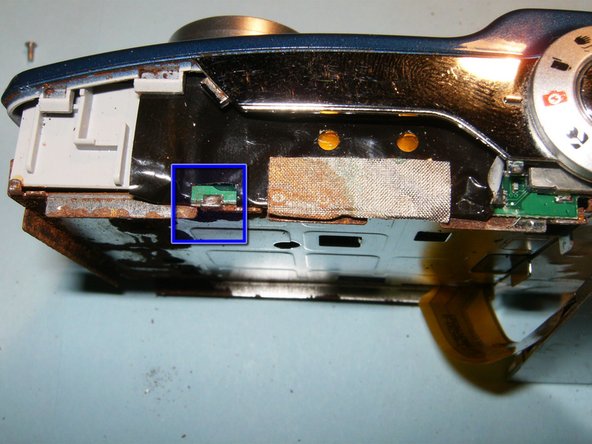
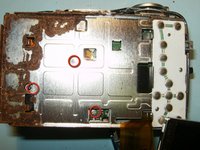
This camera had some obvious water damage..
-
Remove the three screws from the LCD holder
-
Dislodge the LCD screen holder from the circuit board connector.
-
-
この手順で使用する道具:Tweezers$4.99
-
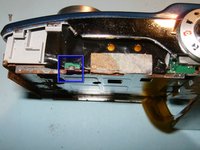
Disconnect the logic board from the frame on the right side of the device.
-
Remove the small ribbon cable, connecting the button board to the logic board, with small pair of tweezers or hemostat.
-
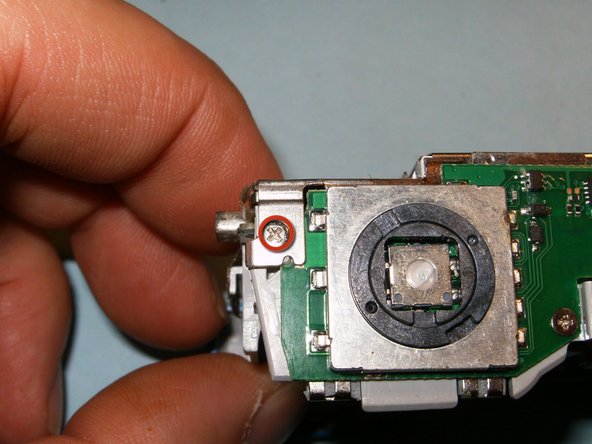
Remove the screw on the top right side of the device connecting the LCD screen holder to the midframe.
-
Move the black clip into the upward position to disconnect the cable.
-
You will now be able to remove the LCD screen and its holder from the device.
-
-
-
Flip the black clips of the connectors into the opposite direction. Remove the lens and CCD cable.
-
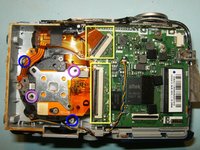
Remove the two screws securing the lens to the midframe.
-
These are missing screws for the CCD sensor, lost in a previous dismantling.
-
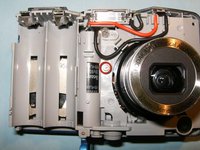
Remove the single screw securing the lens to the mid-frame. The lens will now be loose.
-
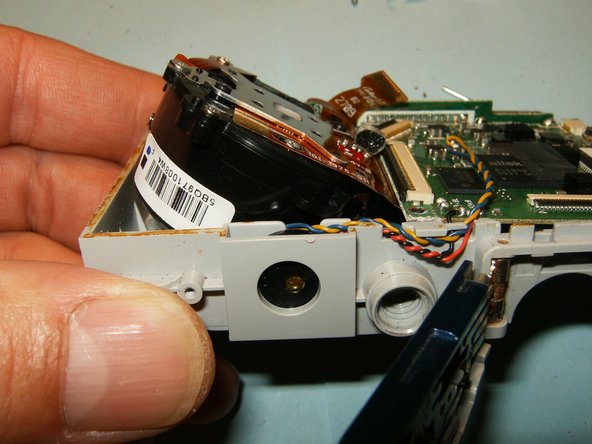
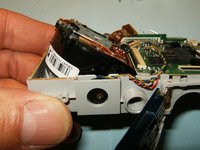
Push the lens out of the frame in an angular direction, and remove.
-
-
-
Insert the new lens the same way it was removed.
-
Clean and reassemble the camera.
-
-





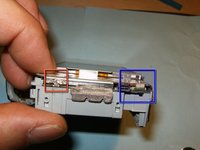
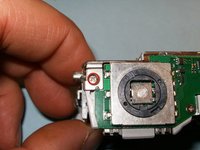
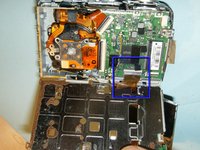

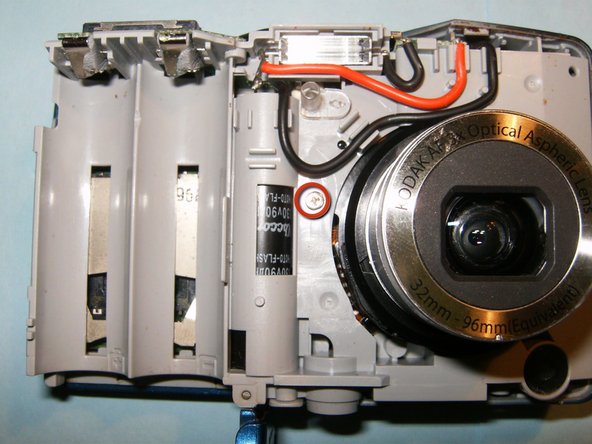

To reassemble your device, follow these instructions in reverse order.
ある他の人がこのガイドを完成しました。