メインコンテンツにスキップ
リペアコミュニティに参加 - アカウントの作成

Jam Voice Battery Replacement

必要な工具と部品

    1. Jam Voice Battery Replacement, Hard Mesh Cover: 手順 1、 2の画像 1 Jam Voice Battery Replacement, Hard Mesh Cover: 手順 1、 2の画像 2
      • Insert the plastic opening tool underneath the mesh top.

      • Pry the cover open.

      • To reattach the cover, simply align the round posts on the bottom of the cover into the holes.

      FixBotに聞いてみる

      コメントを追加

    1. Jam Voice Battery Replacement, Motherboard: 手順 2、 1の画像 1
      • Remove the four 7mm Phillips screws from the plastic cover.

      FixBotに聞いてみる

      コメントを追加

    2. Jam Voice Battery Replacement: 手順 3、 2の画像 1 Jam Voice Battery Replacement: 手順 3、 2の画像 2
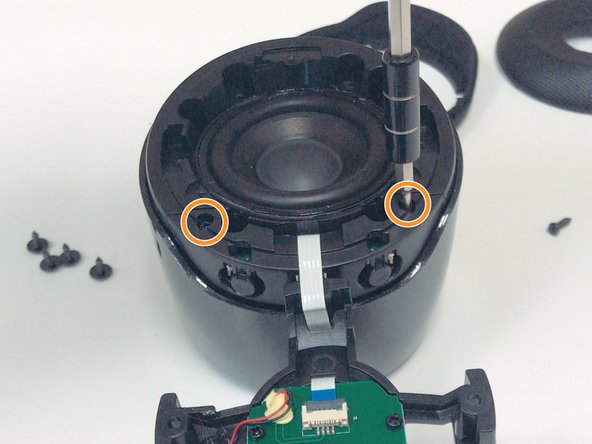
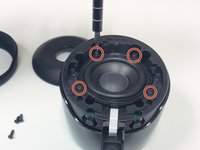
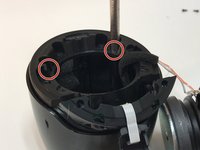
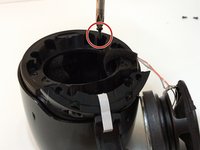
      • Remove the four 5mm Phillips screws that hold down the speaker in place.

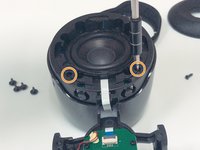
      • Remove the two 6mm Phillips screws that hold down the plastic casing.

      FixBotに聞いてみる

      コメントを追加

    3. Jam Voice Battery Replacement: 手順 4、 1の画像 1
      この手順で使用する道具:
      Halberd Spudger
      $2.99
      • Once all six screws are removed, use a Halberd Spudger or similar tool to lift up the speaker.

      • Pull the speaker up and out.

      FixBotに聞いてみる

      コメントを追加

    4. Jam Voice Battery Replacement: 手順 5、 3の画像 1 Jam Voice Battery Replacement: 手順 5、 3の画像 2 Jam Voice Battery Replacement: 手順 5、 3の画像 3
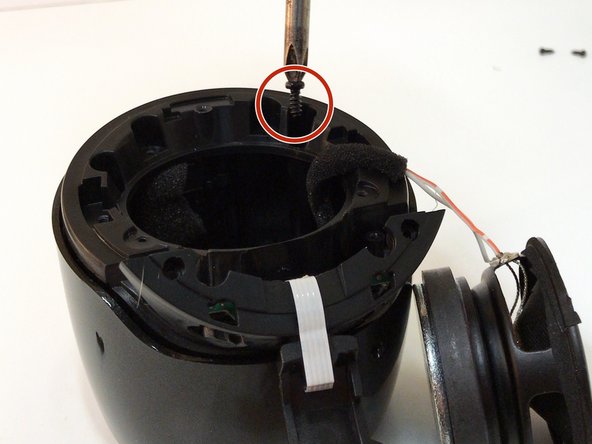
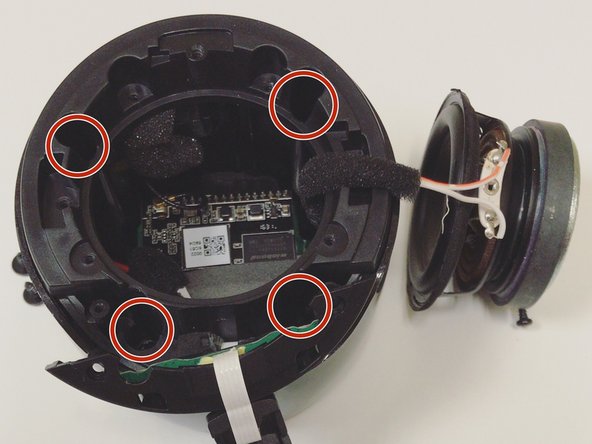
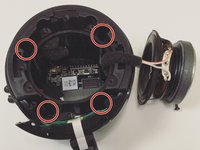
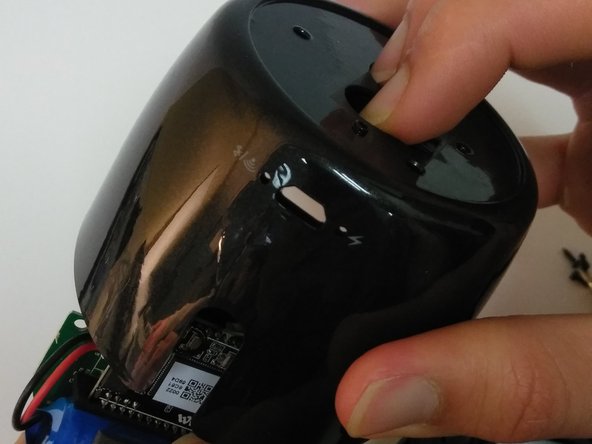
      • Remove the four 7mm Phillips screws to expose the motherboard.

      FixBotに聞いてみる

      コメントを追加

    5. Jam Voice Battery Replacement: 手順 6、 1の画像 1
      • After removing all of the screws from the plastic cover, remove it by pulling up and out.

      • Be careful not to pull and damage any of the wires.

      FixBotに聞いてみる

      コメントを追加

    6. Jam Voice Battery Replacement: 手順 7、 2の画像 1 Jam Voice Battery Replacement: 手順 7、 2の画像 2
      • Remove the three 5mm Phillips screws that hold the motherboard in place.

      • After the screws are removed, place two fingers on the power button and Bluetooth button to push the motherboard out.

      FixBotに聞いてみる

      コメントを追加

    1. Jam Voice Battery Replacement, Battery: 手順 8、 3の画像 1 Jam Voice Battery Replacement, Battery: 手順 8、 3の画像 2 Jam Voice Battery Replacement, Battery: 手順 8、 3の画像 3
      この手順で使用する道具:
      Tweezers
      $4.99
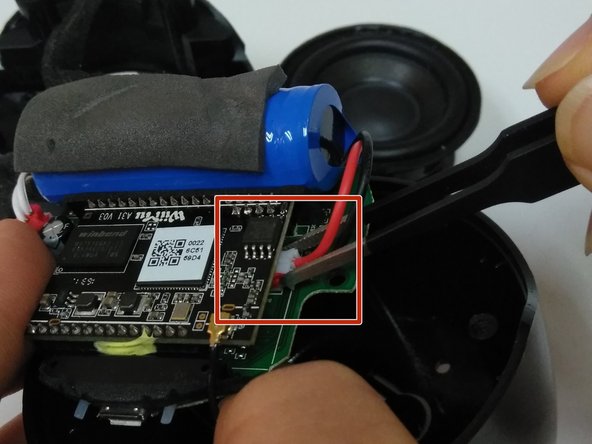
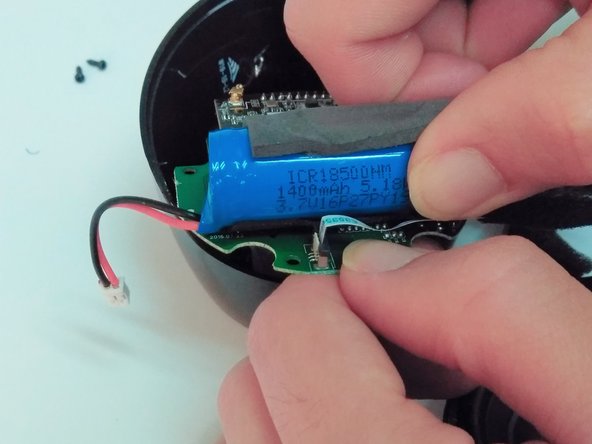
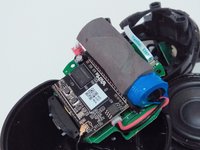
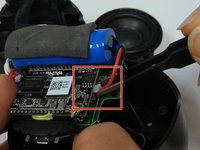
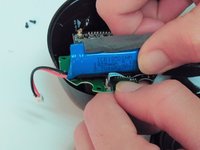
      • Expose the motherboard and battery and place in a position that will be easy to access and work with.

      • Use tweezers to remove the battery's wire from the motherboard at the connection point.

      • The battery's connection point is opposite the speaker's connection point.

      • Pull the battery from the motherboard.

      FixBotに聞いてみる

      コメントを追加

終わりに

To reassemble your device, follow these instructions in reverse order.

キャンセル: このガイドを終了できませんでした。

ある他の人がこのガイドを完成しました。

作成者

4人の作成者と共同で作成されました。

Hope Bukhamseen

メンバー登録日: 04/05/18

298 ポイント

3のガイドは作成済み

チーム

0件のガイドコメント

コメントを追加

統計データ:

過去 24時間: 1

過去 7 日: 7

過去 30 日: 34

今までの合計 1,074