はじめに
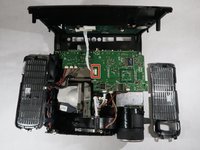
The fan is an important part of the InFocus IN35W projector, and if it fails to work, your device could overheat and break. If you do not hear the fan running in your projector, this guide will help you access it to figure out the problem.
必要な工具と部品
-
-
Use the plastic opening tool to remove the front plastic casing surrounding the lens.
-
Pry apart the clips securing the top and bottom of the device using the plastic opening tool.
 FixBotに聞いてみる
-
-
-
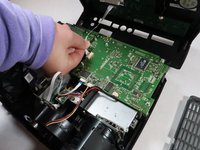
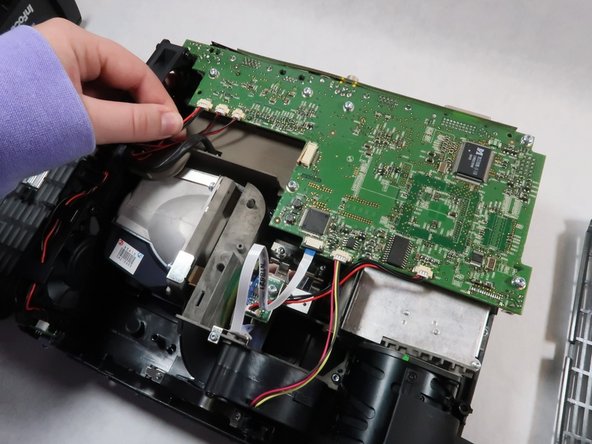
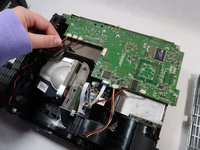
Detach the white speaker wire that connects the motherboard to the top piece.
-
Remove the top cover from the device.
-
-
-
-
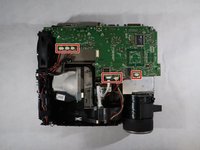
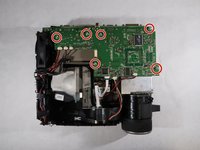
Detach all six of the cables and speaker wires from the white connectors on the motherboard.
-
-
-
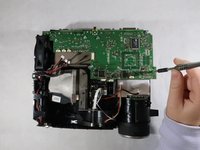
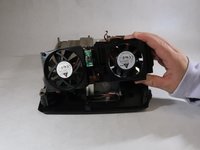
Carefully grasp the outsides of the motherboard and pull it up to remove it from the device.
-


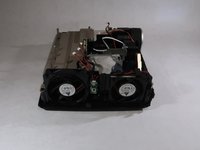
To reassemble your device, follow these instructions in reverse order.
チーム

UMass Dartmouth, Team 1-2, Simcock Fall 2021 UMass Dartmouth, Team 1-2, Simcock Fall 2021人のメンバー
UMASSD-SIMCOCK-F21S1G2
4 メンバー
13のガイドは作成済み