はじめに
After continuous usage, the batteries of electronics inside tend to give out completely, or they tend to not be able to hold a charge all that well compared to when they were brand new.
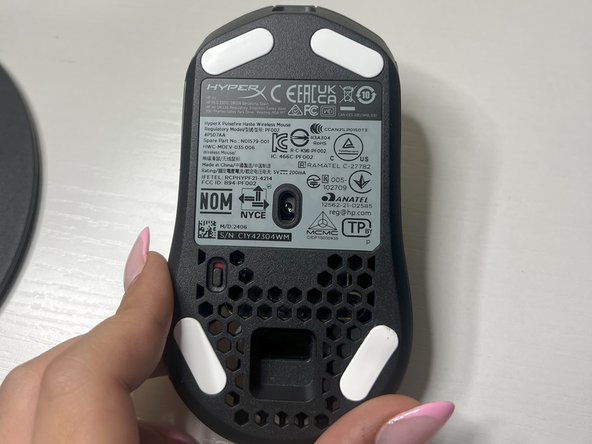
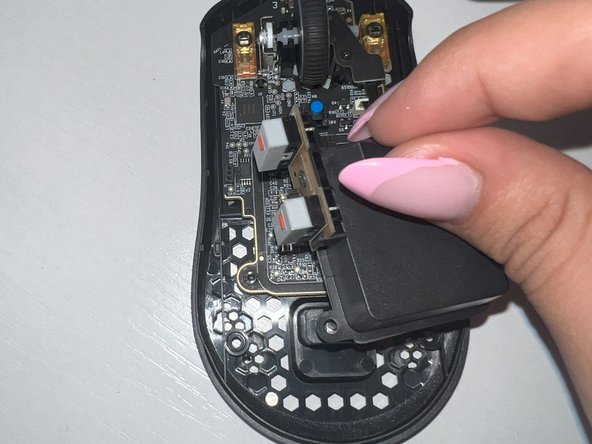
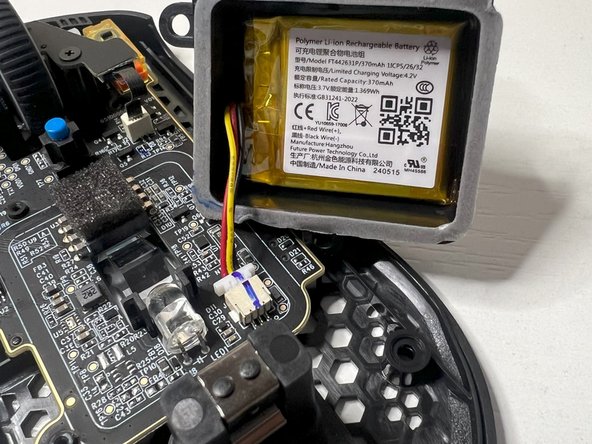
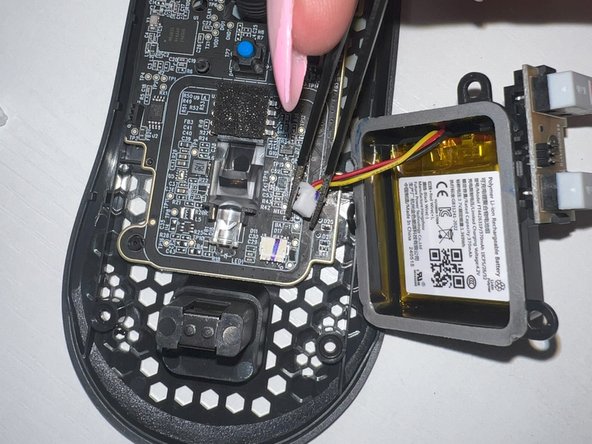
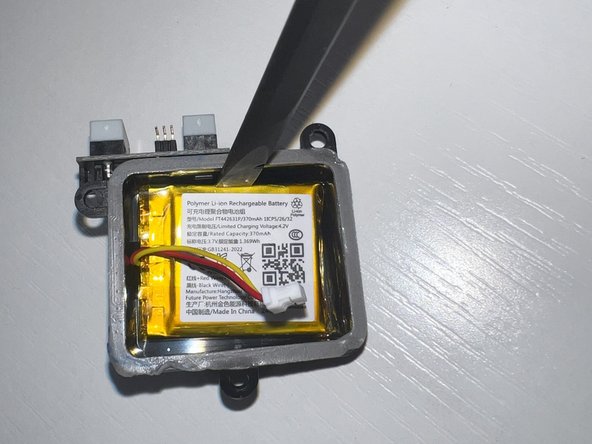
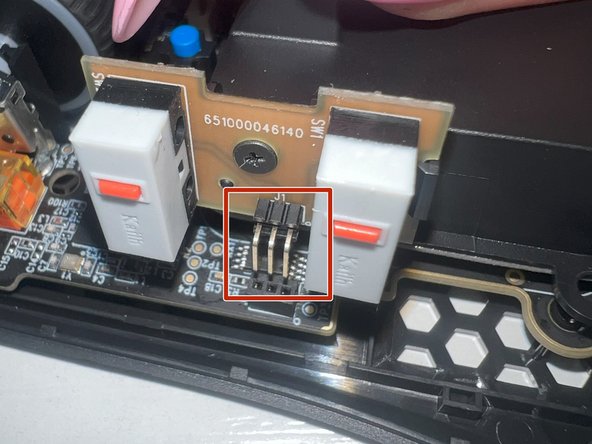
This guide demonstrates how to replace the battery inside of a HyperX Pulsefire Haste Wireless mouse Model: PF002, in order to extend the life span of the electronic and reduce the amount of e-waste.
必要な工具と部品


Congratulations! You have successfully completed replacing the battery inside of your wireless mouse! You can now use your knowledge you have gained from this replacement in future similar scenarios and continue on doing your part in reducing the amount of e-waste on our planet.
チーム

University of Oklahoma, Team 2-2, Bennett Fall 2024 University of Oklahoma, Team 2-2, Bennett Fall 2024人のメンバー
OU-BENNETT-F24S2G2
2 メンバー
1のガイドは作成済み