はじめに
スクリーンが壊れたり、操作できなくなったりした場合は、ディスプレイパネルを交換する必要があります。この作業では、ディスプレイパネルにアクセスするために、スマートフォンのほぼすべての部品を取り外す必要があります。
必要な工具と部品
-
-
-
-
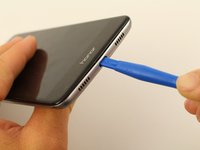
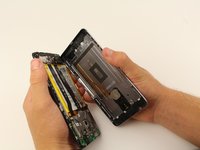
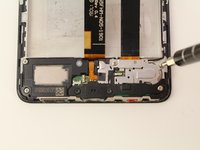
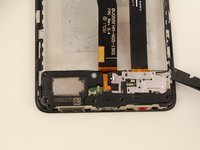
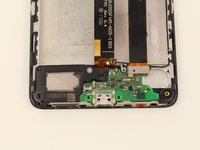
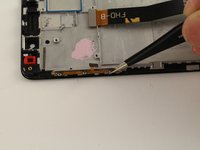
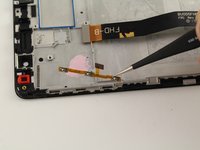
オープニングツールの角度のついた面を画面側に向けて、Micro USB充電ポートにオープニングツールを差し込みます。
-
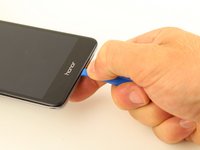
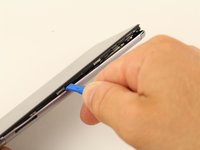
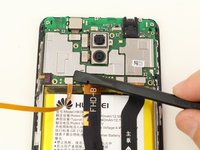
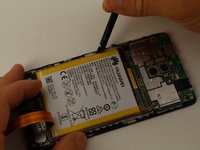
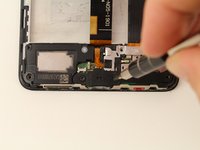
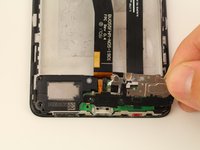
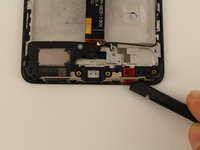
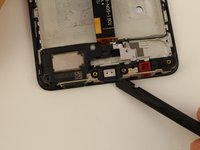
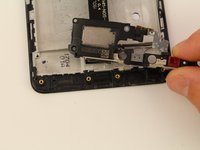
オープニングツールを押し下げて、画面を本体背面からこじ開けて外します。
-
-
-
-
-


終わりに
デバイスを再組み立てするには、これらのインストラクションを逆の順番に従って作業を進めてください。
12 の人々がこのガイドを完成させました。
以下の翻訳者の皆さんにお礼を申し上げます:
en jp
100%

Translation Botさんは世界中で修理する私たちを助けてくれています! あなたも貢献してみませんか?
翻訳を始める ›

チーム

Cal Poly, Team S13-G5, White Fall 2018 Cal Poly, Team S13-G5, White Fall 2018人のメンバー
CPSU-WHITE-F18S13G5
4 メンバー
49のガイドは作成済み