この翻訳は機械によって生成されたものであり、まだ人間による校正は行われていません。 日本語を話せますか? レビューはこちらから。

iMac Intel 21.5インチ EMC 2428 デュアルドライブキットの取り付け

Andrew Bookholt とその他 12 人の作成者
最終更新日: 2026年8月14日
閲覧: 33万
統計データ:
- 過去24時間:
- 10
- 過去7日:
- 104
- 過去30日:
- 444
- 今までの合計
- 332,772
コメント: 206
手順に関する133件のコメント, 73件のガイドコメント
修理ガイドのコメントへ完了済み: 275 276
275人のユーザーがこのガイドを「完了」させました。あなたも加わりませんか?
あなたを含む、276人のユーザーがこのガイドを使って修理を「完了」させました。素晴らしいです!
お気に入り: 198 199
198人のユーザーがこのガイドをお気に入りに登録しています。あなたもリストに入れませんか?
あなたを含む、199人のユーザーがこのガイドをお気に入りに登録しています。
おすすめのガイド
このガイドはiFixitスタッフによって太鼓判が押されています。
はじめに
手順 1 に進む ↓この修理ガイドを使用して、21.5インチ iMacに2台目の2.5インチ SATAハードドライブまたはSSDを取り付けます。このキットは、Mid 2011 EMC 2428モデルでのみ動作します。
必要な工具と部品
修理キット
キットには、修理ガイドを完了するために必要な全ての部品とツールが含まれています。

パーツ

ツール


ビデオの概要
-
-
-
iMacのACコードを周辺機器と一緒に抜きます。
-
画像のように、iMacを柔らかく清潔な場所に裏返して置きます。
-
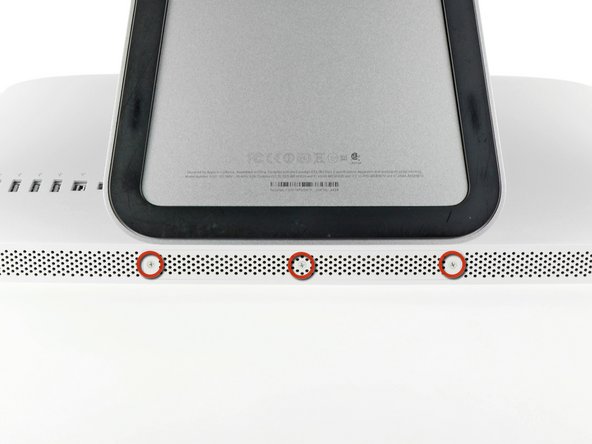
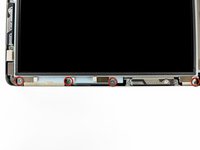
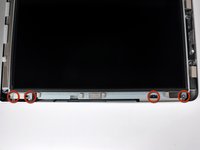
iMacの下側端とアクセスドアを固定している3本のプラスネジを緩めます。
-
アクセスドアを取り出します。
 FixBotに聞いてみる
-
-
-
-
-
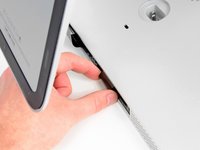
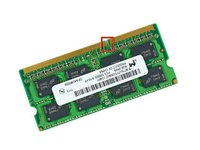
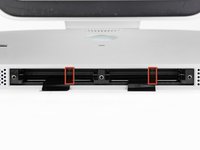
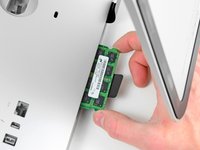
黒いプラスチックのRAM用プルタブをRAMスロットからゆっくりとスライドします。
-
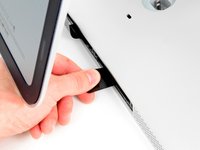
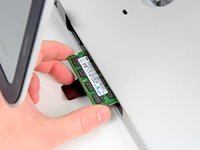
黒いプラスチック製のタブをiMac下端の底から引き離して、RAMベイ側に搭載されているモジュールを取り出します。
-
-
-
-
この手順で使用する道具:Heavy-Duty Suction Cups (Pair)$16.95
-
ガラスパネルの上部コーナーの2箇所に吸盤カップを取り付けます。
-
吸盤カップがうまく装着しない場合は、ガラスパネルと吸盤カップを中性洗剤などで綺麗に拭き取ってください。
-
-
-
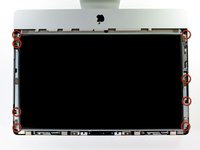
ゆっくりとガラスパネルをLCD表面に垂直になるように持ち上げて、スチール製のマウントピン
-
ガラスパネルをiMacの底側端から引き抜き、丁寧に脇に置いてください。
-
-
-
-
-
ディスプレイデータケーブルのロックに固定されたプラスチックのプルタブを掴み、上向きに回転させます。
-
ディスプレイデータケーブルを、ロジックボード上のソケットからまっすぐ引き抜きます。
-
-
-
-
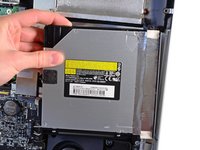
光学ドライブ内側の端を持ち上げて、ロジックボードに付いているGPUフレームのコネクタを絡まないように外してください。
-
光学ドライブをアウターケース右側に付いている固定ピンから慎重に引き抜き、光学ドライブケーブルの接続を外すためにスペースを確保します。
-
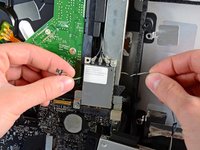
GPUヒートシンクの後ろから光学ドライブ温度センサのコネクタを取り外すには、光学ドライブの後ろを通してください。
-
-
-
-
-
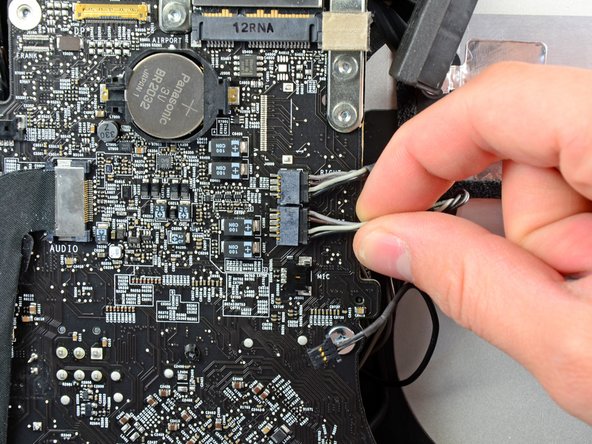
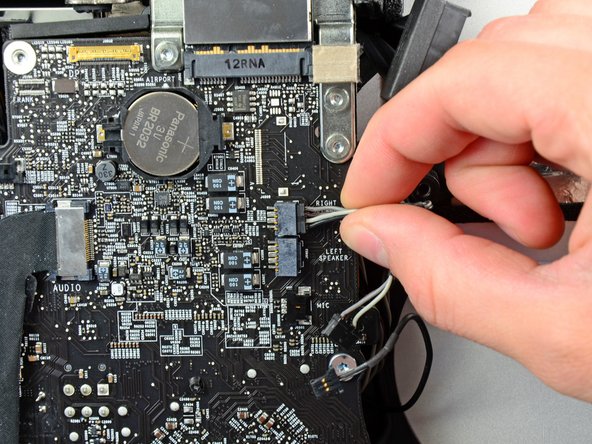
これ以降の手順で、以下のケーブルを取り外します:
-
SDボード
-
左右スピーカーおよびマイク
-
オーディオポート
-
Wi-Fiアンテナ
-
右温度センサー、Bluetooth/環境光センサー/カメラ/左温度センサー、およびハードドライブファン
-
CPUファン/周囲温度センサーおよび電源ボタン
-
IRセンサー
-
-
-
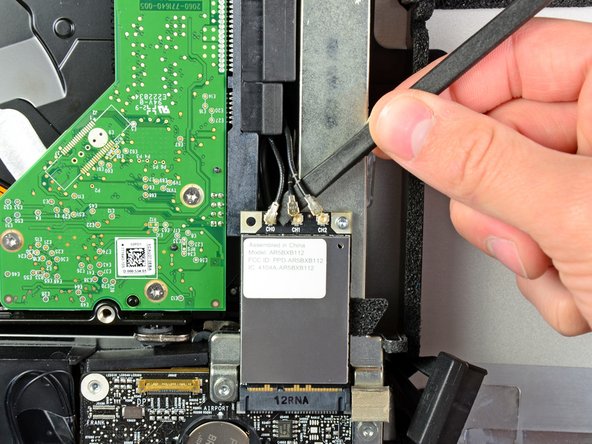
スパッジャーの平らな先端を使って、AirPortボード上のソケットから3つのAirPortアンテナコネクタをすべて上にこじ開けます。
-
-
-
親指を使って、IRセンサーのコネクタをiMacの上端方向へ押し、ロジックボードのソケットから取り外します。
-
外側のケースの前面裏から、IRセンサーボードを引き上げます。
-
IRセンサーを取り外し、脇に置きます。
-
-
-
オーディオポートケーブルのコネクタをiMacの左側に引き、ロジックボードから取り外します。
-
オーディオポートケーブルをロジックボードの表面から剥がし、2枚目の写真のように垂らしておきます。
-
-
-
以下のネジ7本を取り外します:
-
7 mm トルクスネジ(T10) 2本
-
30 mm トルクスネジ(T10) 1本
-
25 mm トルクスネジ(T10) 2本
-
21 mm トルクスネジ(T10) 2本
-
-
-
-
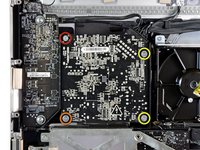
電源ユニットから以下のネジ4本を取り外します:
-
9.3 mm T10ネジ(粗目)1本
-
25 mm T10ネジ(粗目)1本
-
22 mmネジ(細目)2本
-
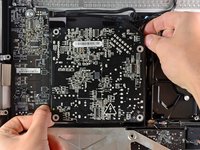
電源ユニットの右上と左下の角を背面ケースから引き離し、電源ユニットの角に付いている取り付けポストを外します。
-
-
-
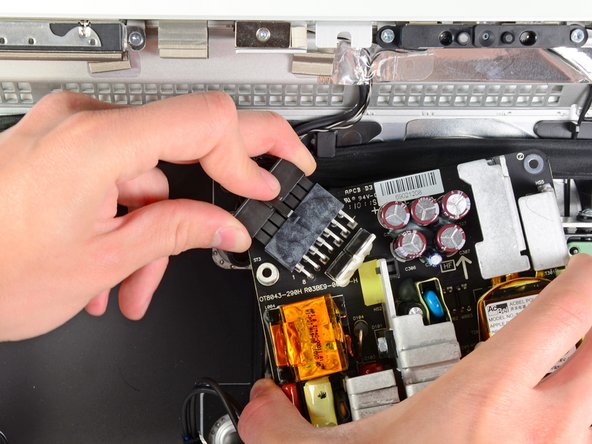
電源ユニットを慎重に持ち上げて外装ケースから取り出し、図のように回転させてケーブルロックを露出させます。その際、iMacとまだ繋がっているDC出力ケーブルとAC入力ケーブルに注意してください。
-
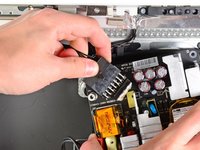
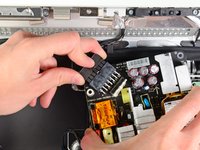
コネクタのロック機構を押し下げながらソケットから引き抜き、DC出力ケーブルを取り外します。
-
ロック機構がソケットから外れたら、DC入力コネクタを電源ユニットから引き抜きます。
-
-
-
-
-
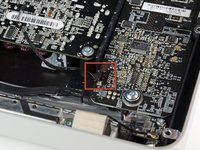
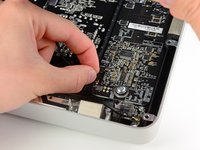
以下の手順では、デュアルハードドライブキットに付属している新しいハードドライブケーブルを接続するため、ロジックボードを外装ケースから少し浮かせた状態で保持します。
-
-
-
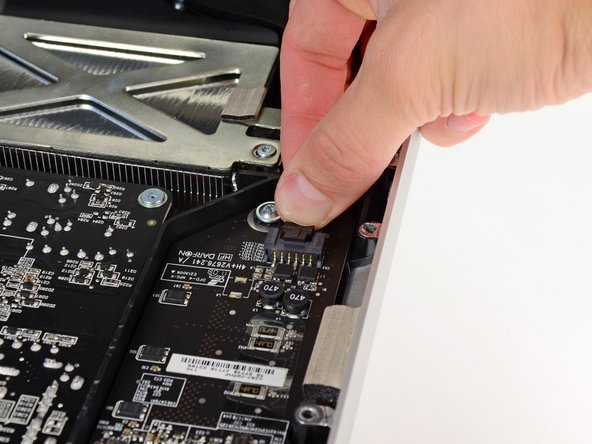
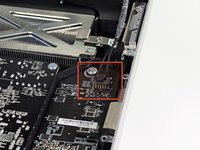
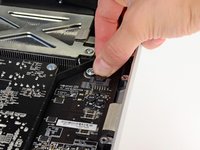
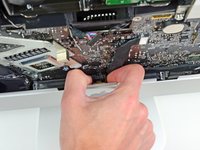
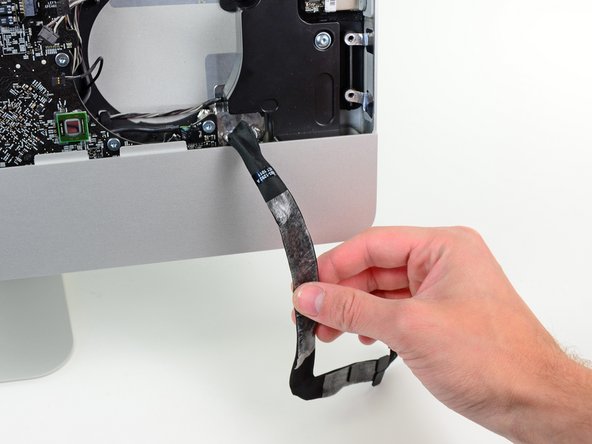
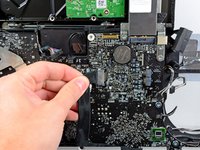
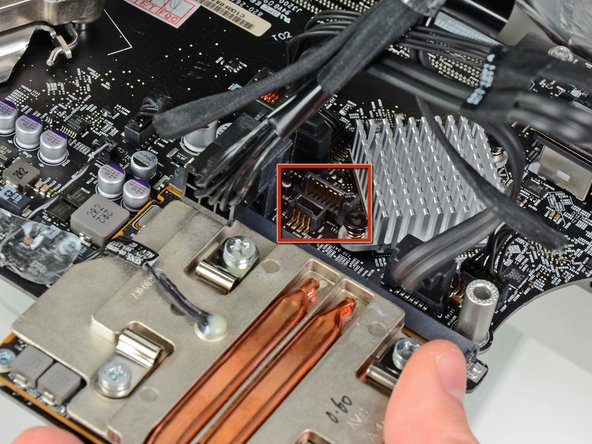
次に、新しいハードドライブケーブルをGPUヒートシンクに押し当てたまま、ロジックボードの下端を外側のケースに戻します。
-
ロジックボードを外側ケースの背面に押し付ける前に、まずハードドライブケーブルを電源ケーブルの束付近の溝に通します。
-
ロジックボードをくぼみにはめ込む際、ハードドライブケーブルをGPUヒートシンクのフィン付近にあるプラスチック製の圧力壁に切り込まれた小さな溝に通してください。
-
-
-
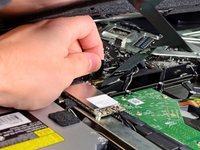
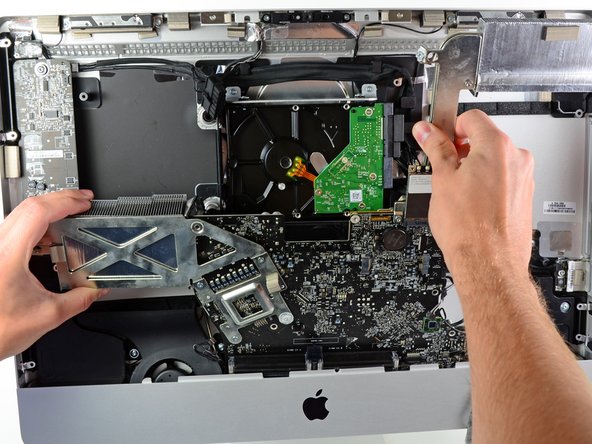
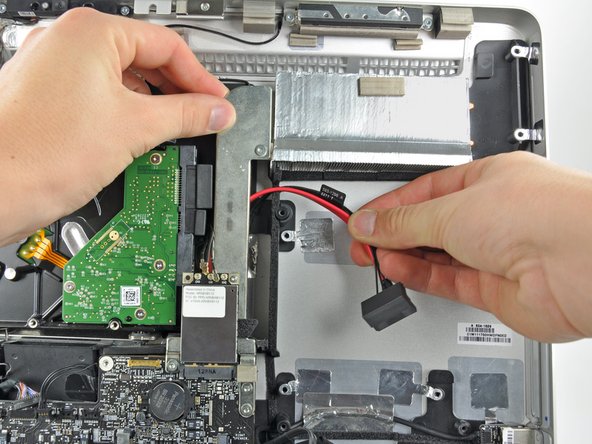
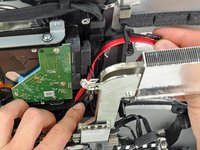
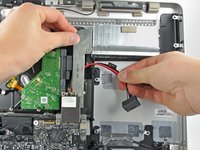
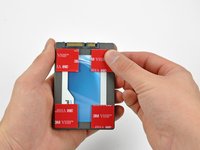
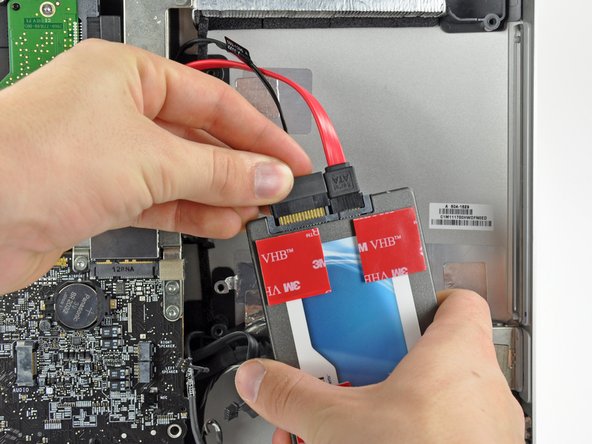
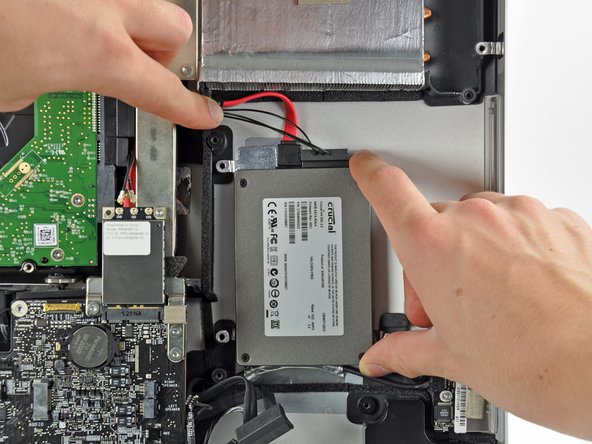
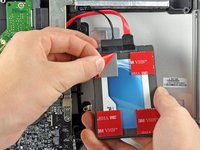
両面テープの剥離紙を剥がし、ハードドライブをiMacの内部に配置します。
-
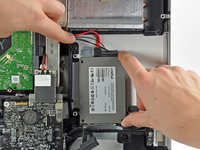
ドライブをiMacの光学ドライブベイの左下隅にできるだけ近づけて慎重にセットします。
-
ハードドライブの位置が決まったら、端をしっかりと押さえて完全に固定します。
-
-











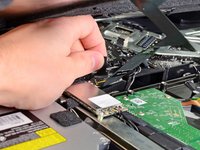
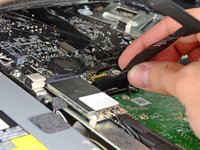


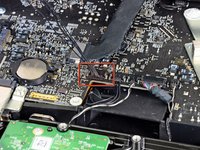
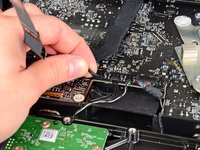




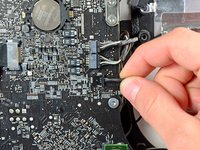
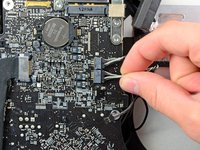
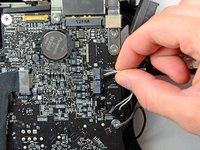

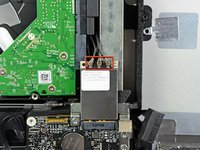
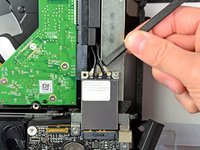


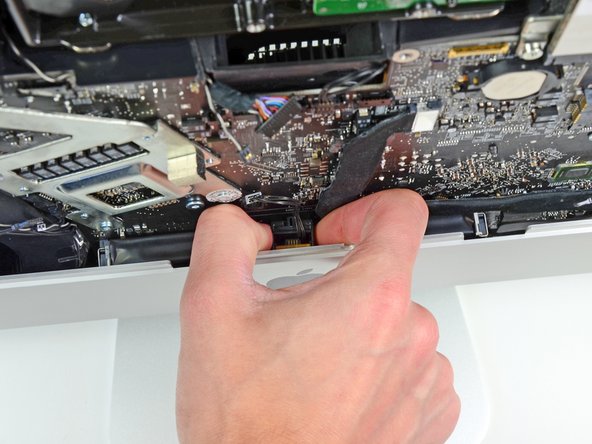
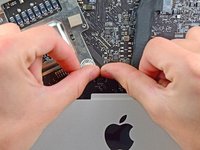










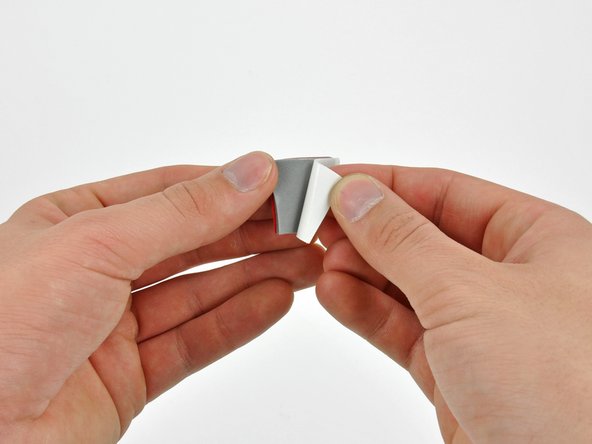
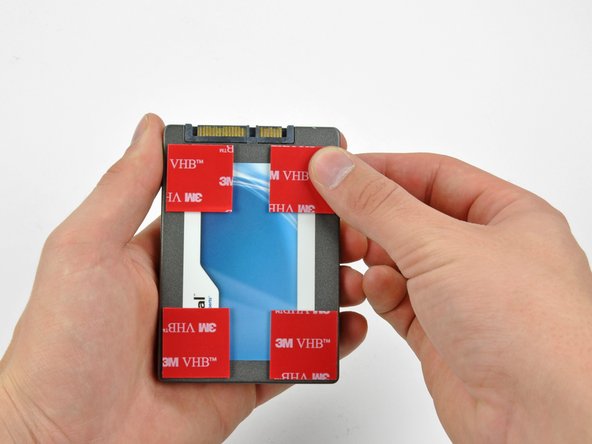


デバイスを再組み立てするには、手順33から逆の順番に従って作業を進めてください。
275 の人々がこのガイドを完成させました。

73件のガイドコメント
It should be noted to anyone doing this that RAM should be removed first. When you get towards the end things go bad if your RAM is still in there and you start moving the mainboard around.
You are correct. I followed the ifixit guide on youtube and it was not mentioned to remove the RAMs. But in fact the RAMs should be removed in order to pull the logic board.
Seconded ... remove ram first! Spent more time reinstalling main board than anything else.
Added bigger HDD as well as SSD. Buy HDD Fan Control to fix fan speed.
A curse on Jobs & Apple for making it this tedious to add SSD & HDD.
Cudos to ifixit!
Did it, my imac is extreamly speedy now with the ssd compared with the origional hdd.
Tool me about two hours to do, had to have my brother help me when i was removing the logic board and screen.
Found that the logic board was extreamly hard to remove.
Good tip is to selotape the cables before removing / inserting the logic board as i traped my microphone connector underneath. Luckely i could reach it with a pair of tweesers.
Over all glad i did it.
