はじめに
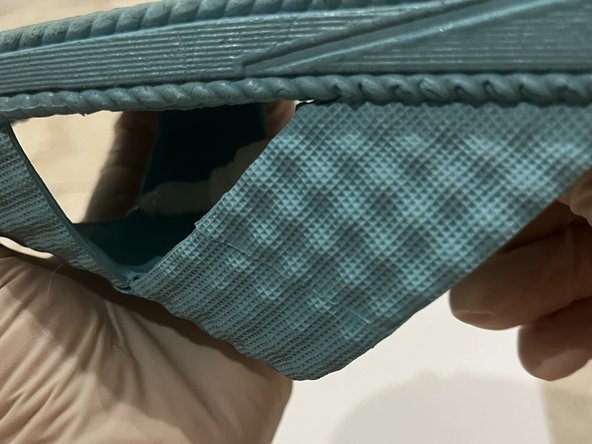
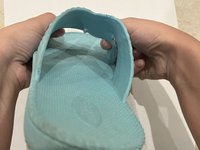
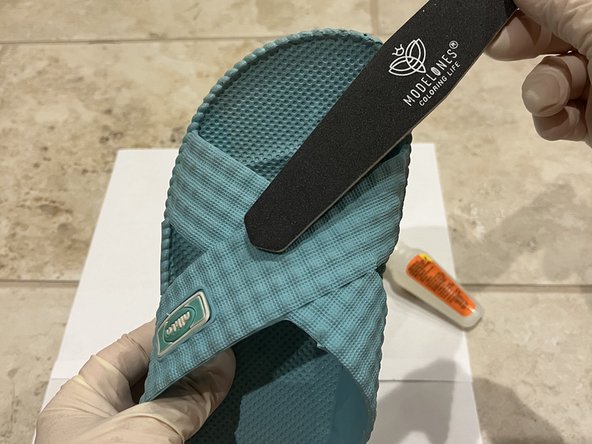
This process is to provide a way to save plastic sandals that have tears in them, so that they do not need to be thrown away. This process will be achieved by using Gorilla Glue. The materials needed are Gorilla Glue, gloves, and a nail filer.
必要な工具と部品
-
-
-
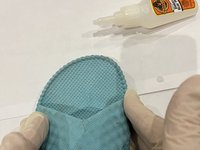
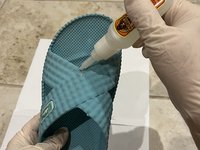
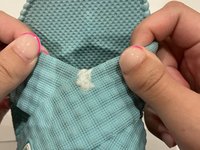
Pour some glue into the tear.
-
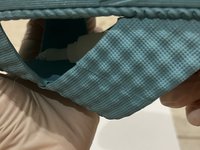
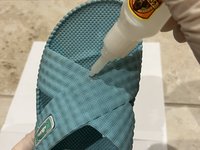
Turn the sandal over, and put some more glue on the underneath side of the tear.
-
Make sure all parts of the tear are covered with glue.
-
-
-
-
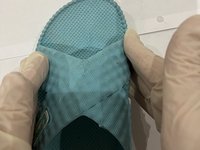
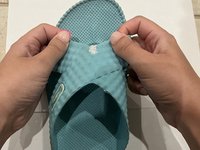
While the glue is wet, press both sides of the sandal together.
-
Hold this for about 60 seconds or until the glue dries.
-
-
-
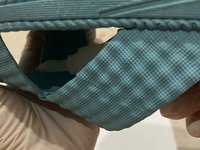
If needed, put a thin layer of glue on both sides to make sure it does not rip open.
-
-
-
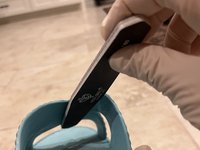
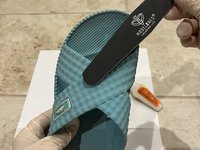
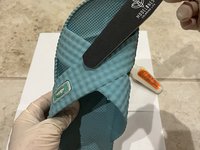
If the area is not smooth after it has dries, use a nail filer to shave down the glue.
-
If you do not have a nail filer, sandpaper should work, too.
-


 FixBotに聞いてみる










ある他の人がこのガイドを完成しました。

チーム

University of North Texas, Team 1-6, Kilpatrick Summer 2024 University of North Texas, Team 1-6, Kilpatrick Summer 2024人のメンバー
UNT-KILPATRICK-SU24S1G6
1 メンバー
2のガイドは作成済み
