メインコンテンツにスキップ
リペアコミュニティに参加 - アカウントの作成

Hover-1 H1 Power Button Replacement

必要な工具と部品

    1. Hover-1 H1 Power Button  Replacement, Bottom Shell: 手順 1、 1の画像 1
      • Remove the ten 9mm machine screws by using a long Phillips #2 screwdriver to rotate the screws counterclockwise.

      • Remove the twelve 9mm sheet metal screws by using a long Phillips #2 screwdriver to rotate the screws counterclockwise.

      FixBotに聞いてみる

      コメントを追加

    2. Hover-1 H1 Power Button  Replacement: 手順 2、 1の画像 1
      • Puncture the two black stickers by using the tip of a screwdriver.

      • Remove the two 9mm machine screws by using a long Phillips #2 screwdriver to rotate the screws counterclockwise.

      FixBotに聞いてみる

      コメントを追加

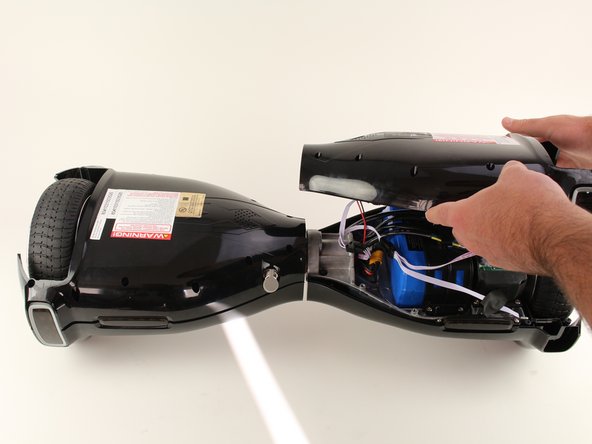
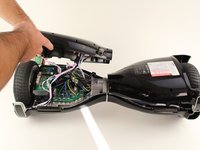
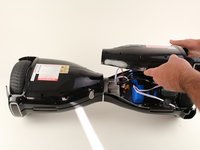
    3. Hover-1 H1 Power Button  Replacement: 手順 3、 2の画像 1 Hover-1 H1 Power Button  Replacement: 手順 3、 2の画像 2
      • Lift each side of the bottom shell by pulling up.

      • When lifting the shell, take care to not tear any cables from their connectors.

      FixBotに聞いてみる

      コメントを追加

    4. Hover-1 H1 Power Button  Replacement: 手順 4、 1の画像 1
      • Unplug the battery by pulling gently on both sides of the orange connector.

      FixBotに聞いてみる

      コメントを追加

    1. Hover-1 H1 Power Button  Replacement, Power Button: 手順 5、 1の画像 1
      • Unplug the power button connector by pinching the tab on the front and pulling directly upwards.

      • Pull the cable through the center section of the hoverboard.

      • For reassembly, you will have to feed the cable back through the center section. This can be done using a rigid wire or cable.

      FixBotに聞いてみる

      コメントを追加

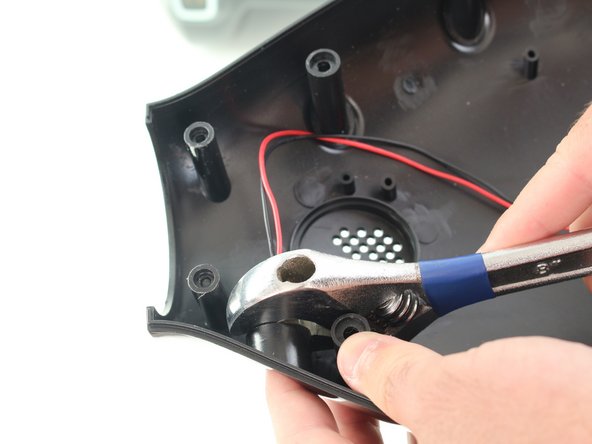
    2. Hover-1 H1 Power Button  Replacement: 手順 6、 2の画像 1 Hover-1 H1 Power Button  Replacement: 手順 6、 2の画像 2
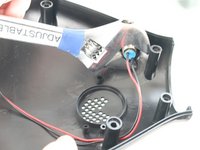
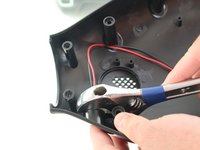
      • Using an adjustable wrench, remove the nut on the back of the power button by rotating the nut counterclockwise.

      FixBotに聞いてみる

      コメントを追加

    3. Hover-1 H1 Power Button  Replacement: 手順 7、 1の画像 1
      • Pull the power button through the hole in the shell.

      FixBotに聞いてみる

      コメントを追加

終わりに

To reassemble your device, follow these instructions in reverse order.

キャンセル: このガイドを終了できませんでした。

ある他の人がこのガイドを完成しました。

作成者

2人の作成者と共同で作成されました。

Christopher Bruni

メンバー登録日: 10/08/18

121 ポイント

1ガイドが承認済み

チーム

Cal Poly, Team S17-G6, White Fall 2018 Cal Poly, Team S17-G6, White Fall 2018人のメンバー

CPSU-WHITE-F18S17G6

4 メンバー

58のガイドは作成済み

0件のガイドコメント

コメントを追加

統計データ:

過去 24時間: 0

過去 7 日: 9

過去 30 日: 38

今までの合計 4,096