メインコンテンツにスキップ
リペアコミュニティに参加 - アカウントの作成

HTC Rhyme Volume Button Replacement

必要な工具と部品

    1. HTC Rhyme Volume Button  Replacement, Removing Back Cover: 手順 1、 1の画像 1
      • Slide the bottom back cover off of the phone.

      FixBotに聞いてみる

      コメントを追加

    2. HTC Rhyme Volume Button  Replacement: 手順 2、 1の画像 1
      • Locate the four screws on the plastic cover and unscrew them.

      FixBotに聞いてみる

      コメントを追加

    3. HTC Rhyme Volume Button  Replacement: 手順 3、 1の画像 1
      • Pry the sticker off from the sides.

      • You can use a metal spudger to do this.

      • Peel the sticker off with your hands.

      FixBotに聞いてみる

      コメントを追加

    4. HTC Rhyme Volume Button  Replacement, Remove the plastic cover: 手順 4、 1の画像 1
      • Remove the plastic cover using your hands.

      FixBotに聞いてみる

      コメントを追加

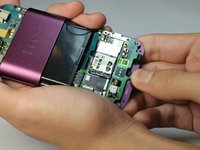
    5. HTC Rhyme Volume Button  Replacement: 手順 5、 1の画像 1
      • Remove the yellow ribbon.

      FixBotに聞いてみる

      コメントを追加

    6. HTC Rhyme Volume Button  Replacement: 手順 6、 3の画像 1 HTC Rhyme Volume Button  Replacement: 手順 6、 3の画像 2 HTC Rhyme Volume Button  Replacement: 手順 6、 3の画像 3
      • Lift up the blue flaps underneath the battery.

      • Lift up the black flap at the top of the phone.

      • Lift up the black flap at the bottom of the phone.

      FixBotに聞いてみる

      コメントを追加

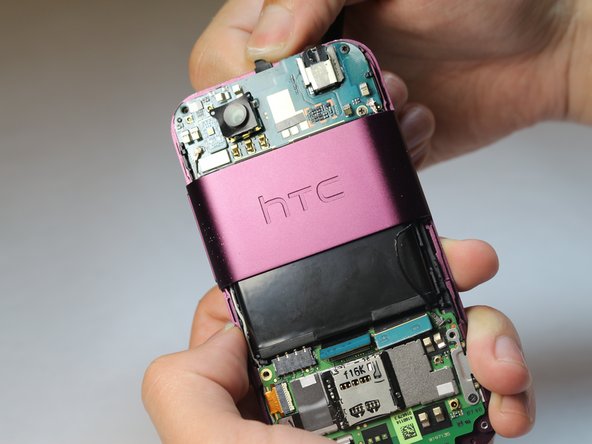
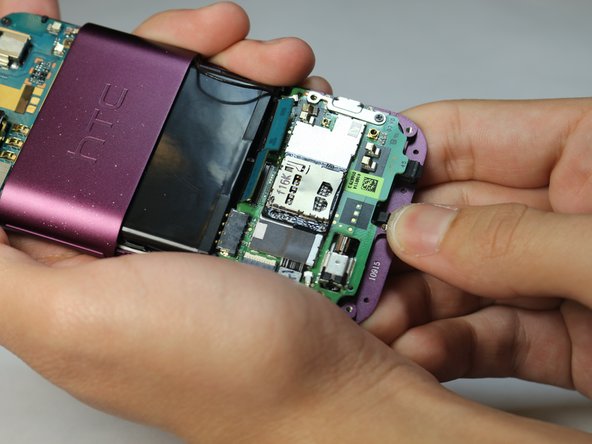
    7. HTC Rhyme Volume Button  Replacement, Remove the Motherboard: 手順 7、 2の画像 1 HTC Rhyme Volume Button  Replacement, Remove the Motherboard: 手順 7、 2の画像 2
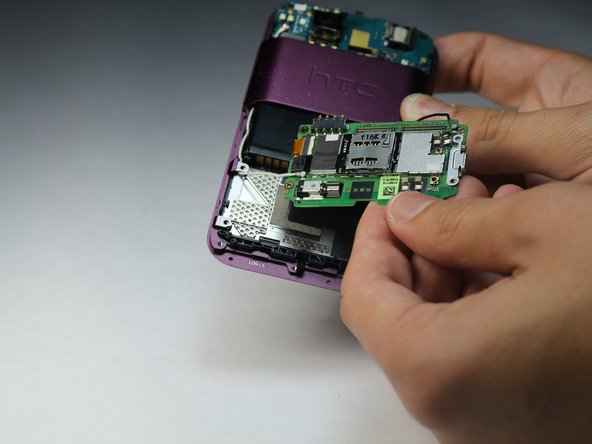
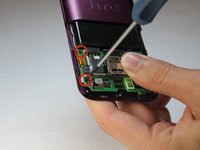
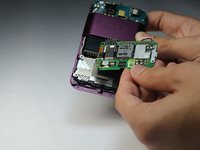
      • Remove all 4 screws.

      • Carefully remove the motherboard with your hands.

      FixBotに聞いてみる

      コメントを追加

    8. HTC Rhyme Volume Button  Replacement, Removing the back plastic casing: 手順 8、 3の画像 1 HTC Rhyme Volume Button  Replacement, Removing the back plastic casing: 手順 8、 3の画像 2 HTC Rhyme Volume Button  Replacement, Removing the back plastic casing: 手順 8、 3の画像 3
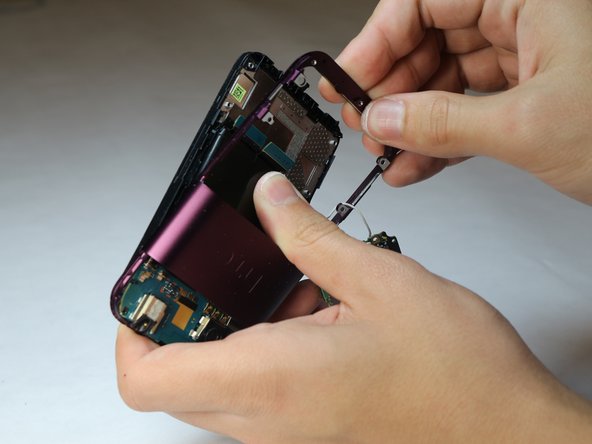
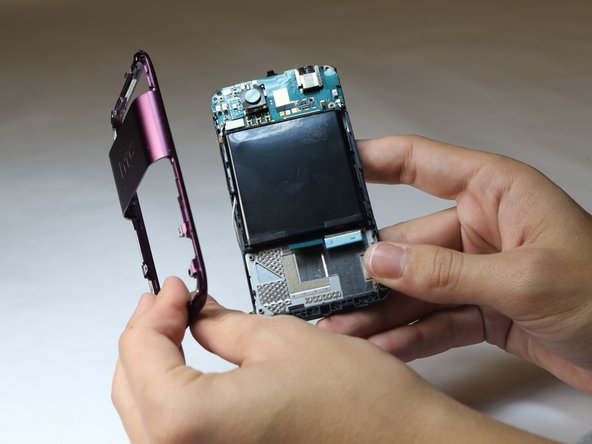
      • Pry the back plastic casing off with your hands.

      FixBotに聞いてみる

      コメントを追加

    9. HTC Rhyme Volume Button  Replacement: 手順 9、 2の画像 1 HTC Rhyme Volume Button  Replacement: 手順 9、 2の画像 2
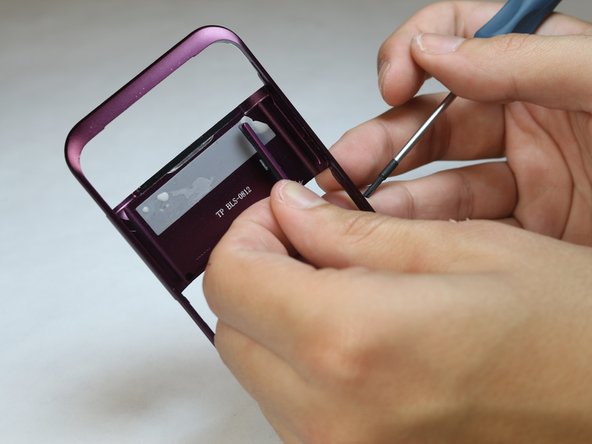
      • Use the tip of a screwdriver to push the button out of the panel.

      FixBotに聞いてみる

      コメントを追加

終わりに

To reassemble your device, follow these instructions in reverse order.

キャンセル: このガイドを終了できませんでした。

作成者

3人の作成者と共同で作成されました。

Frederick

メンバー登録日: 10/08/14

119 ポイント

1ガイドが承認済み

チーム

USF Tampa, Team 9-6, Leahy Fall 2014 USF Tampa, Team 9-6, Leahy Fall 2014人のメンバー

USFT-LEAHY-F14S9G6

3 メンバー

35のガイドは作成済み

0件のガイドコメント

コメントを追加

統計データ:

過去 24時間: 0

過去 7 日: 5

過去 30 日: 25

今までの合計 512