メインコンテンツにスキップ
リペアコミュニティに参加 - アカウントの作成

HTC One X Plus Motherboard Replacement

必要な工具と部品

    1. HTC One X Plus Motherboard Replacement, Motherboard: 手順 1、 1の画像 1
      • Power off your device.

      • Insert a pin, paper clip, or very small piece of metal into the hole next to the micro sim card holder to remove it.

      • The Sim Card Slot is located on the top edge of the device.

      FixBotに聞いてみる

      コメントを追加

    2. HTC One X Plus Motherboard Replacement: 手順 2、 3の画像 1 HTC One X Plus Motherboard Replacement: 手順 2、 3の画像 2 HTC One X Plus Motherboard Replacement: 手順 2、 3の画像 3
      • Using plastic opening tools, pry open the bottom of the device first.

      • You will hear clicking sounds as the sides of the device detach from the screen.

      • Once both sides are detached, use the suction cup tool to remove the screen completely from the black encasing.

      FixBotに聞いてみる

      コメントを追加

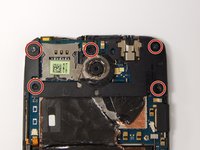
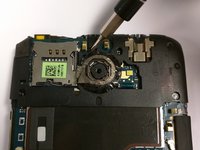
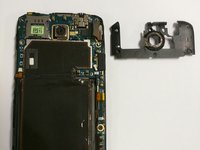
    3. HTC One X Plus Motherboard Replacement: 手順 3、 3の画像 1 HTC One X Plus Motherboard Replacement: 手順 3、 3の画像 2 HTC One X Plus Motherboard Replacement: 手順 3、 3の画像 3
      • Using a Philips head screw driver, remove the five 2.4mm screws that are pictured. Then remove the plastic cover.

      • Once you have disassembled your device the warranty will no longer be valid.

      FixBotに聞いてみる

      コメントを追加

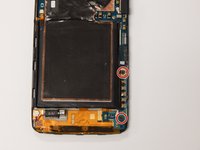
    4. HTC One X Plus Motherboard Replacement: 手順 4、 3の画像 1 HTC One X Plus Motherboard Replacement: 手順 4、 3の画像 2 HTC One X Plus Motherboard Replacement: 手順 4、 3の画像 3
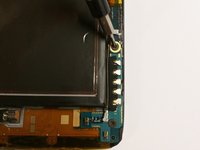
      • Use the J000 Philips screw driver head to remove the screws as pictured.

      • There are two 3.4mm screws to be removed.

      • Remove the PCB board and the antenna.

      FixBotに聞いてみる

      コメントを追加

    5. HTC One X Plus Motherboard Replacement: 手順 5、 2の画像 1 HTC One X Plus Motherboard Replacement: 手順 5、 2の画像 2
      この手順で使用する道具:
      Tweezers
      $4.99
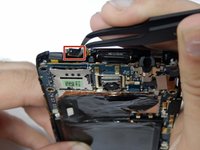
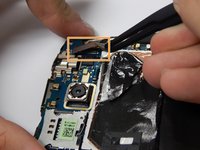
      • Using tweezers, disconnect the power button flex cable.

      • Then disconnect the touch screen flex cable.

      FixBotに聞いてみる

      コメントを追加

    6. HTC One X Plus Motherboard Replacement: 手順 6、 3の画像 1 HTC One X Plus Motherboard Replacement: 手順 6、 3の画像 2 HTC One X Plus Motherboard Replacement: 手順 6、 3の画像 3
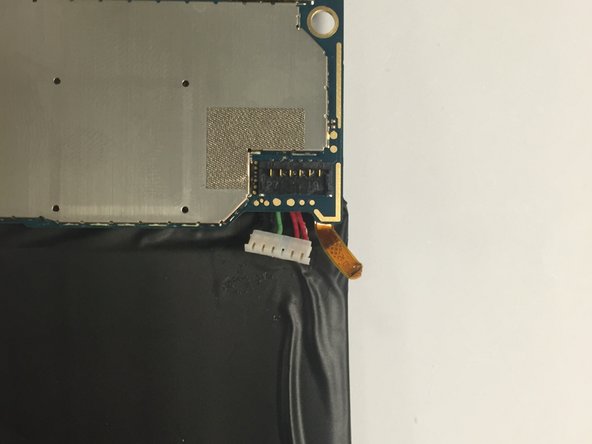
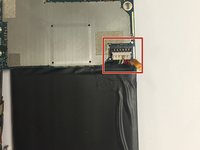
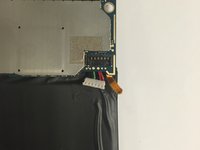
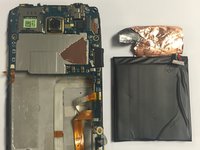
      • Disconnect the battery from the logic board.

      • Look for a white six pin connector.

      • Remove the battery by pulling upwards.

      FixBotに聞いてみる

      コメントを追加

    7. HTC One X Plus Motherboard Replacement: 手順 7、 1の画像 1
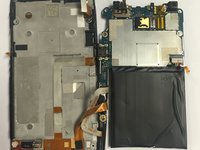
      • Disconnect the remaining two flex cables following the same procedure from Step 5.

      • Once these two flex cables have been disconnected, you may now remove the motherboard.

      FixBotに聞いてみる

      コメントを追加

終わりに

To reassemble your device, follow these instructions in reverse order.

キャンセル: このガイドを終了できませんでした。

ある他の人がこのガイドを完成しました。

作成者

9人の作成者と共同で作成されました。

Jason Melo

メンバー登録日: 08/26/15

483 ポイント

4のガイドは作成済み

チーム

USF Tampa, Team 3-3, Eyestone Fall 2015 USF Tampa, Team 3-3, Eyestone Fall 2015人のメンバー

USFT-EYESTONE-F15S3G3

3 メンバー

20のガイドは作成済み

0件のガイドコメント

コメントを追加

統計データ:

過去 24時間: 0

過去 7 日: 7

過去 30 日: 21

今までの合計 1,539