メインコンテンツにスキップ
リペアコミュニティに参加 - アカウントの作成

HP ProBook 440 G1 Keyboard Replacement

必要な工具と部品

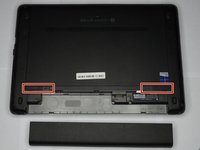
    1. HP ProBook 440 G1 Keyboard Replacement, Battery: 手順 1、 2の画像 1 HP ProBook 440 G1 Keyboard Replacement, Battery: 手順 1、 2の画像 2
      • Make sure the laptop is turned off before you start.

      • Push and hold the release tab on the right and left toward the center.

      FixBotに聞いてみる
      コメントを追加

    2. HP ProBook 440 G1 Keyboard Replacement: 手順 2、 2の画像 1 HP ProBook 440 G1 Keyboard Replacement: 手順 2、 2の画像 2
      • Pull the battery out.

      FixBotに聞いてみる
      コメントを追加

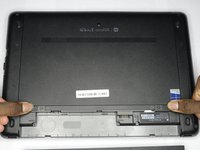
    1. HP ProBook 440 G1 Keyboard Replacement, Backplate: 手順 3、 3の画像 1 HP ProBook 440 G1 Keyboard Replacement, Backplate: 手順 3、 3の画像 2 HP ProBook 440 G1 Keyboard Replacement, Backplate: 手順 3、 3の画像 3
      • Push and hold the release tabs on the right and left toward the center again.

      FixBotに聞いてみる
      コメントを追加

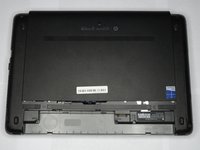
    2. HP ProBook 440 G1 Keyboard Replacement: 手順 4、 1の画像 1
      • Slide the backplate off.

      FixBotに聞いてみる
      コメントを追加

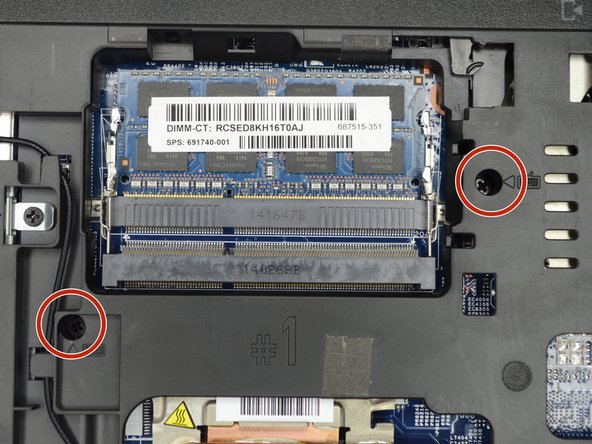
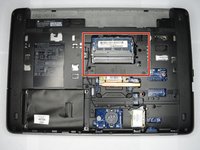
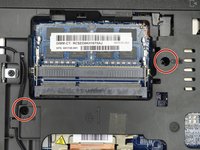
    1. HP ProBook 440 G1 Keyboard Replacement, Keyboard: 手順 5、 2の画像 1 HP ProBook 440 G1 Keyboard Replacement, Keyboard: 手順 5、 2の画像 2
      • Locate the two screws on the back of the laptop, holding the keyboard.

      • Remove the two screws using a Phillips #00 screwdriver.

      FixBotに聞いてみる

      コメントを追加

    2. HP ProBook 440 G1 Keyboard Replacement: 手順 6、 1の画像 1
      • Flip the computer over so as to see the keyboard.

      FixBotに聞いてみる

      コメントを追加

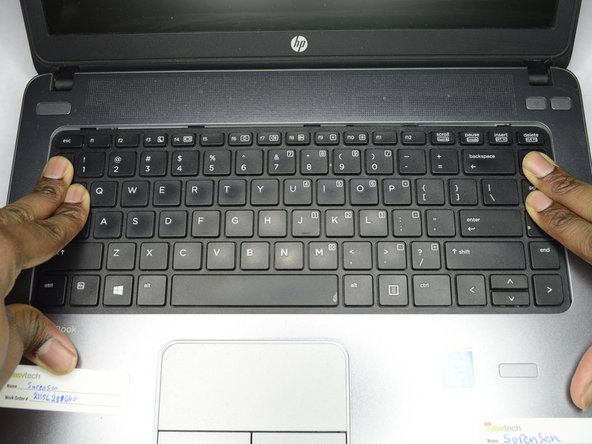
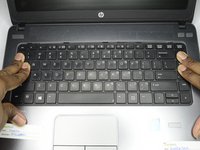
    3. HP ProBook 440 G1 Keyboard Replacement: 手順 7、 2の画像 1 HP ProBook 440 G1 Keyboard Replacement: 手順 7、 2の画像 2
      • Place both hands on the keyboard and slide it back.

      • The keyboard will only slide back a small amount.

      FixBotに聞いてみる

      コメントを追加

    4. HP ProBook 440 G1 Keyboard Replacement: 手順 8、 2の画像 1 HP ProBook 440 G1 Keyboard Replacement: 手順 8、 2の画像 2
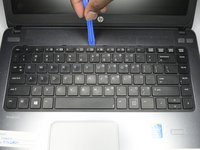
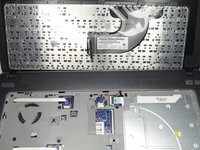
      • Using a plastic opening tool, pull the keyboard up.

      FixBotに聞いてみる

      コメントを追加

    5. HP ProBook 440 G1 Keyboard Replacement: 手順 9、 3の画像 1 HP ProBook 440 G1 Keyboard Replacement: 手順 9、 3の画像 2 HP ProBook 440 G1 Keyboard Replacement: 手順 9、 3の画像 3
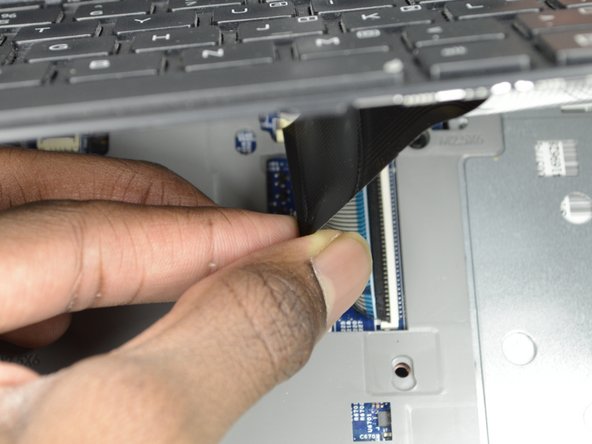
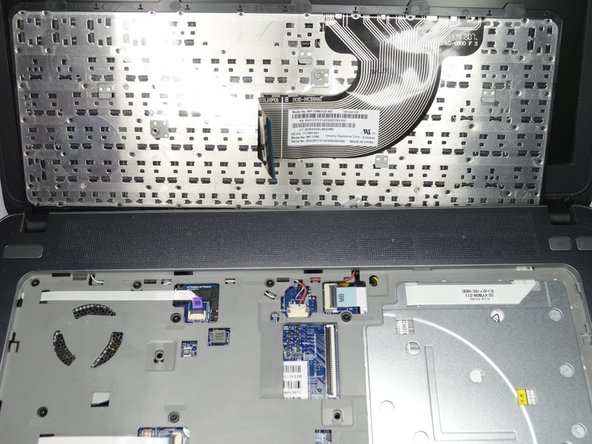
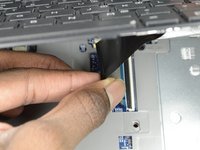
      • Locate the connector strip between the keyboard and the laptop.

      • Pull the strip away from the connector until it unplugs.

      • It may take some force to make the strip disconnect.

      FixBotに聞いてみる

      コメントを追加

終わりに

To reassemble your device, follow these instructions in reverse order.

キャンセル: このガイドを終了できませんでした。

2 の人々がこのガイドを完成させました。

作成者

1人の作成者と共同作成されました。

Ethan A Courtney

メンバー登録日: 10/24/18

875 ポイント

7のガイドは作成済み

チーム

Purdue University Northwest, Team S1-G4, Hingst Fall 2018 Purdue University Northwest, Team S1-G4, Hingst Fall 2018人のメンバー

PNW-HINGST-F18S1G4

1 メンバー

7のガイドは作成済み

1件のガイドコメント

thanks for that

sir i want original keyboard 440 G1

if u dont mine suggest me

karun kumar - 返信 共有

コメントを追加

統計データ:

過去 24時間: 1

過去 7 日: 15

過去 30 日: 50

今までの合計 2,839