メインコンテンツにスキップ
リペアコミュニティに参加 - アカウントの作成

HP Photosmart 935 Plastic Casing Replacement

必要な工具と部品

    1. HP Photosmart 935 Plastic Casing Replacement, Batteries: 手順 1、 2の画像 1 HP Photosmart 935 Plastic Casing Replacement, Batteries: 手順 1、 2の画像 2
      • Flip the camera over so the bottom of the camera is facing you.

      FixBotに聞いてみる

      コメントを追加

      • Turn the mode dial to the OFF position.

      FixBotに聞いてみる

      コメントを追加

    2. HP Photosmart 935 Plastic Casing Replacement: 手順 3、 2の画像 1 HP Photosmart 935 Plastic Casing Replacement: 手順 3、 2の画像 2
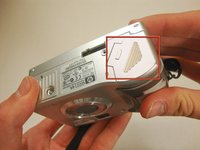
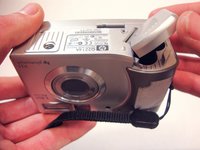
      • Slide the bottom cover in the direction of the arrow to open it.

      FixBotに聞いてみる

      コメントを追加

    3. HP Photosmart 935 Plastic Casing Replacement: 手順 4、 1の画像 1
      • Pull out the batteries.

      FixBotに聞いてみる

      コメントを追加

    1. HP Photosmart 935 Plastic Casing Replacement, Plastic Casing: 手順 5、 1の画像 1
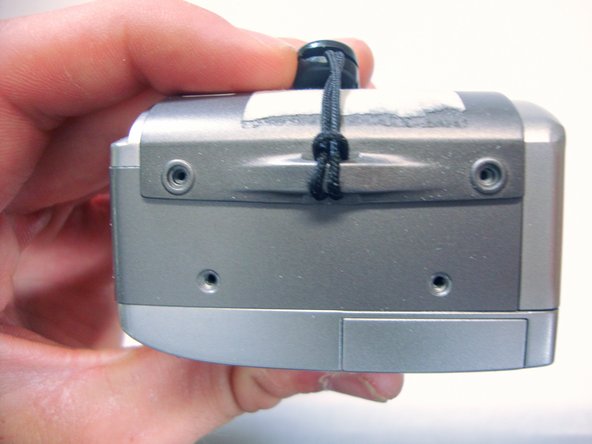
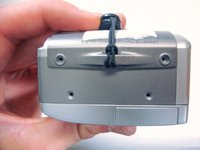
      • Use a Phillips #00 screwdriver to remove the two 4.7 mm screws in the bottom of the plastic casing.

      FixBotに聞いてみる

      コメントを追加

    2. HP Photosmart 935 Plastic Casing Replacement: 手順 6、 2の画像 1 HP Photosmart 935 Plastic Casing Replacement: 手順 6、 2の画像 2
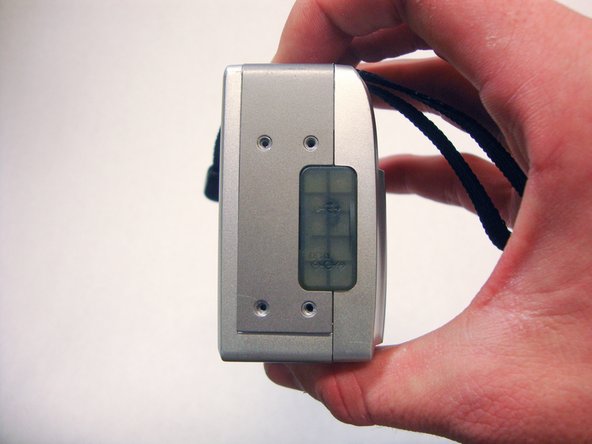
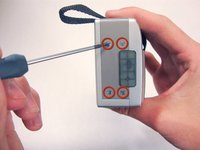
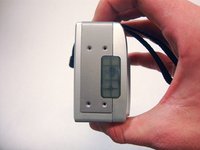
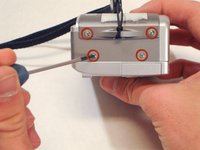
      • Remove the four 4.7 mm screws on the left side of the camera.

      FixBotに聞いてみる

      コメントを追加

    3. HP Photosmart 935 Plastic Casing Replacement: 手順 7、 2の画像 1 HP Photosmart 935 Plastic Casing Replacement: 手順 7、 2の画像 2
      • Remove the four 4.7 mm screws on the opposite side of the camera.

      FixBotに聞いてみる

      コメントを追加

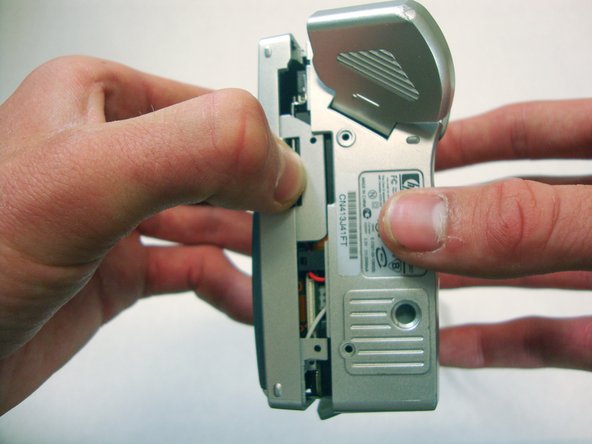
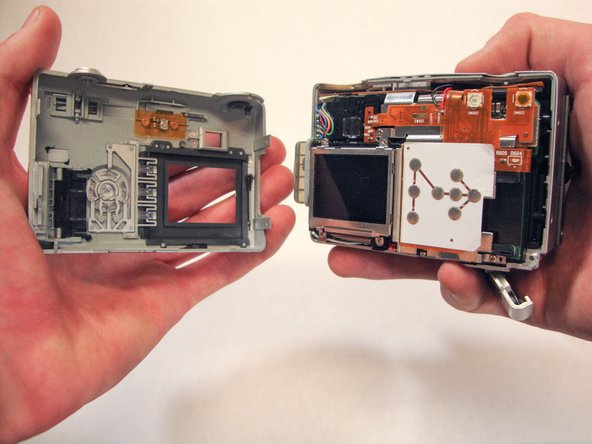
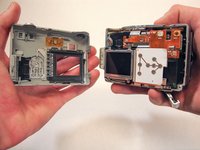
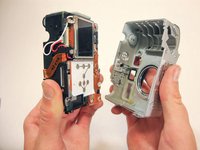
    4. HP Photosmart 935 Plastic Casing Replacement: 手順 8、 3の画像 1 HP Photosmart 935 Plastic Casing Replacement: 手順 8、 3の画像 2 HP Photosmart 935 Plastic Casing Replacement: 手順 8、 3の画像 3
      • Use your thumbs to pry the case apart.

      • It is easiest to pry the case apart if you start at the bottom.

      • The case should come apart with minimal effort. If it doesn't, you can use a spudger or plastic opening tool to pry it open.

      FixBotに聞いてみる

      コメントを追加

    5. HP Photosmart 935 Plastic Casing Replacement: 手順 9、 1の画像 1
      • This step requires a significant amount of force.

      • Pull the bottom half of the inner camera out of the case by half an inch. This may be difficult.

      FixBotに聞いてみる

      コメントを追加

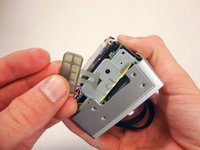
    6. HP Photosmart 935 Plastic Casing Replacement: 手順 10、 2の画像 1 HP Photosmart 935 Plastic Casing Replacement: 手順 10、 2の画像 2
      • While pulling the camera out of the case, note the small soft plastic cover on the side. This cover will detach from the rest of the device.

      • Once the bottom of the inner camera is pulled out, pull the device out completely.

      • Use a firm grasp when removing the device from the case for stability and control.

      FixBotに聞いてみる

      コメントを追加

終わりに

To reassemble your device, follow these instructions in reverse order.

キャンセル: このガイドを終了できませんでした。

作成者

9人の作成者と共同で作成されました。

Clay Young

メンバー登録日: 04/04/12

245 ポイント

2のガイドは作成済み

チーム

Cal Poly, Team 15-13, Forte Spring 2012 Cal Poly, Team 15-13, Forte Spring 2012人のメンバー

CPSU-FORTE-S12S15G13

5 メンバー

25のガイドは作成済み

0件のガイドコメント

コメントを追加

統計データ:

過去 24時間: 1

過去 7 日: 6

過去 30 日: 33

今までの合計 2,228