メインコンテンツにスキップ
リペアコミュニティに参加 - アカウントの作成

HP Pavilion zd8000 Base Fans Replacement

必要な工具と部品

  1. HP Pavilion zd8000 Base Fans Replacement, Battery: 手順 1、 1の画像 1
    • Slide the battery release latch towards you.

    FixBotに聞いてみる
    コメントを追加

  2. HP Pavilion zd8000 Base Fans Replacement: 手順 2、 2の画像 1 HP Pavilion zd8000 Base Fans Replacement: 手順 2、 2の画像 2
    • Pull up on the battery to remove it.

    FixBotに聞いてみる

    コメントを追加

  3. HP Pavilion zd8000 Base Fans Replacement, RAM: 手順 3、 2の画像 1 HP Pavilion zd8000 Base Fans Replacement, RAM: 手順 3、 2の画像 2
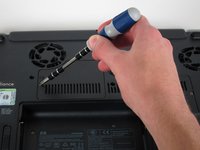
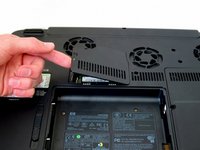
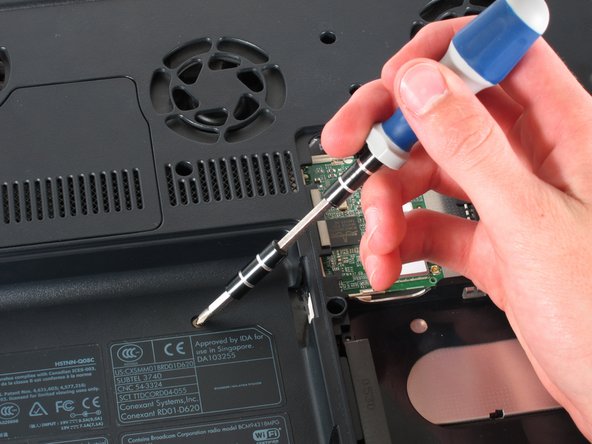
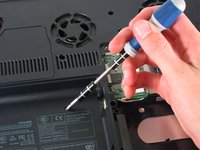
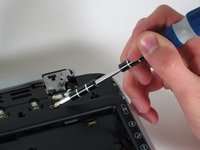
    • Loosen the Phillips screw labeled ‘ram’ and lift the cover.

    FixBotに聞いてみる

    コメントを追加

  4. HP Pavilion zd8000 Base Fans Replacement: 手順 4、 2の画像 1 HP Pavilion zd8000 Base Fans Replacement: 手順 4、 2の画像 2
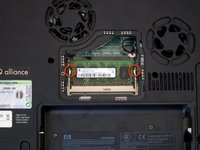
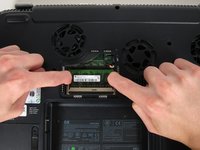
    • Locate the green RAM card and find the metal tabs securing the card.

    • Push outwards on the two tabs to release the card.

    FixBotに聞いてみる
    コメントを追加

  5. HP Pavilion zd8000 Base Fans Replacement: 手順 5、 1の画像 1
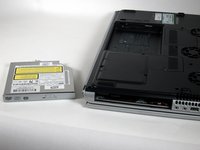
    • Carefully slide the card out at an upward angle away from the slot.

    FixBotに聞いてみる
    コメントを追加

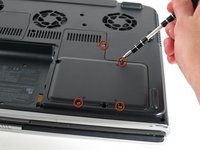
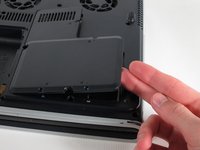
  6. HP Pavilion zd8000 Base Fans Replacement, WiFi Card Cables: 手順 6、 2の画像 1 HP Pavilion zd8000 Base Fans Replacement, WiFi Card Cables: 手順 6、 2の画像 2
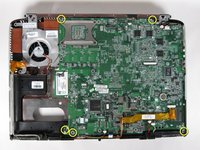
    • Unscrew the four 8mm Philips screws marked with an icon resembling a stacks of discs.

    • Lift the cover from the right to remove it.

    FixBotに聞いてみる

    コメントを追加

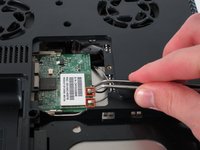
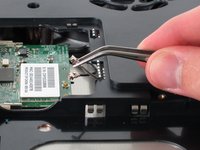
  7. HP Pavilion zd8000 Base Fans Replacement: 手順 7、 2の画像 1 HP Pavilion zd8000 Base Fans Replacement: 手順 7、 2の画像 2
    この手順で使用する道具:
    Tweezers
    $4.99
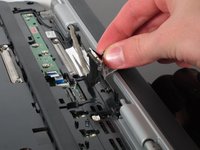
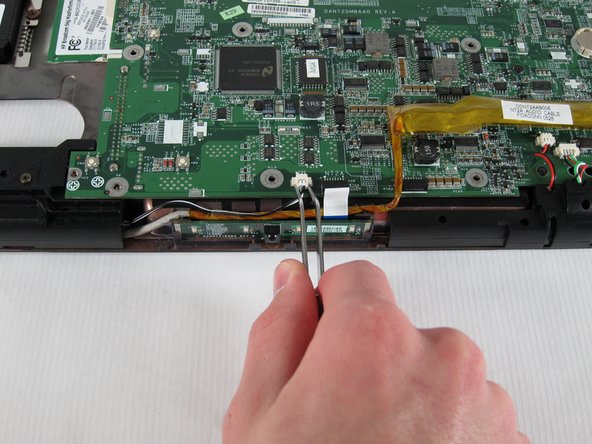
    • Use tweezers to detach the grey and black cables connected to the green WiFi card.

    FixBotに聞いてみる

    コメントを追加

  8. HP Pavilion zd8000 Base Fans Replacement, CD/Optical Drive: 手順 8、 1の画像 1
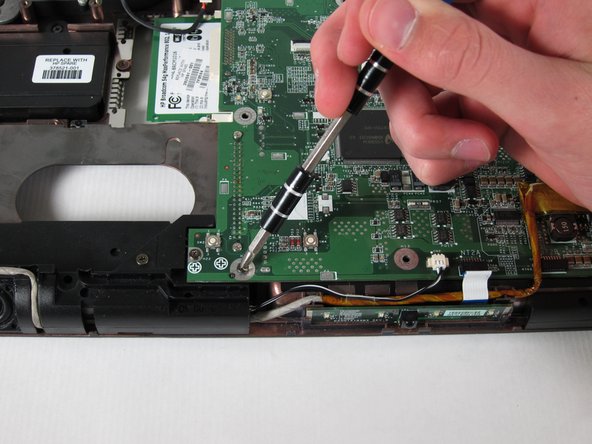
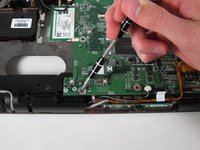
    • Remove the 8mm Philips screw located between the hard drive and the WiFi card.

    FixBotに聞いてみる

    コメントを追加

  9. HP Pavilion zd8000 Base Fans Replacement: 手順 9、 2の画像 1 HP Pavilion zd8000 Base Fans Replacement: 手順 9、 2の画像 2
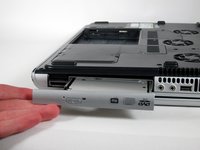
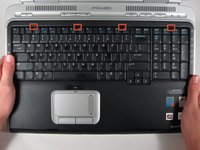
    • Turn the laptop 90 degrees clockwise so you are facing the CD drive.

    • Unbend a paperclip and insert the end into the small hole by the eject button to cause the tray to pop out towards you.

    FixBotに聞いてみる
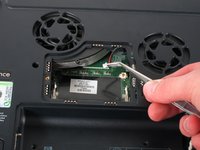
    コメントを追加

  10. HP Pavilion zd8000 Base Fans Replacement: 手順 10、 2の画像 1 HP Pavilion zd8000 Base Fans Replacement: 手順 10、 2の画像 2
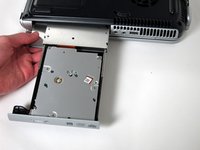
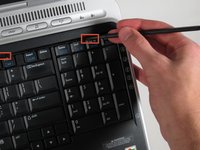
    • Gently pull the tray away from the laptop and the rest of the optical drive will follow.

    FixBotに聞いてみる
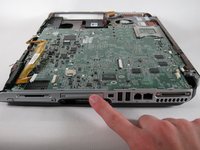
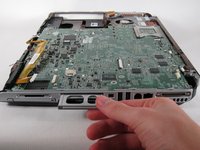
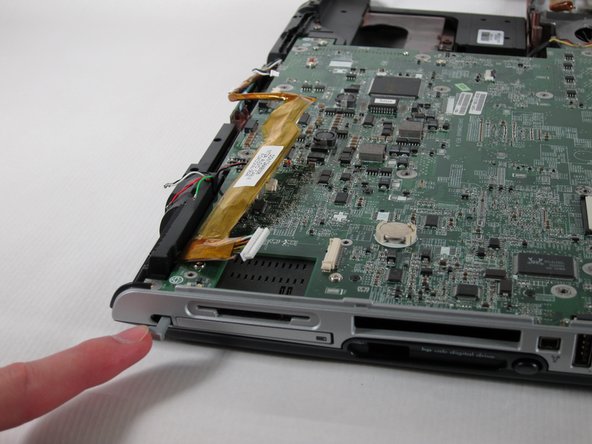
    コメントを追加

  11. HP Pavilion zd8000 Base Fans Replacement, Keyboard: 手順 11、 1の画像 1
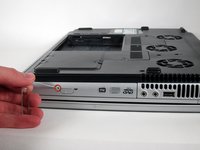
    • Remove the two 8mm Philips screws marked “K” on the bottom of the laptop.

    FixBotに聞いてみる

    コメントを追加

  12. HP Pavilion zd8000 Base Fans Replacement: 手順 12、 2の画像 1 HP Pavilion zd8000 Base Fans Replacement: 手順 12、 2の画像 2
    • Flip the laptop over and open the screen.

    • Push up on the four latches located at the top of the keyboard with the spudger to release them.

    FixBotに聞いてみる

    コメントを追加

  13. HP Pavilion zd8000 Base Fans Replacement: 手順 13、 2の画像 1 HP Pavilion zd8000 Base Fans Replacement: 手順 13、 2の画像 2
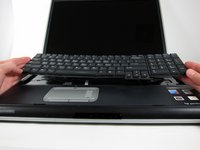
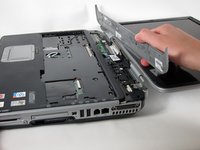
    • Lift the keyboard carefully because it is attached to the motherboard by a ribbon cable.

    • Lift the top of the keyboard towards you. Then, while keeping the keyboard at an angle, lift it towards the display.

    FixBotに聞いてみる

    コメントを追加

  14. HP Pavilion zd8000 Base Fans Replacement: 手順 14、 2の画像 1 HP Pavilion zd8000 Base Fans Replacement: 手順 14、 2の画像 2
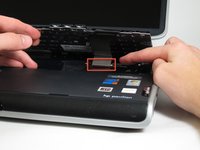
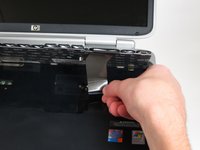
    • Rotate the keyboard so that the bottom is visible.

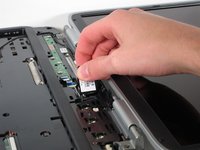
    • With the keyboard lifted, locate the blue-striped tab on the underside of the black ribbon cable.

    • Pull the tab towards you to release the keyboard from the laptop.

    FixBotに聞いてみる

    コメントを追加

  15. HP Pavilion zd8000 Base Fans Replacement, Switch Cover: 手順 15、 2の画像 1 HP Pavilion zd8000 Base Fans Replacement, Switch Cover: 手順 15、 2の画像 2
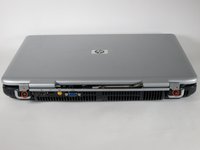
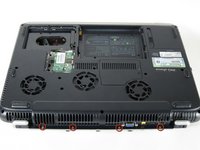
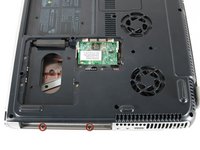
    • Place the laptop face-down and rotate it 180 degrees so the vents are facing you.

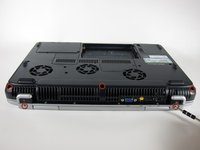
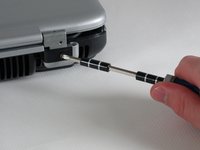
    • Remove the five 8mm Philips screws. Three are on the black base and two are near the hinges.

    FixBotに聞いてみる
    コメントを追加

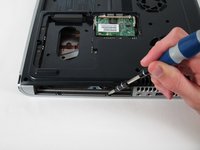
  16. HP Pavilion zd8000 Base Fans Replacement: 手順 16、 1の画像 1
    • Flip the laptop over.

    • Fully open the laptop.

    FixBotに聞いてみる
    コメントを追加

  17. HP Pavilion zd8000 Base Fans Replacement: 手順 17、 3の画像 1 HP Pavilion zd8000 Base Fans Replacement: 手順 17、 3の画像 2 HP Pavilion zd8000 Base Fans Replacement: 手順 17、 3の画像 3
    • Rotate it so the display is on your right and the keyboard is on your left.

    • Lift the switch cover firmly but slowly so you do not snap it.

    • Lift the switch cover carefully from one end while sliding the spudger between the switch cover and the laptop to separate them.

    • The switch cover should easily separate from the laptop as you run the spudger through.

    FixBotに聞いてみる

    コメントを追加

  18. HP Pavilion zd8000 Base Fans Replacement, Screen: 手順 18、 2の画像 1 HP Pavilion zd8000 Base Fans Replacement, Screen: 手順 18、 2の画像 2
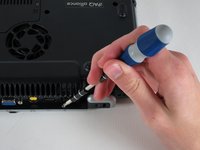
    • Close the lid and rotate the laptop so that the vents are facing you.

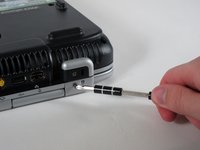
    • Unscrew the two 8mm Philips screws below the hinges.

    FixBotに聞いてみる

    コメントを追加

  19. HP Pavilion zd8000 Base Fans Replacement: 手順 19、 2の画像 1 HP Pavilion zd8000 Base Fans Replacement: 手順 19、 2の画像 2
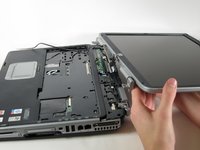
    • Carefully rotate the laptop 90 degrees counter-clockwise and open the screen.

    • Pull on the black tab with the HP service sticker to unplug the display from the motherboard.

    FixBotに聞いてみる

    コメントを追加

  20. HP Pavilion zd8000 Base Fans Replacement: 手順 20、 2の画像 1 HP Pavilion zd8000 Base Fans Replacement: 手順 20、 2の画像 2
    この手順で使用する道具:
    Tweezers
    $4.99
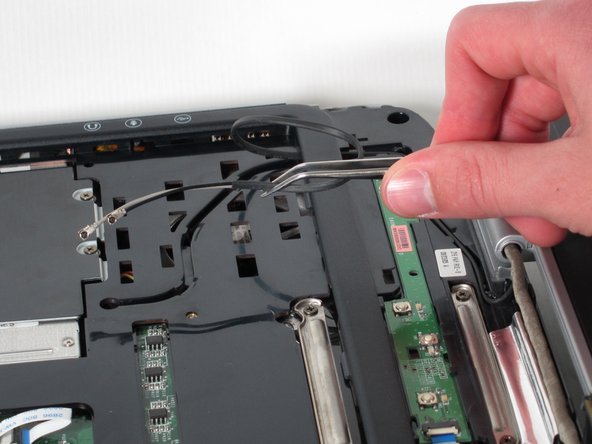
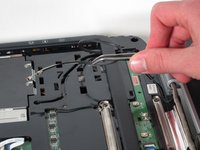
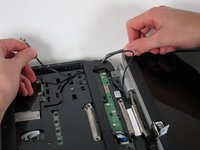
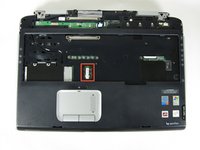
    • Using tweezers, remove the black cable from the hole leading to the WiFi enclosure.

    • Pull gently to remove the black and grey cables from the case.

    • Check the surface beneath the laptop to ensure the cables do not catch on anything when you flip the laptop over.

    FixBotに聞いてみる
    コメントを追加

  21. HP Pavilion zd8000 Base Fans Replacement: 手順 21、 2の画像 1 HP Pavilion zd8000 Base Fans Replacement: 手順 21、 2の画像 2
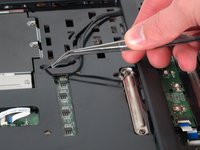
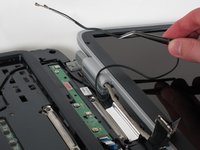
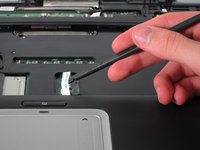
    • Using tweezers, pull the black cable towards the display and through the hole in the casing.

    FixBotに聞いてみる
    コメントを追加

  22. HP Pavilion zd8000 Base Fans Replacement: 手順 22、 3の画像 1 HP Pavilion zd8000 Base Fans Replacement: 手順 22、 3の画像 2 HP Pavilion zd8000 Base Fans Replacement: 手順 22、 3の画像 3
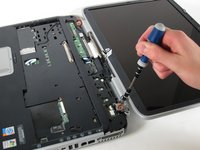
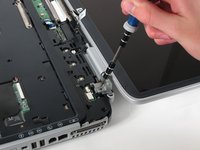
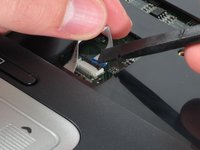
    • Unscrew the two 8mm Philips screws that attach the hinge to the laptop's display.

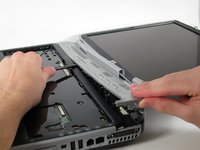
    • Lift the screen upwards to detach it from the laptop.

    FixBotに聞いてみる
    コメントを追加

  23. HP Pavilion zd8000 Base Fans Replacement, Top Cover: 手順 23、 2の画像 1 HP Pavilion zd8000 Base Fans Replacement, Top Cover: 手順 23、 2の画像 2
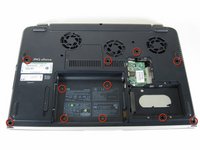
    • With the laptop face-down, remove the eleven 8mm Philips screws.

    FixBotに聞いてみる

    コメントを追加

  24. HP Pavilion zd8000 Base Fans Replacement: 手順 24、 2の画像 1 HP Pavilion zd8000 Base Fans Replacement: 手順 24、 2の画像 2
    • Rotate the laptop 180 degrees so the vents are facing you.

    • Unscrew the four 3mm Philips screws below the vents.

    FixBotに聞いてみる

    コメントを追加

  25. HP Pavilion zd8000 Base Fans Replacement: 手順 25、 2の画像 1 HP Pavilion zd8000 Base Fans Replacement: 手順 25、 2の画像 2
    • Rotate the laptop 90 degrees counter-clockwise.

    • Unscrew the two 3mm Philips screws from the optical drive bay.

    FixBotに聞いてみる
    コメントを追加

  26. HP Pavilion zd8000 Base Fans Replacement: 手順 26、 3の画像 1 HP Pavilion zd8000 Base Fans Replacement: 手順 26、 3の画像 2 HP Pavilion zd8000 Base Fans Replacement: 手順 26、 3の画像 3
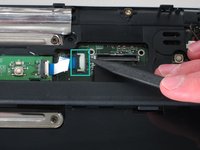
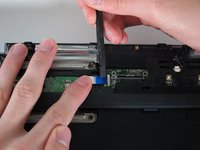
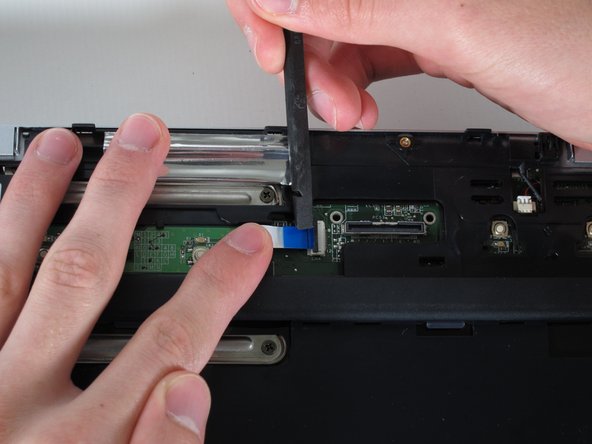
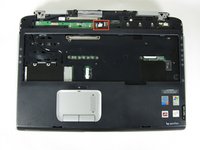
    • Flip the laptop over so it is face-up with the trackpad closest to you.

    • Locate the ribbon cable directly above the track pad.

    • Find the black latch at the end of the ribbon cable and unlatch it with a spudger to release it.

    FixBotに聞いてみる
    コメントを追加

  27. HP Pavilion zd8000 Base Fans Replacement: 手順 27、 3の画像 1 HP Pavilion zd8000 Base Fans Replacement: 手順 27、 3の画像 2 HP Pavilion zd8000 Base Fans Replacement: 手順 27、 3の画像 3
    • Find the ribbon cable on the LED board located at the top of the laptop.

    • You will notice that the ribbon cable is connected to two levels - you will be dealing with the one on the lower level.

    • Find the black latch at the end of the ribbon cable and unlatch it with a spudger to release it.

    FixBotに聞いてみる

    コメントを追加

  28. HP Pavilion zd8000 Base Fans Replacement: 手順 28、 2の画像 1 HP Pavilion zd8000 Base Fans Replacement: 手順 28、 2の画像 2
    この手順で使用する道具:
    Tweezers
    $4.99
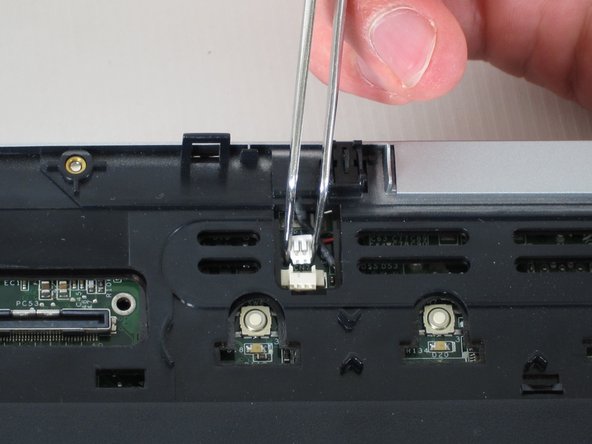
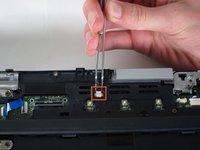
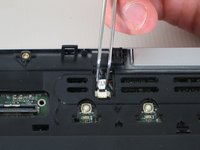
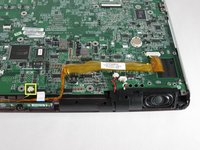
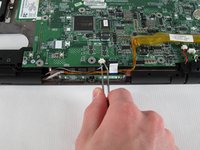
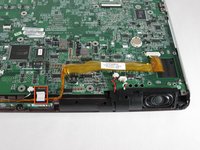
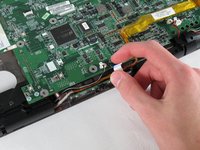
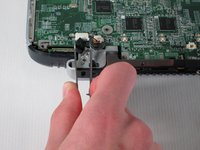
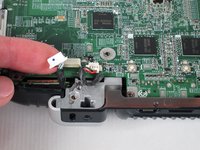
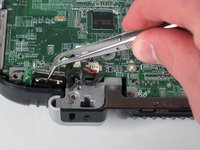
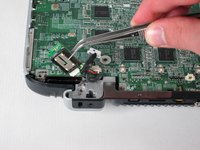
    • Locate the white connector attached to a red and black cable to the right of the LED board.

    • Using tweezers, pull the white connector away from you.

    FixBotに聞いてみる

    コメントを追加

  29. HP Pavilion zd8000 Base Fans Replacement: 手順 29、 2の画像 1 HP Pavilion zd8000 Base Fans Replacement: 手順 29、 2の画像 2
    • Unscrew the four 8mm Philips screws from the top cover.

    FixBotに聞いてみる

    コメントを追加

  30. HP Pavilion zd8000 Base Fans Replacement: 手順 30、 2の画像 1 HP Pavilion zd8000 Base Fans Replacement: 手順 30、 2の画像 2
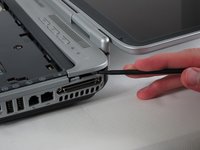
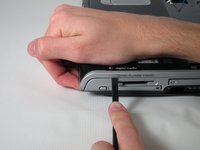
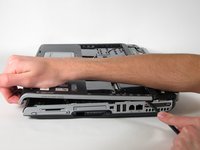
    • Rotate the computer 90 degrees clockwise and insert the spudger at the seam above the card reader.

    • While lifting the front end of the top cover, slide the spudger across the seam.

    • When you have reached the firewire port, it should click open.

    FixBotに聞いてみる

    コメントを追加

  31. HP Pavilion zd8000 Base Fans Replacement: 手順 31、 1の画像 1
    • Lift the top cover from the left side to remove it completely.

    FixBotに聞いてみる

    コメントを追加

  32. HP Pavilion zd8000 Base Fans Replacement, USB Module: 手順 32、 2の画像 1 HP Pavilion zd8000 Base Fans Replacement, USB Module: 手順 32、 2の画像 2
    • Rotate the laptop 90 degrees counter-clockwise

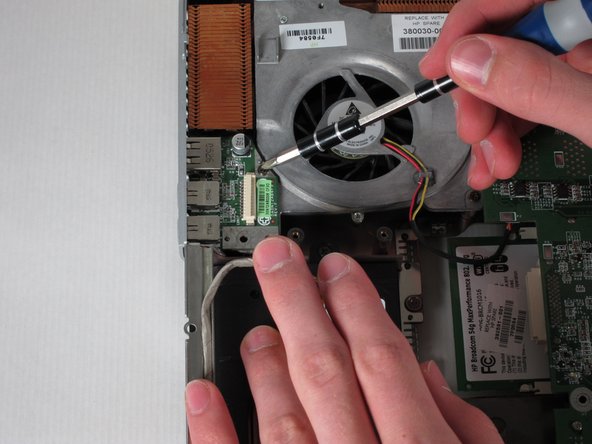
    • Locate the USB Module

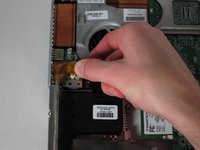
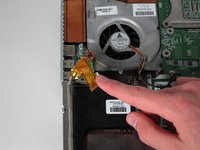
    • Grip the yellow cable cover and pull it to the right to release it.

    FixBotに聞いてみる

    コメントを追加

  33. HP Pavilion zd8000 Base Fans Replacement: 手順 33、 2の画像 1 HP Pavilion zd8000 Base Fans Replacement: 手順 33、 2の画像 2
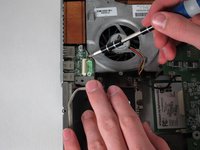
    • Unscrew the 6mm Philips screw connecting the USB module to the fan.

    FixBotに聞いてみる

    コメントを追加

  34. HP Pavilion zd8000 Base Fans Replacement: 手順 34、 1の画像 1
    • Pull the module to the right and lift it out to release it.

    FixBotに聞いてみる

    コメントを追加

  35. HP Pavilion zd8000 Base Fans Replacement, Motherboard: 手順 35、 2の画像 1 HP Pavilion zd8000 Base Fans Replacement, Motherboard: 手順 35、 2の画像 2
    • Unscrew and remove the five 4mm Philips screws marked with the white Phillips screw icon.

    FixBotに聞いてみる

    コメントを追加

  36. HP Pavilion zd8000 Base Fans Replacement: 手順 36、 1の画像 1
    • Unscrew and remove the two 8mm Philips screws from the heat sink fan.

    FixBotに聞いてみる

    コメントを追加

  37. HP Pavilion zd8000 Base Fans Replacement: 手順 37、 1の画像 1
    この手順で使用する道具:
    Tweezers
    $4.99
    • Using tweezers, remove the digital drive board cable - the cable set on the right with black, red, green, and white wires.

    • Using tweezers, remove the the rigth speaker cable - the cable set on the left with red and black wires - by pulling the white connector towards you.

    FixBotに聞いてみる

    コメントを追加

  38. HP Pavilion zd8000 Base Fans Replacement: 手順 38、 2の画像 1 HP Pavilion zd8000 Base Fans Replacement: 手順 38、 2の画像 2
    • Using tweezers, remove the left speaker cable by pulling the white connector towards you.

    FixBotに聞いてみる

    コメントを追加

  39. HP Pavilion zd8000 Base Fans Replacement: 手順 39、 2の画像 1 HP Pavilion zd8000 Base Fans Replacement: 手順 39、 2の画像 2
    • Remove the LED board cable by pulling the white tab towards you.

    FixBotに聞いてみる

    コメントを追加

  40. HP Pavilion zd8000 Base Fans Replacement: 手順 40、 2の画像 1 HP Pavilion zd8000 Base Fans Replacement: 手順 40、 2の画像 2
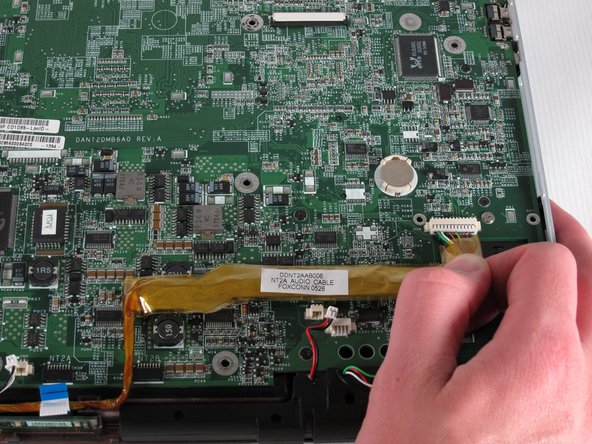
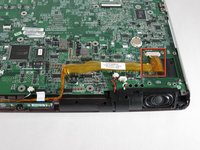
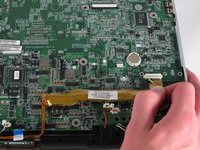
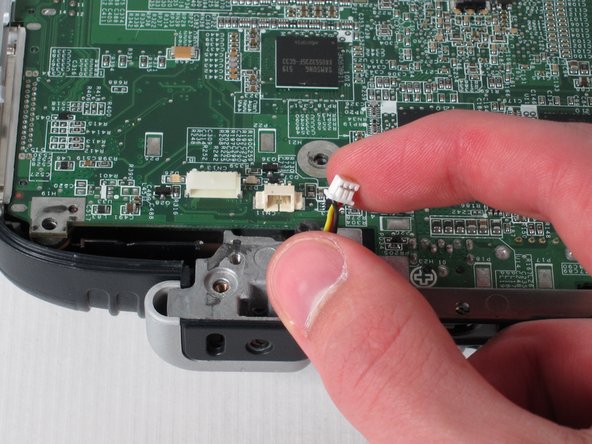
    • Remove the audio cable - the one with the yellow covering located at the bottom-right corner of the motherboard - by pulling the yellow covering towards you.

    FixBotに聞いてみる

    コメントを追加

  41. HP Pavilion zd8000 Base Fans Replacement: 手順 41、 3の画像 1 HP Pavilion zd8000 Base Fans Replacement: 手順 41、 3の画像 2 HP Pavilion zd8000 Base Fans Replacement: 手順 41、 3の画像 3
    • Rotate the laptop 180 degrees and locate the Bluetooth module at the bottom-left corner of the motherboard.

    • Using tweezers, remove the Bluetooth module’s white connector by pulling it away from you.

    FixBotに聞いてみる

    コメントを追加

  42. HP Pavilion zd8000 Base Fans Replacement: 手順 42、 2の画像 1 HP Pavilion zd8000 Base Fans Replacement: 手順 42、 2の画像 2
    • Using tweezers, pull up on the Bluetooth module to remove it.

    FixBotに聞いてみる

    コメントを追加

  43. HP Pavilion zd8000 Base Fans Replacement: 手順 43、 2の画像 1 HP Pavilion zd8000 Base Fans Replacement: 手順 43、 2の画像 2
    • Remove the fan cable by pulling the white connector away from you.

    FixBotに聞いてみる

    コメントを追加

  44. HP Pavilion zd8000 Base Fans Replacement: 手順 44、 2の画像 1 HP Pavilion zd8000 Base Fans Replacement: 手順 44、 2の画像 2
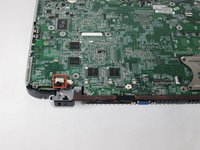
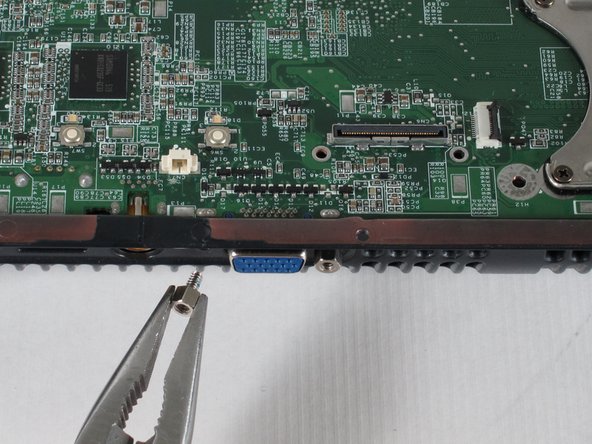
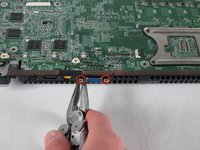
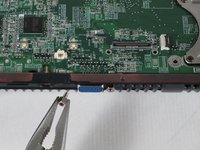
    • Using pliers, unscrew and remove the two bolts from both sides of the blue VGA connector.

    FixBotに聞いてみる

    コメントを追加

  45. HP Pavilion zd8000 Base Fans Replacement: 手順 45、 2の画像 1 HP Pavilion zd8000 Base Fans Replacement: 手順 45、 2の画像 2
    • Carefully flip the laptop face-down with the battery compartment facing you.

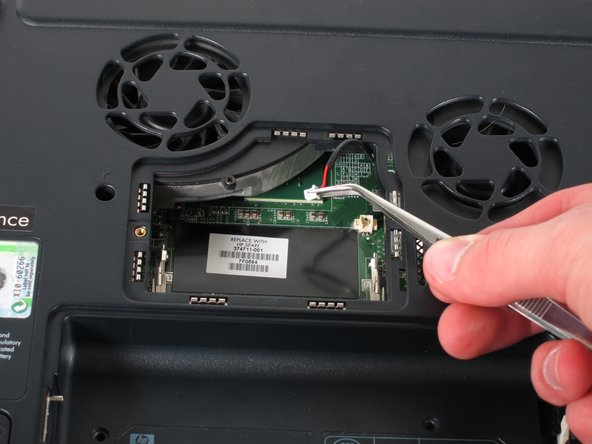
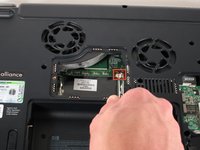
    • Using tweezers, remove the black and red cable from the RAM compartment by pulling on the white connector.

    FixBotに聞いてみる

    コメントを追加

  46. HP Pavilion zd8000 Base Fans Replacement: 手順 46、 2の画像 1 HP Pavilion zd8000 Base Fans Replacement: 手順 46、 2の画像 2
    • Flip the laptop face-up and turn it so that the drive labelled "hp usb digital drive" faces you.

    • Press the ridged space saver card above the "hp usb digital drive" label to eject and remove it.

    FixBotに聞いてみる

    コメントを追加

  47. HP Pavilion zd8000 Base Fans Replacement: 手順 47、 3の画像 1 HP Pavilion zd8000 Base Fans Replacement: 手順 47、 3の画像 2 HP Pavilion zd8000 Base Fans Replacement: 手順 47、 3の画像 3
    • Locate the PC card below the SD card reader.

    • Push the button to its left once to eject the button itself, then press it once again to remove the PC card.

    FixBotに聞いてみる

    コメントを追加

  48. HP Pavilion zd8000 Base Fans Replacement: 手順 48、 1の画像 1
    • Once the PC card pops out, pull it out.

    FixBotに聞いてみる

    コメントを追加

  49. HP Pavilion zd8000 Base Fans Replacement: 手順 49、 2の画像 1 HP Pavilion zd8000 Base Fans Replacement: 手順 49、 2の画像 2
    • Turn the computer 90 degrees counter-clockwise and clear all cables off of the motherboard.

    • Push in the grey button to the left of the PC card as far as possible.

    • Keeping the button pressed down, lift the motherboard up until the button pops out the top of the case.

    FixBotに聞いてみる

    コメントを追加

  50. HP Pavilion zd8000 Base Fans Replacement: 手順 50、 1の画像 1
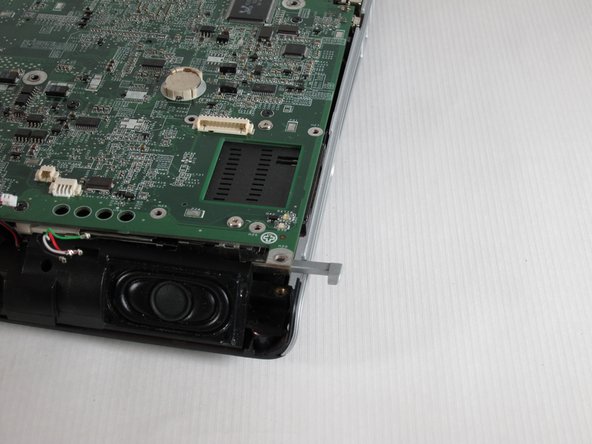
    • Pull the right casing to the side to release the ports on the motherboard from it.

    FixBotに聞いてみる

    コメントを追加

  51. HP Pavilion zd8000 Base Fans Replacement: 手順 51、 2の画像 1 HP Pavilion zd8000 Base Fans Replacement: 手順 51、 2の画像 2
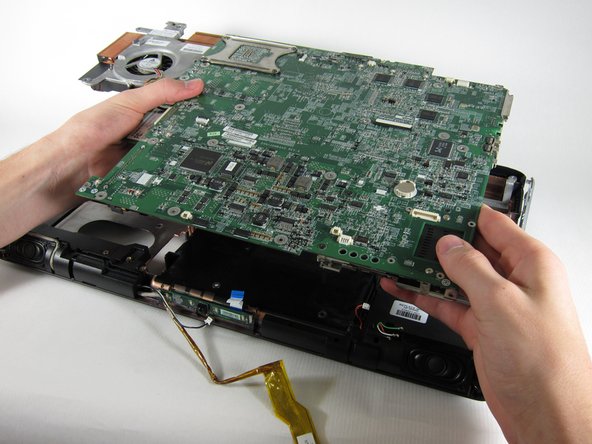
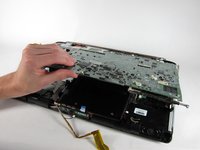
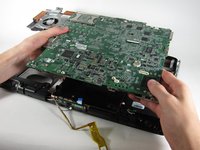
    • Lift the motherboard up until it releases from the bottom casing and remove it from the laptop.

    FixBotに聞いてみる

    コメントを追加

  52. HP Pavilion zd8000 Base Fans Replacement, Base Fans: 手順 52、 2の画像 1 HP Pavilion zd8000 Base Fans Replacement, Base Fans: 手順 52、 2の画像 2
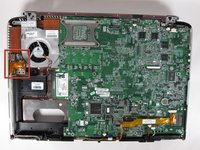
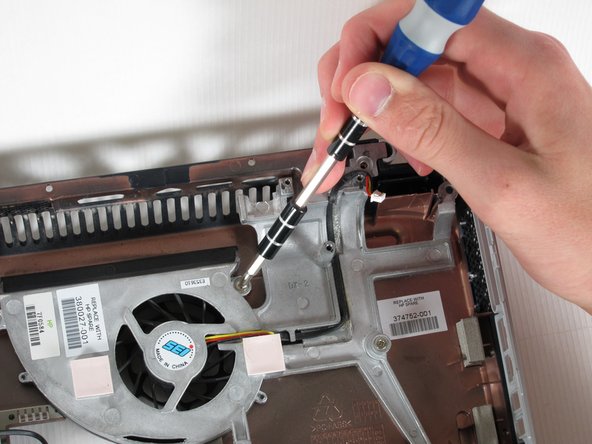
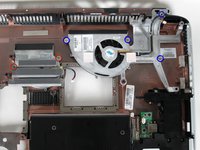
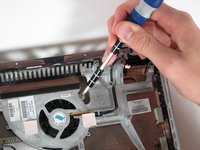
    • Unscrew the two 8mm Philips screws on both sides of the middle fan and remove them.

    • Unscrew the four 8mm Phillips screws from the right fan and remove them.

    FixBotに聞いてみる

    コメントを追加

  53. HP Pavilion zd8000 Base Fans Replacement: 手順 53、 3の画像 1 HP Pavilion zd8000 Base Fans Replacement: 手順 53、 3の画像 2 HP Pavilion zd8000 Base Fans Replacement: 手順 53、 3の画像 3
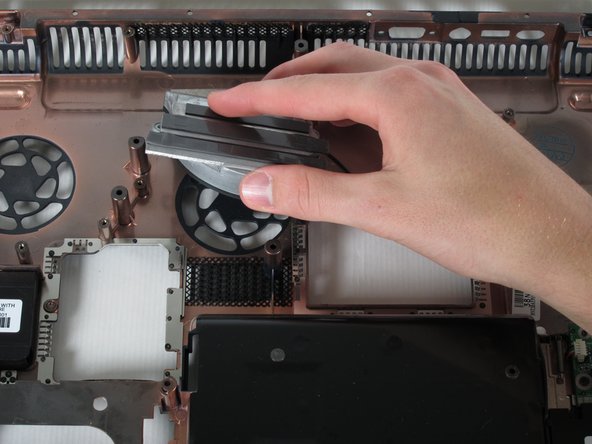
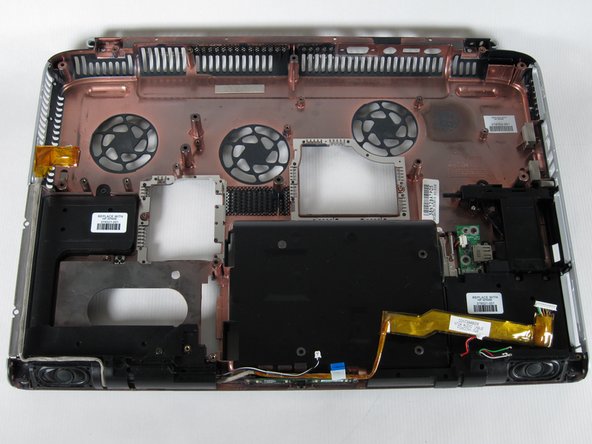
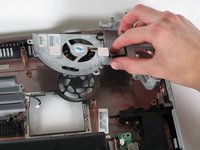
    • Lift both fans up and remove them from the laptop casing.

    FixBotに聞いてみる

    コメントを追加

終わりに

To reassemble your device, follow these instructions in reverse order.

キャンセル: このガイドを終了できませんでした。

3 の人々がこのガイドを完成させました。

作成者

4人の作成者と共同で作成されました。

Allie Menard

メンバー登録日: 04/12/11

820 ポイント

13のガイドは作成済み

チーム

Cal Poly, Team 24-56, Amido Spring 2011 Cal Poly, Team 24-56, Amido Spring 2011人のメンバー

CPSU-AMIDO-S11S24G56

4 メンバー

13のガイドは作成済み

1件のガイドコメント

Then what ? I have the zd8000 the original DVDs for the operating system and drivers and the AC power supply and a new hard drive. Wherever would I find a new mobo though ? I would really love to rebuild this old laptop it has a memories , it was the first true widescreen high definition PC ever made. It's special.

Timothy Deshazo - 返信 共有

コメントを追加

統計データ:

過去 24時間: 1

過去 7 日: 8

過去 30 日: 37

今までの合計 9,690